[79FT]: Building Things |
 |
Finishing Panel Prep
...placards and switches
| On: | Feb 04, 2020 |
| In: | [Chickenhouse Charger] Electrical Rebuild |
| Time logged: | 5.0 |
| Tags: | 6781G, MA5 Charger, electrical |
Since all my tools were already in the vicinity of the back hole, decided to finish doing everything around the panel in preparation for actually running the wires (which will come at the very end).
Placards
They were done quite some time ago. I center punched the holes in the panel for the #2 attach screws when test-fitting the placards, and left them at that.
Well, 't was the time!
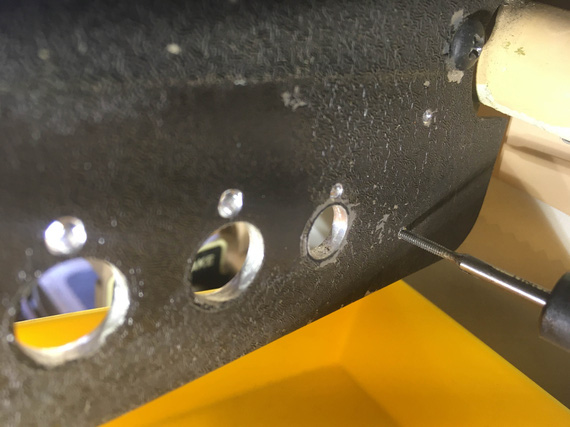
Tappy-tap-tap!
That is a #2 tap, mind you! Tiny! I used a ratchet adapter; and didn't even need a ratchet - was just rotating it with my fingers. 1/2 turn in, 1/4 turn back. Slooooowly.
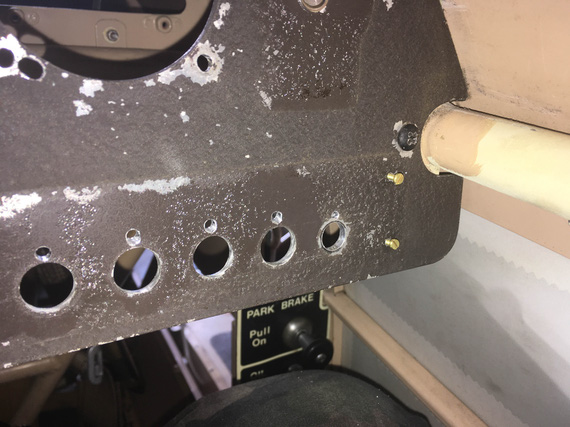
Done!
..and the placard went on nicely, too.
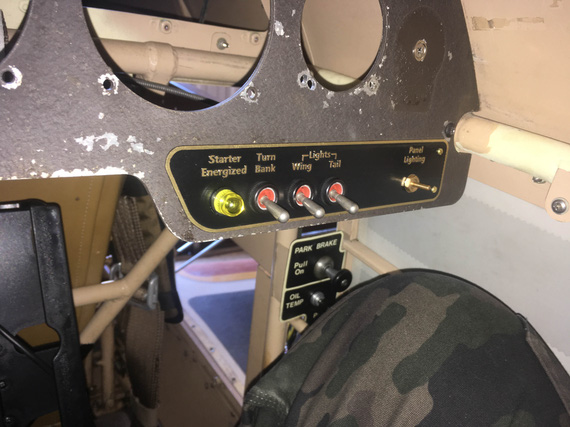
Placard set up.
Switches will be coming out one by one one last time later, to get wires attached to them, and to get all the hardware locked with washers/Loctite.
Harness Brackets
In the original setup, switches and fuses were on opposites sides of the panel (now both sides are occupied with switches), and the harness ran kinda loosely in between those sides.
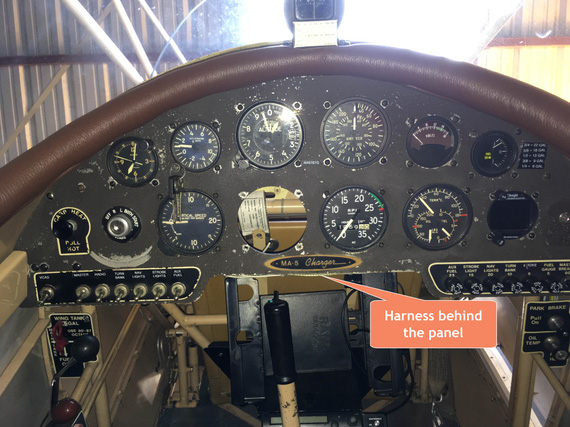
Old harness
I didn't like that bunch of wires not having any kind of support, and wanted to add something.
Having all those gauges clustered right above the harness, I wouldn't have had any room for the "raw" clamps attached to the panel in any reasonable way.. but, if I put together some kind of "standoff".. kinda like...
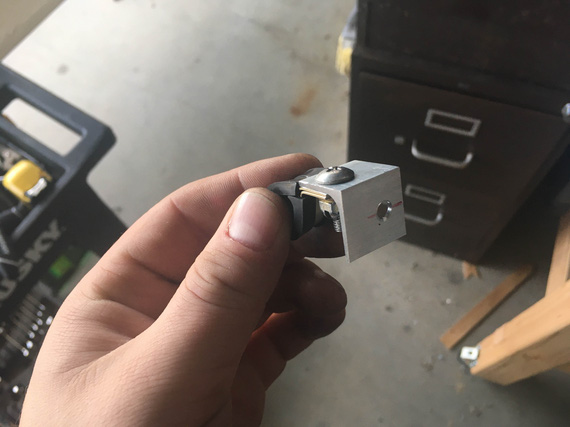
Clamp on the bracket
that! (This bracket courtesy of my Polish friend Mr. Wojciech.)
I made another one, and took some weight reduction measures, too.
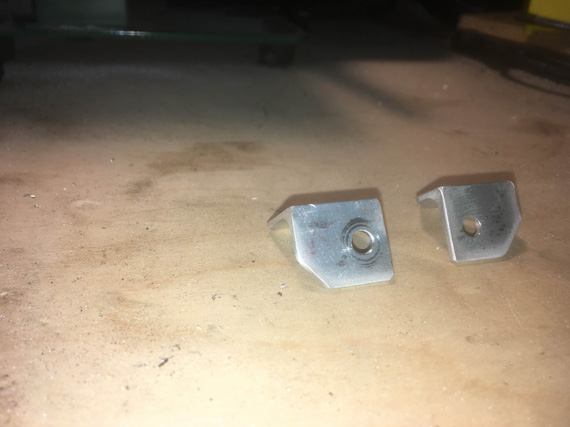
Brackets - cleaned up
Then, located and drilled the holes in the panel for them.
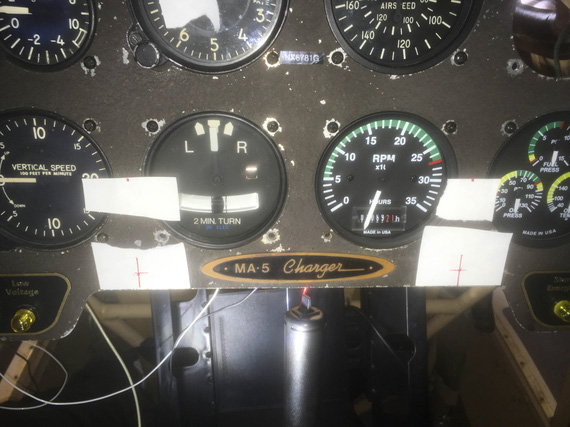
Using tape to mark out the holes
And, here they are. Notice how harness will end up below the gauges, not interfering with them.
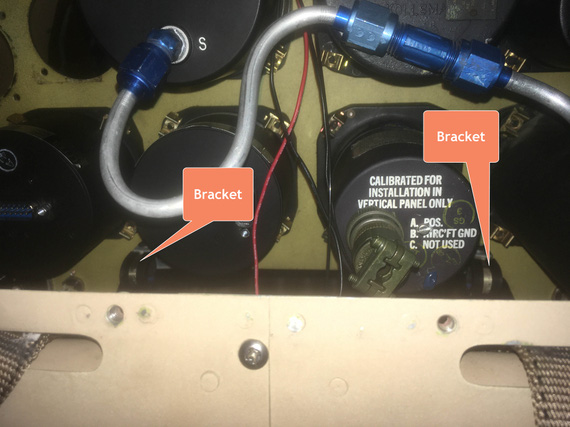
Brackets test installed
Here is how they look from the back, with some "test wires" run from the switches thru the ADELs.
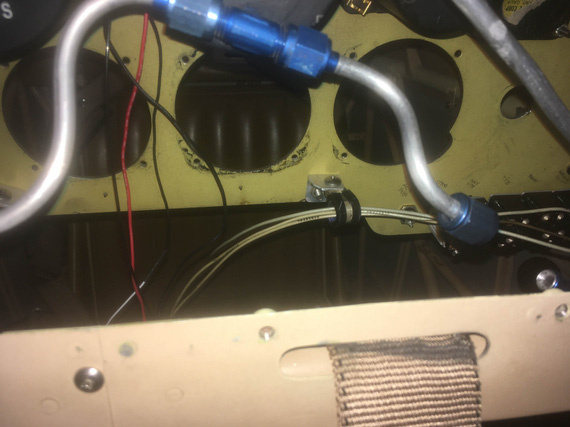
Test installed with wires.
Nice, short, concise, and almost no misery this time!
"Leave five on the glide, have a nice ride, tower inside, twenty-six nine .... see ya!"
-ORD ATC
Up ↑
© Copyright "79FT". All rights reserved. Feel free to cite, but link back to the pages cited.
This website only shows how I did things in my various projects. These pages are for information and personal entertainment only and not to be construed as the only way, or even the perceived correct way of doing things. You are responsible for your own safety and techniques.