[79FT]: Building Things |
 |
Done
...but now, a new beginning - flying!
| On: | Jun 15, 2021 |
| In: | [Chickenhouse Charger] Electrical Rebuild |
| Time logged: | 38.6 |
| Tags: | 6781G, MA5 Charger, w&b, fwf |
Well, this was quite a hiatus. I was at a point where I needed my IA to look at everything, make sure I didn't screw up too badly, and start closing her back up.
That took quite a while, with Mr. S. being super extra busy, and my venture away from snowstorms of Texas to real snowstorms of Idaho.
But finally, we got together.
'Run the trim all the way forward,' - said S. 'Okay, now run it back. How does it feel'?
'A bit crunchy,' - I said. 'Yep. You gotta lube the jackscrews. And clean that rust off of tubes and paint over it, over there at AutoZone they can mix you up any color'.
Phew. The motor checked out, compressions were good, sounded all normal and all. Not a bad start!
I also had to weigh her, with all the changes that I made.
Paint
That turned to be quite a disaster. I did get rid of lots of corrosion, but painting tubes hunched over, or using some other way to get to the point I tried to paint was abysmal. I will admit to trying to spray, making a hell of a mess, and giving up on that very quickly. I'd have to mask literally everything - the kind of paint they gave me floated and didn't dry up anywhere near quick enough to be reasonable.
Ended up removing a couple tubes (happened to have been ruder pedal connecting rods) that I could remove and painting them outside - that was pleasant, compared to the rest of the affair.
Didn't even take a single picture.
Closing Up
Well. First of, instead of using nutplates, everywhere where the back side was deemed reachable, Remo decided to just leave a hole and put a regular nut on the finish screw that was deemed accessible from the back. Lots, and lots, of grief.
Just wing intersection fairings took 3 evenings to put on.
Then, I discovered that fabric was torn around one of the inspection plates, and it's couple nutplates were missing. I basically had two large holes in fabric.
Pondered this a bit, and made up this little monstrosity:
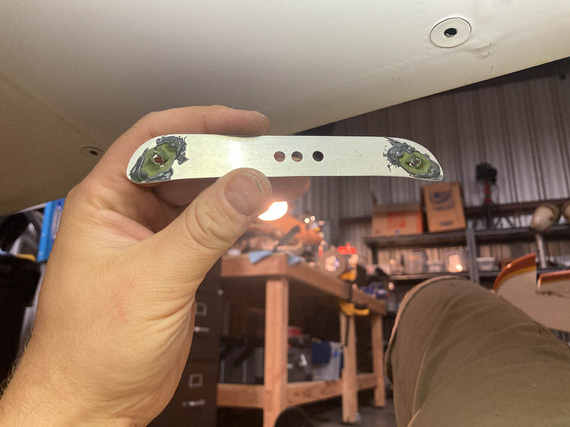
Backer plate
The idea is that this thing goes on the back, and fabric gets sandwiched between it and the inspection plate. I had to use #6 screws, and the only nutplates I had were for sheet metal screws. Well, that just adds to ugliness. And no, I didn't have riveting equipment to properly rivet them on - but JB-Weld works just as well; and is only there to prevent plates turning under torque anyway.
Here it is, this monster "nutplate", peeking thru the hole in the fabric.
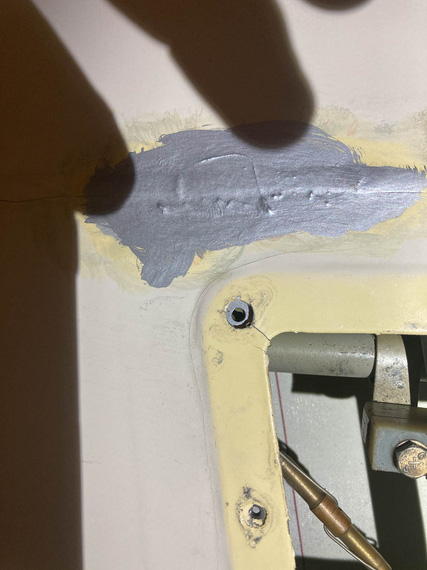
Peeking
Used 3M FireBlock to patch up all the holes in the firewall with gaps around them.
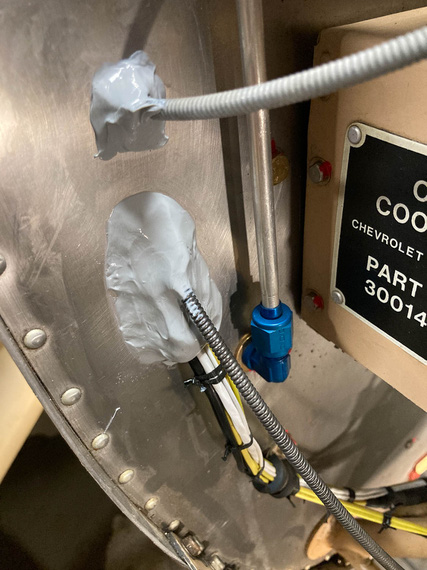
FireBlock
It's a fancy sealant, consistency of your usual RTV silicone. I shaped the "mounds" with my finger constantly wetted in mineral spirits - that prevented wet sealant from sticking to it, and allowed me to work it reasonably well.
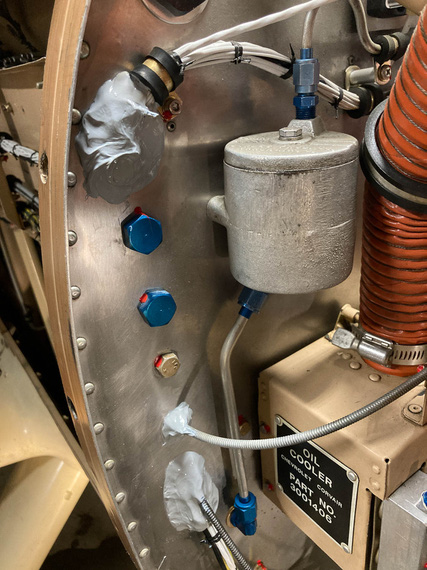
More FireBlock
Safety wired the prop. Momentous occasion!!!
I suck at safetying. I shouldn't, but I completely suck at it :(
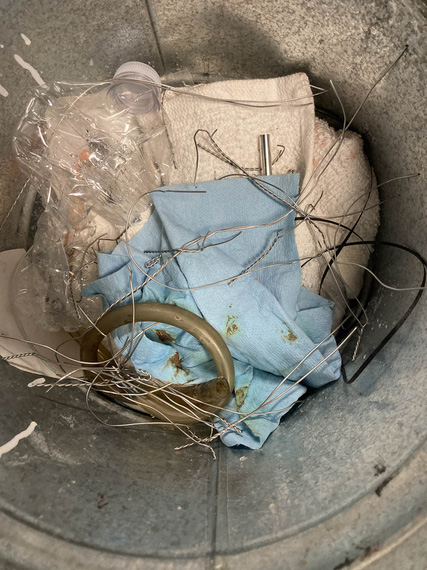
Many many attempts
Well, and then the rest of it. Plates, plates, plates. Oh, this guy made a home around one of my aileron hinges:
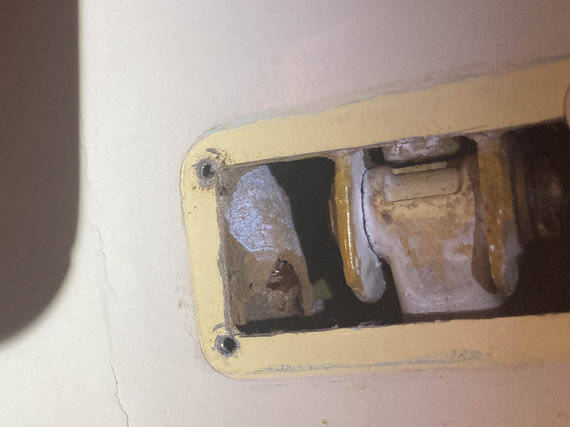
An un-invited guest made his house here
You do know stories of these guys bringing down large planes, yes?
... and more fairings, and more cussing about the nuts instead of nutplates.
But eventually, all of those were on, and the last thing left was...
Weight and Balance
This one was fun actually. Fun, and sketchy. Sketchy as ...
I had to raise the tail pretty high. Felt like about 4 feet high.
So it basically is a game of "ladders", with dynamics of Jenga blocks.
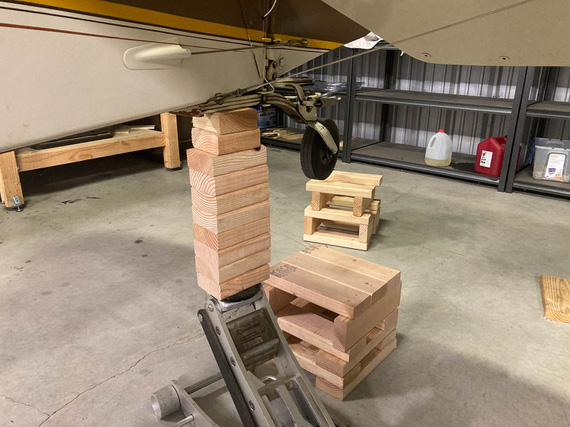
Up
You raise it as high as it'll go, stick something under the tail wheel, add an "extension" to the jack, raise it higher...
After the first "extension" on that car jack I quickly realized that was too sketchy, and switched to a bottle jack. That was a lot more uneventful, but went much slower (bottle jack has something like 10 inches extension, and needs a second "ladder" for itself as well).
Oh, all those boards are screwed together. It's not a high-stakes Jenga, after all :).
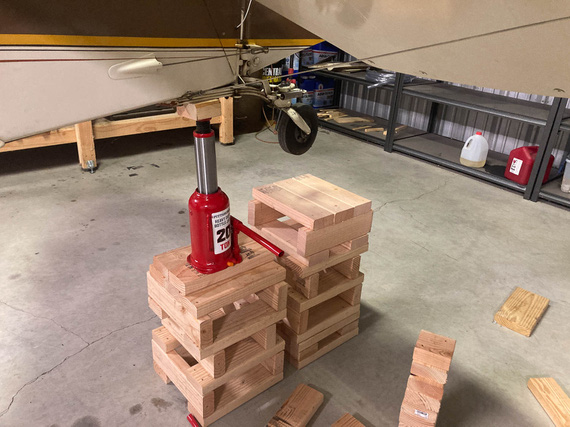
With bottle jack
Here's the final setup, on scales. Airplane level and with all the "flair" attached to it. Well, can you find the pieces not yet permanently attached; but at least in the right spots?
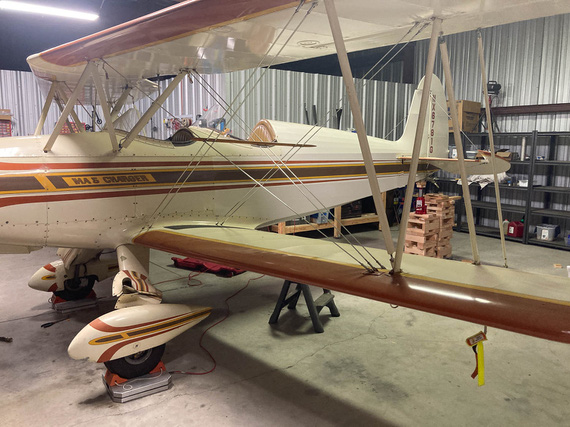
On scales
So how did we do?
I lost 11 pounds! Makes sense, too: with smaller and lighter alternator, much less (and much thinner - appropriate for amperage!), wires, removed mechanical engine instruments, etc etc etc. CG moved back just a hair, too: which indicates loss of weight closer to the front of the airplane. Again, makes sense!
"Georgetown Ground, Yellow FJ..."
And so, we were done. Anti-climactic, really. Felt that way at the very least. She was dry (had to be for weighing) - very conveniently, too, I managed to just burn off the last gas I had in her, so didn't need to drain anything. But I needed new gas - to, well, get gas - so that I had enough to taxi to the pumps.
Hmmm.
Called the tower, they were okay with the idea, so ahead I went.
Pulled up in my car to the movement area threshold with the gas can in the back.
"Georgetown Ground, Yellow FJ Cruiser, at Trinity, taxi to the pumps" "Yellow FJ, proceed on A-1" "Proceed on A-1, yellow FJ"
That was a first.
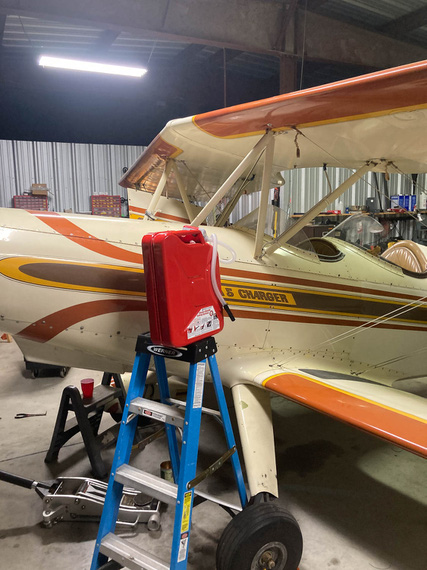
?!
That is not sketchy. No sir. Not at all. I decided to put gas in the wing tank, so that I would know exactly what my main tank capacity is - measured myself.
Came out to 26.1 gallons - with .1 non-useable that I drained, that was right on the mark.
And then, the next day, took Mr. M to the airport. We climbed in, donned our headsets on, taxied up to the pumps, filled her up, and went back and forth on the long taxiway a few times - so that I could remember my footwork and break in new brake linings , and he could just have some fun.
Felt good. Really good.
Fighter pilots make movies, attack pilots make history.
© Copyright "79FT". All rights reserved. Feel free to cite, but link back to the pages cited.
This website only shows how I did things in my various projects. These pages are for information and personal entertainment only and not to be construed as the only way, or even the perceived correct way of doing things. You are responsible for your own safety and techniques.