[79FT]: Building Things |
 |
Race for the Engine
...or was it pickles?
| On: | May 17, 2019 |
| In: | [Chickenhouse Charger] 2019 Annual |
| Tags: | 6781G, MA5 Charger, Annual, engine, Rotec TBI, prop |
So after having discovered the electrical mess, I realized that she's gonna be sitting for a while.
Which meant...
Pickle time! Damn, this pickling thing is becoming a thing, excuse my tautologies...
I had to put her together enough to be able to run the engine to circulate and warm up pickling oil.
And she was apart. With intakes off, TBI almost off, no oil, and such.
Fuel / Intakes
So first, it was to be intakes.
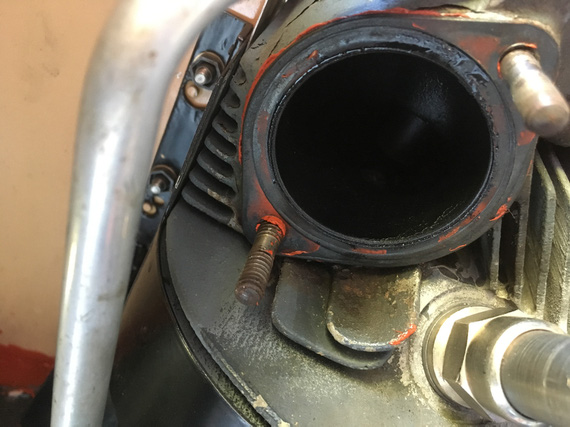
RTV where there should be none
Somebody put RTV to "seal" the intake gasket. Oh well.
Did you know that those 1 1/2 inch rubber hoses that go on intake tubes are much easier with very thin coat of oil?
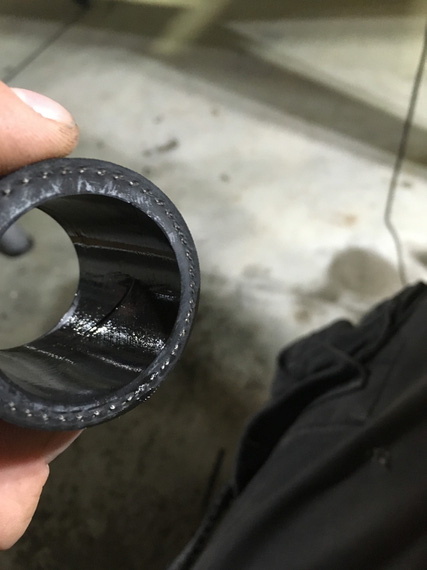
Oiling the hoses
And then, it was the TBI.
Recall that when I was putting her apart, I found pipe dope on the TBI inlet port?
Let me explain.
Fuel goes into gascolator. Then it branches: one branch goes to the engine driven pump, the other goes to the electric pump. Then, they go to the regulator on the TBI. Then, a couple of 90 degree fittings feed it into the TBI's inlet port, which has the "last chance" screen in it.
That's the port here, right above the airflow straightener:
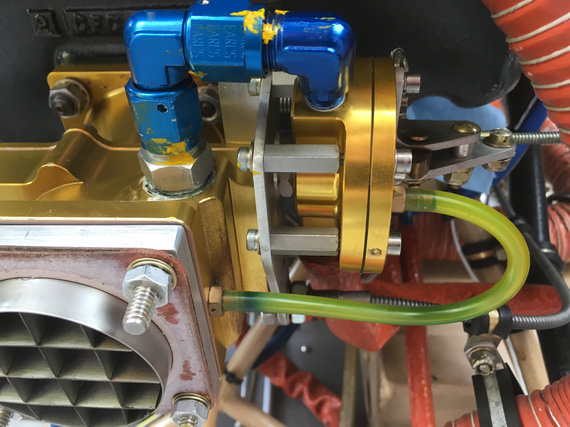
TBI from the down low
See that white gunk? That's Teflon dope. "Aircraft grade"; whatever.
Here's the problem.
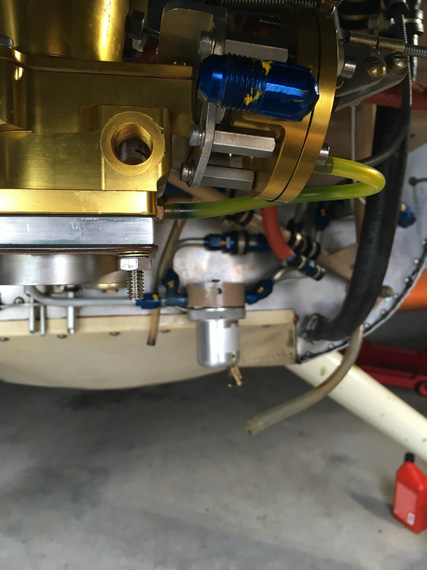
TBI inlet hole
Fuel has to go there, into that inlet hole. That's what the screen fitting screws into. Right past that, inside the TBI itself, there's a turn, another turn, and a spray bar that sprays gas into the intake, injection-style, thru a tube with a bunch of tiny holes. That's why there are screens in the fuel system: to prevent gunk from clogging up those tiny holes.
So now, what happens when you take a male fitting out of a female threaded hole, and the fitting was doped? Some of that stuff ends up on the female portion. Next time the fitting is put in, dope remnants will be pushed in past the engaged threads, and possibly clog up the works.
Not. Good. At. All.
That's why there is the copper crush gasket behind that screen fitting - to seal it to the TBI body w/o requiring anything extra. You can kinda see that gasket all smudged around with that dope on the first picture.
So I had to deal with it.. Clean it out somehow.
It was crumbly, but sticky enough to not want to come out.
I tried every solvent on hand. Nope.
I tried carefully scraping it out with a dental probe. Yeah, kinda worked, but I wasn't satisfied.
I tried every solvent in my buddy Dick's hangar. Nope.
In desperation, I drove to the local Home.. strike that, Aerospace, Depot, thinking about picking up every kind of solvent they had and I didn't.
And then, I remembered this:
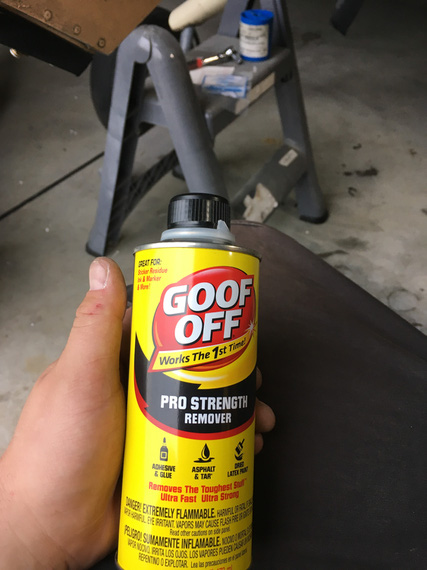
Goof-OFF!
I don't know what kind of concoction that is; but it worked! The hole was clean. Next time was a couple days after, and when I got back to the hangar, I discovered that it has turned into a lake :(
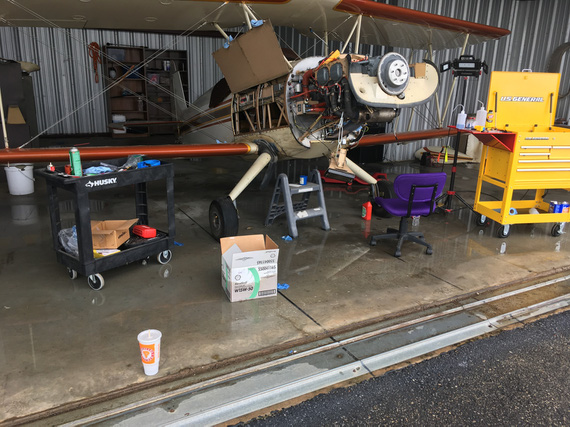
Lake in my hangar
Grading's all screwed up around our hangars, and when we get lots and lots of rain, they flood. Not too much though, luckily. This was the second time in the past few weeks - first time, I had my tools scattered around the floor. This time, I was smarter...
Anyway, back to the TBI. The rest of it went together quite nicely. I discovered that there was TorqueSeal put on the idle mixture screw.
Why? No idea. That screw is spring loaded. Should stay put.
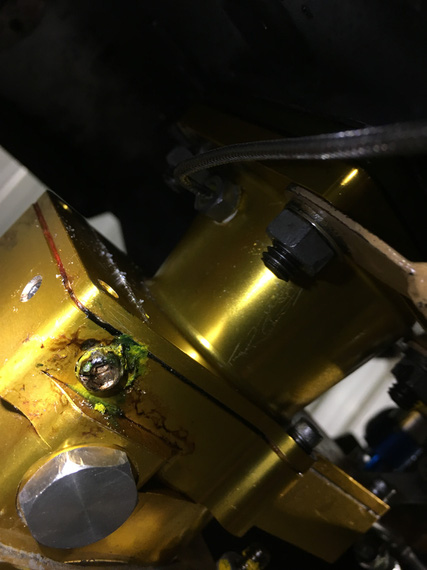
Torque Seal where there should be none
I wanted to flush the lines and then the TBI to make absolutely sure none of that dope went it. The best way to do that would be with the electrical pump; but I'm a one man show.... and the switch for it is 5 feet away from the firewall.
So, I had to rig me up a little doodad.
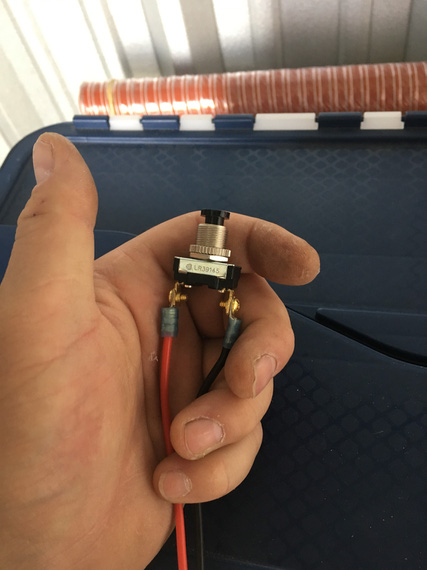
The simple click switch
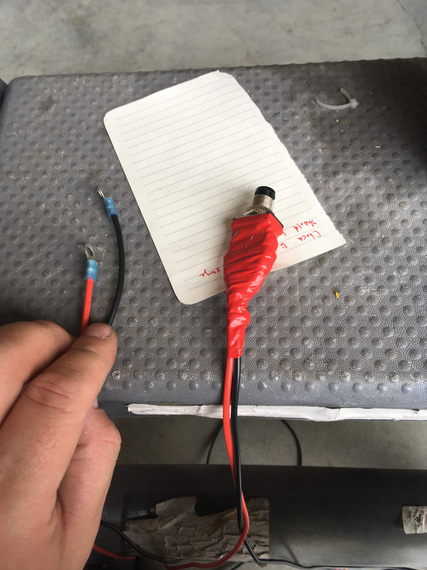
.. with ring terminals
The ring terminals were hooked up to the Master Solenoid in such a way that when the button was clicked on, the Solenoid would close.
The pump was turned on.
This way, I could click my button, Master Solenoid would close, and the pump would start running. Neat-o! I'll need it later, too.
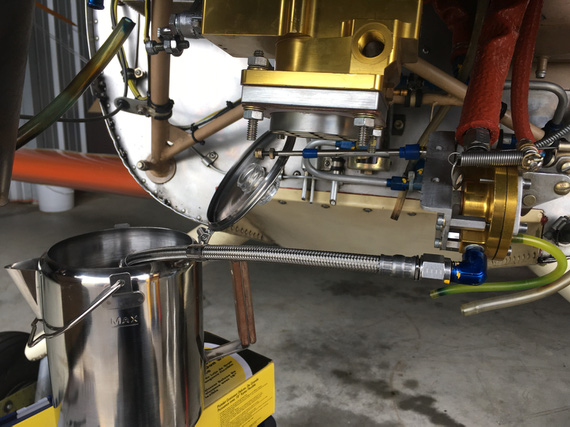
Flushing - braided hose provides nice bond to the airframe
The Pickling
I borescoped the engine (looked alright - I'll post a report about this later, maybe...); and it was time to fill'er up with oil.
Pickling oil was mixed up next, and into the engine it went.
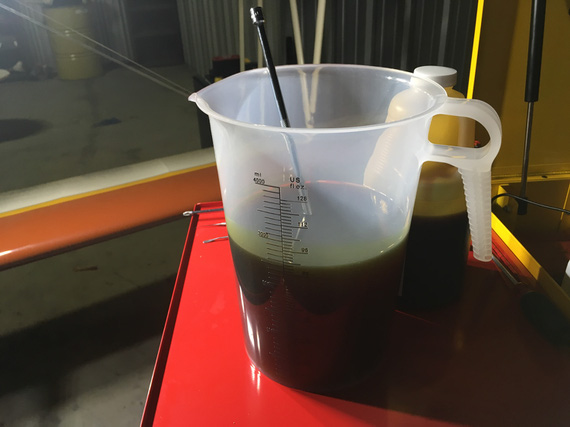
A pitcher of pickling oil
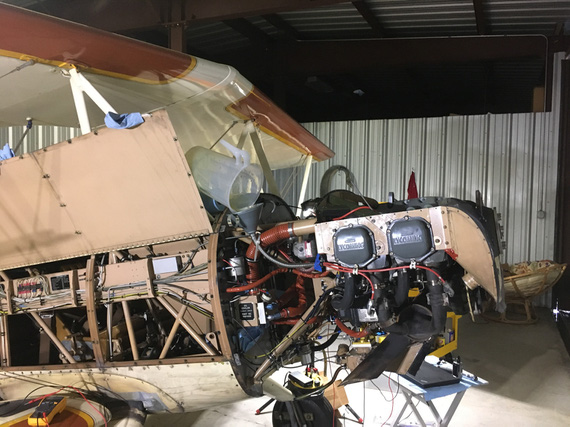
A recipe for a mess...
After filling the sump up, it was time to check for oil pressure. Lycoming tells you in SB1241C to pre-oil your engine by cranking with the starter in 10-30 second bursts until oil pressure comes up to 20 PSI.
Well, oil pressure gauge on the Charger is finicky, so I wanted it to at least move.
Oh wait. She has an ignition/start switch. No way I can use that to crank and not have a hot mag w/o messing with P-Leads.
Crap.
Also, I might want to crank from around the firewall (the prop was still off).
But I had my pushbutton doodad!
So I rigged it up to the starter solenoid this time.
Of course I misunderstood the way the starter solenoid was wired.
It had two terminals.
I thought one of them was ground; with the wire going to the firewall. The other then was supposed to be positive.
That didn't work.
I measured it - between those terminals - nothing. "Dead starter solenoid", I though. Crap! It was 8pm. Auto parts stores were closing soon.
I rushed to a nearby O'Reilly. Picked up a starter solenoid. Went back.
Measured it too. NOTHING? How come? Something was amiss.
Only then I started suspecting that something was off. That other terminal on the original starter solenoid I was hooking my positive wire to was all corroded and looked like it never had a nut.
OH! The way it's supposed to be wired is that positive goes to the same terminal where that wire I thought to have been ground was. It wasn't a ground wire - it was a diode. And the ground was off of the case of the solenoid.
Okay.
So, we're cranking now.
30 seconds. No pressure. 30 more. No pressure. Crap!
I unhooked the oil pressure sending hose (the one that hooks up to the line that goes to the gauge).
Crank. No oil. A couple bubbles is all I got.
CRAP!
The oil pump de-primed itself?
Kinda makes sense I guess? The plane was sitting for way too long :(
So, I took off the oil cooler return line. Dumped another quart of oil in there.
I had this hose fitting that goes on top of an oil bottle that was very neatly set up to mate with the engine oil hose's flare: so I could squeeze the bottle and push the oil in.
After the whole quart, I re-hooked the line back onto the oil cooler, and tried again.
Success! Now, I saw oil coming out of the oil pressure sending hose.
Hooked it up to the gauge line, and saw the gauge move, finally. Good.
Damn, with all that cranking I ran out my old battery I had put in there.
Now, have to flip the battery (to put in the good one - the flying one - I always use my old battery from the Cheetah when I mess with electrical, not to abuse the actual "production" battery).
Now, the top spark plugs go back in, the ignition wires get hooked up.
Prop time!
Bolt one - start it in. Bolt two. Bolt three.
Bolt 4. Doesn't go in? Not even a chance? What the hell?
I pulled the prop back off and laid it down. Put the front crush plate on top (that one positions the bolts).
No matter what I did, there'd be at least 3 out of 6 bolts that won't go in. This time, it was a few dry days, and I guess the prop moved enough to have the "top" and "bottom" holes (if looking at the prop horizontally) move closer together. It was off by almost a 1/16th.
So here I was. With an engine that was cranked for a total of a few minutes, and probably had scraped a lot of oil off of cam lobes and lifters.
With a prop.
I couldn't put on.
Which I needed.
To fire the damn thing up.
It was late. I tidied up, and went home.
The Prop
I wrote a note to Frank Johnson who made the prop that same night, and called him the next day.
He wasn't surprised. "Redrill" is a simple fix.
But I was a bit apprehensive, and this was a nice excuse to meet him. He's 2 hours away from me. We agreed to meet in a few days, at the first time he was available.
So, the engine with oil scraped off the lobes had to sit for another couple days.
Nothing I could do in that short a time...
Interlude
The weekend hit us; and it is a weekend in May, in Texas. Which means...
MUDBUGS!
The annual fit inspection
The setup

The fixings
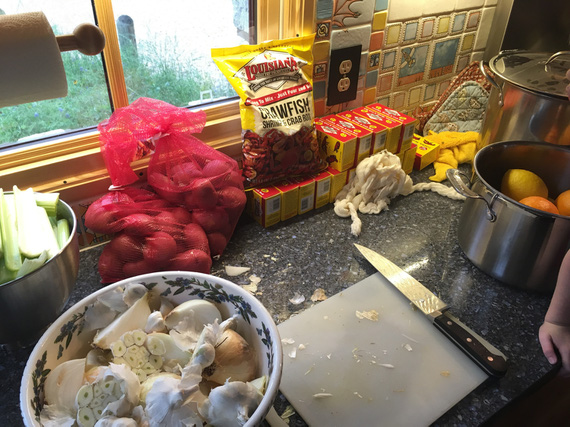
Prep
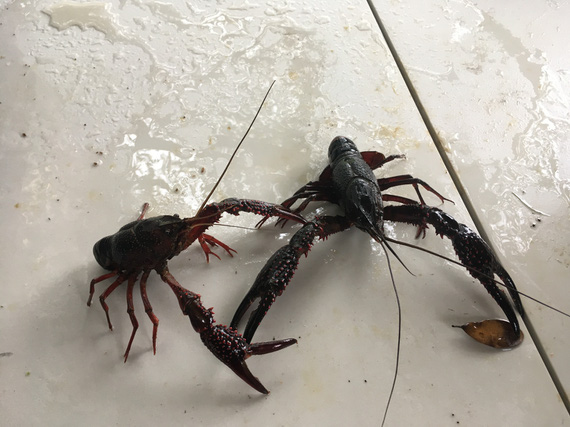
Aliens!
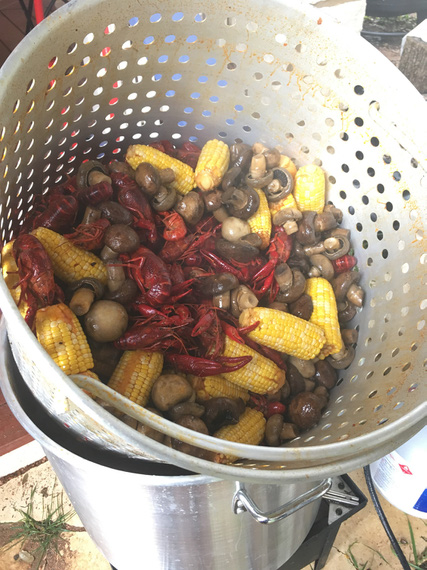
The Boil
The Finale
Into the trailer the prop went, and to Frank's we drove.
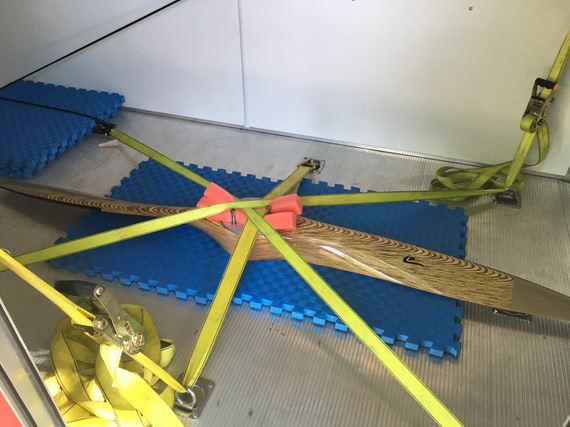
All tucked in
Of course, it took us 15 minutes out of 3 hours I spent there to fix it. The rest of it? Well, what can two guys who're crazy about airplanes do at one of those guys' shop and hangar? Hmm... What could we do? :)
The weather was swell, and I was in a good mood - and airport was on the way back from Frank's.
So, I went straight to the airport.
The prop went on beautifully.
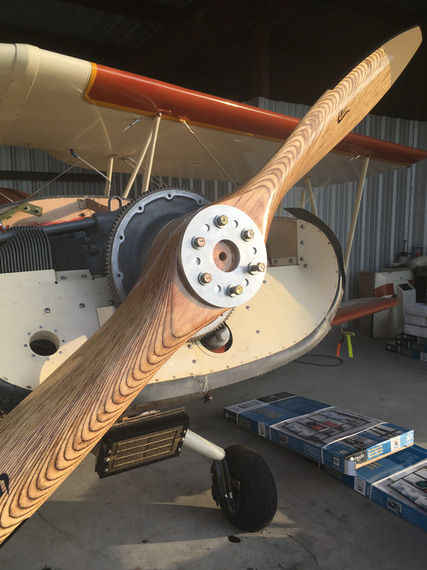
Finally, on
It was nice, sitting in a running, shivering airplane, to watch the sunset. If you looked up, it almost felt like flying. With the buzz, the shake, the smell and the noise.
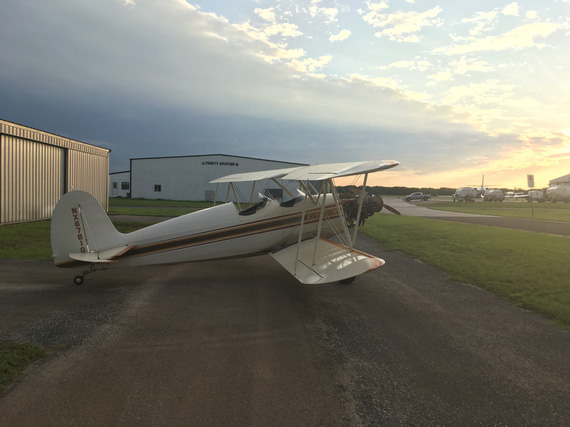
The Sunset
A couple days later, I went back to the hangar, sprayed the engine top and replaced spark plugs with desiccant.
Now, I can focus on the electrical mess...
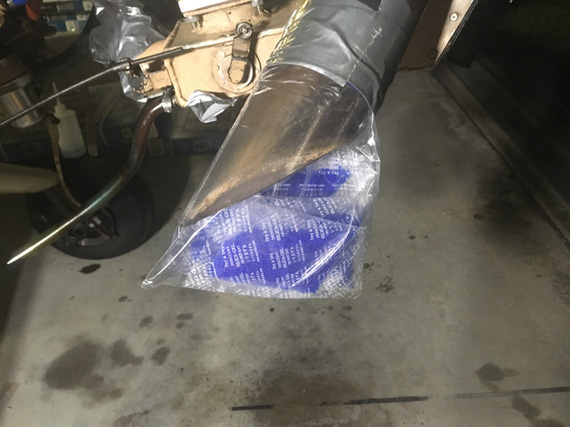
The Muffler plug
You can always depend on twin engine aircraft. When the first engine quits the second will surely fly you to the scene of an accident.
Up ↑
Annual 2019: The Rest of April
...and 1/2 of May
| On: | May 14, 2019 |
| In: | [Chickenhouse Charger] 2019 Annual |
| Tags: | 6781G, MA5 Charger, Annual, Rotec TBI, baffles, prop, fabric |
Well, as usual, I got too focused on the plane and the mess I got myself into; and didn't log things as they went...
I will split the notes in multiple posts; by theme / subject. Just general notes here.
Annual, Continued
We got together with John, my IA, and continued working on the plane early April.
We pulled the prop, so that I will have access to baffles (I wanted to redo them).
John re-riveted the air takeoff flange back to the front ramp.
Meanwhile, I started disassembling the fuel system to get to the screens, including the oil sump screen, and clean them.
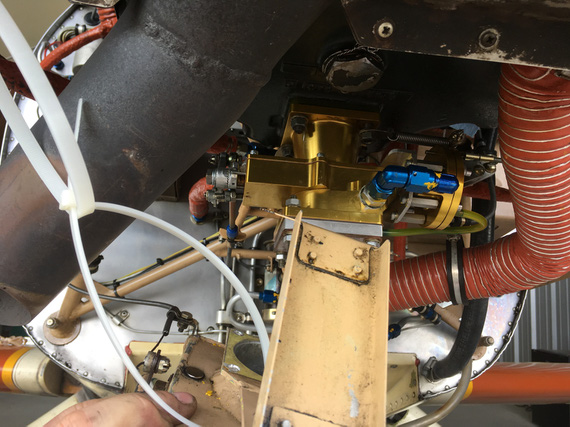
Airbox off
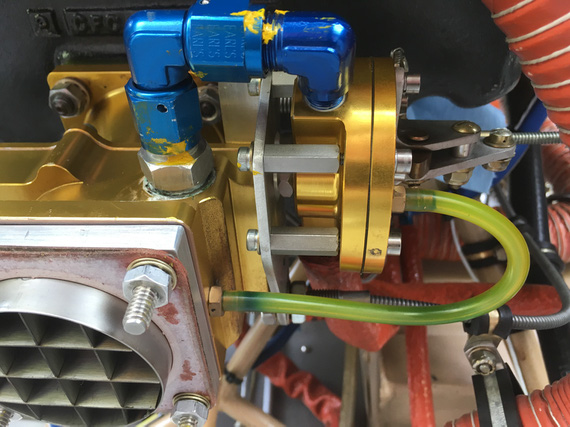
TBI intake airflow straightener
Okay, stop right there. See that fuel inlet, right above the air intake? See the little smudge of dope around the inlet fitting? Yep. Teflon dope. Rotec explicitly tells you not to put ANYTHING on there - there's a copper crush gasket behind that fitting.
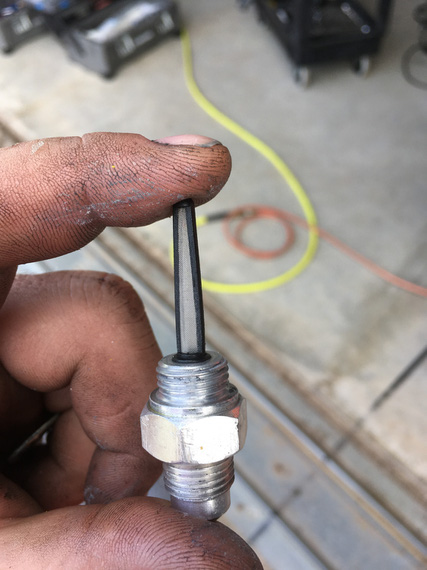
TBI screen
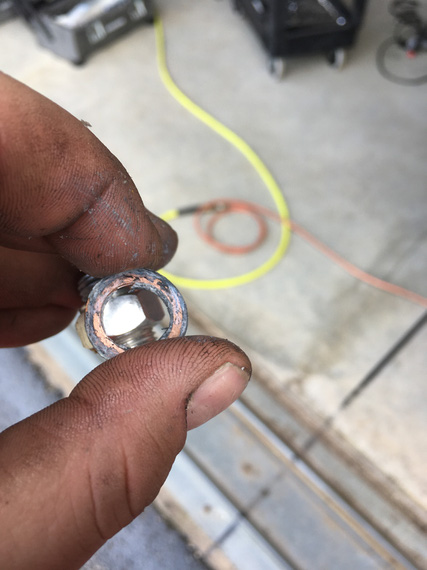
TBI crush gasket
See all that dope above? Okay, that thread on the TBI is a female thread. Dope will be all in it, and guess what will happen when I screw the fitting back in? Yep. It'll go into the TBI fuel galleys. Right to where that spray bar is with tiny little holes in it. Not Good (c).
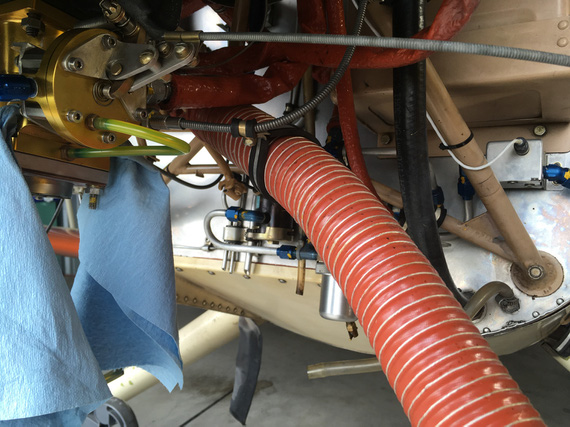
TBI holes plugged
Intakes
I noticed evidence of possible intake leaks, so without "burping" the engine, decided to pull the intakes and replace the gaskets. This is my karma. I did that on the Cheetah just a year ago, and scraping remnants of one of those gaskets and re-chasing the threads took me about 10 hours; maybe more.
Also: interesting note: she has intake tube clamps on studs and not bolts like every other Lycoming I've seen. Old, narrow-deck cylinders :).
Prop
When we pulled it, bolts were in the thru holes on the wooden prop really tight.
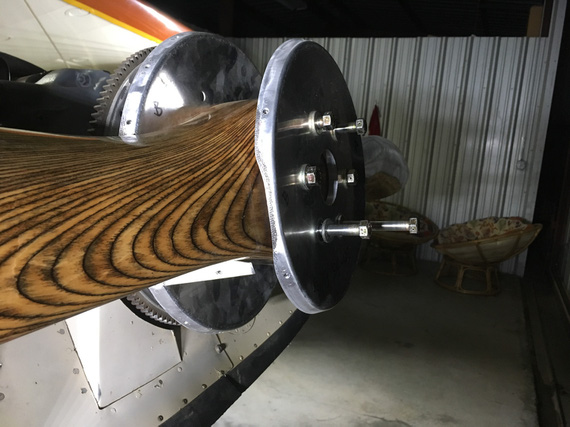
Pulling the prop
She has the prop made by Frank Johnson of Performance Propellers fame, and after contacting him, he just suggested to re-drill the holes and re-coat them inside with something.
Well, I got me a 29/64 (1/64 oversize) reamer, and went to town.
But first, I needed a rack.
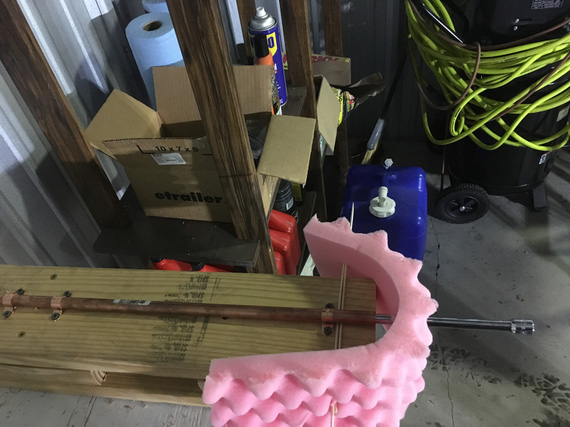
My prop rack
Built with a 1/2" pipe, some foam, pipe brackets, screws, 2x6s screwed to the table, and my 3/8" drive extension rod. You get the idea :). Redneck engineering galore.
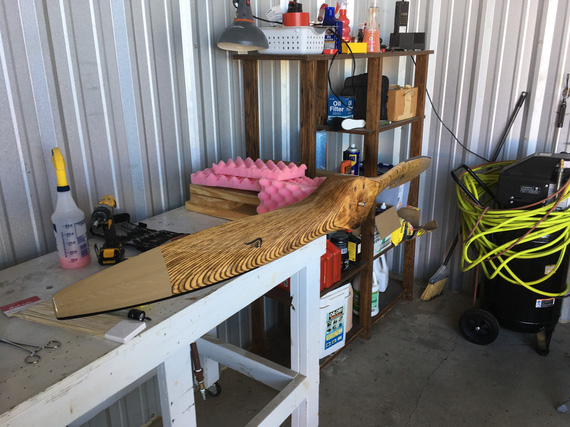
Prop on the rack
This whole thing was happening over a few days by the way; and when I finally got my reamer and had time to deal with it, the holes.. extended. Wood moves!
Hey, we had much rain then, and prop "swelled" a bit methinks.
But I still decided to fill the holes as much as I could.
Even got me some nice scales for mixing System Three ClearCoat.
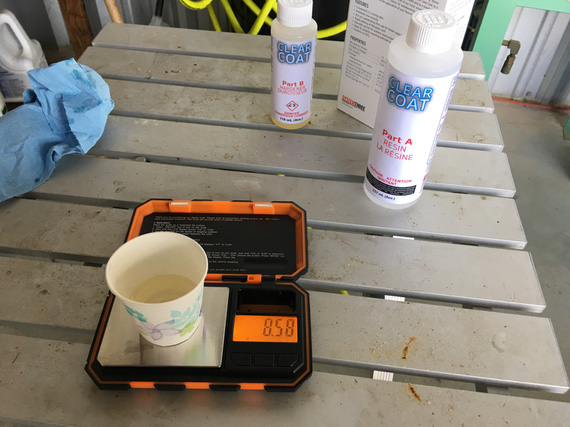
Mixing
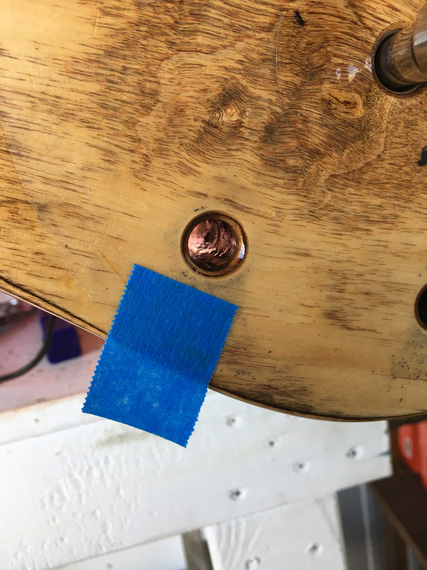
A filled hole
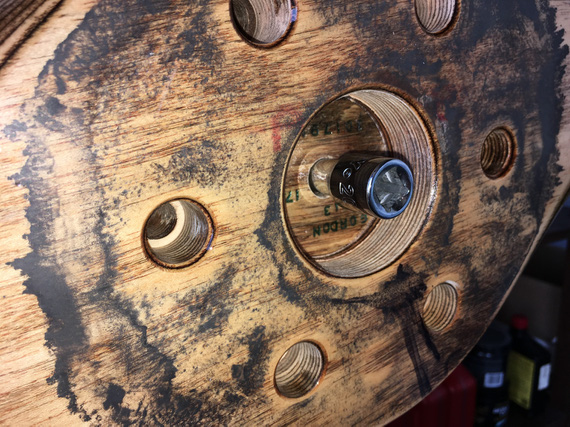
Backside
Fabric
Fabric on this plane is old. Flyable from what I am being told by experts, but old. Cracking, peeling paint.
Original logs say that she was covered in Polyfiber. But the current finish looks more like Imron and the company - "flexible" automotive poly. It's cracking and peeling around areas of high wear (prop wash, etc).
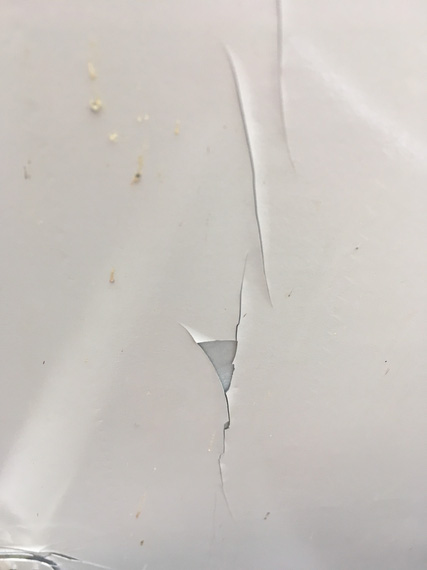
Sad fabric
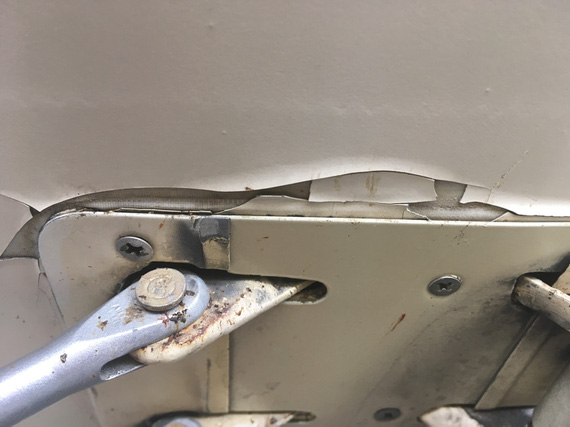
Sad, sad fabric
John (my IA) wanted to take a Maule fabric tester to it; but I didn't want holes in my wings.
I discussed this with a few guys that worked with fabric their whole lives, and we came to a consensus that for now this is fine. Will just fill with silver, and keep on flying. Incidentally, that's what Glenn has been doing, too.
Full Stop
I worked on baffles a bit, but then, everything went downhill. We'll talk about baffles in the next post. And the downhill part, afterwards :).
"Expect lower at the end of this transmission."
-ORD ATC
© Copyright "79FT". All rights reserved. Feel free to cite, but link back to the pages cited.
This website only shows how I did things in my various projects. These pages are for information and personal entertainment only and not to be construed as the only way, or even the perceived correct way of doing things. You are responsible for your own safety and techniques.
