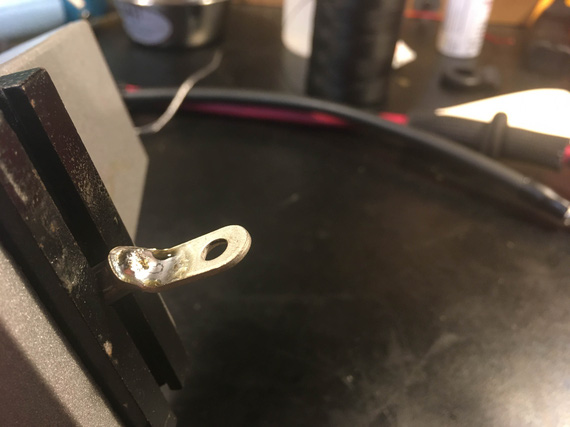
[79FT]: Building Things |
 |
Fat Wires Firewall Forward
basic setup
| On: | Apr 30, 2020 |
| In: | [Chickenhouse Charger] Electrical Rebuild |
| Time logged: | 29.4 |
| Tags: | 6781G, MA5 Charger, electrical, alternator, starter, contactors, fwf |
Fat wires firewall forward. Battery leads, shunts, alternator, contactors, and the like.
I was doing them along with the fuel hoses mostly, in between waiting for shipments to arrive.
Mounting the Current Limiters and the Shunt
They were to take place of the old voltage regulator, onto the same mounting pads. I needed a backplate...
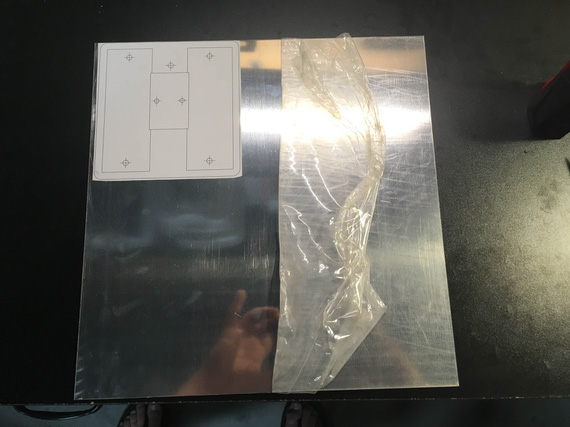
Pattern
...and a very basic one at that. Basically, a "hole pattern adapter".
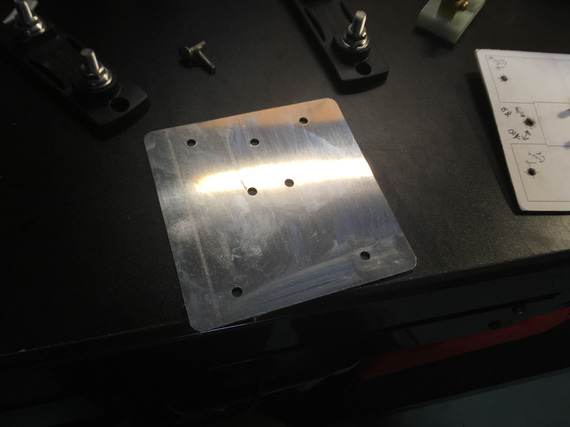
Cut
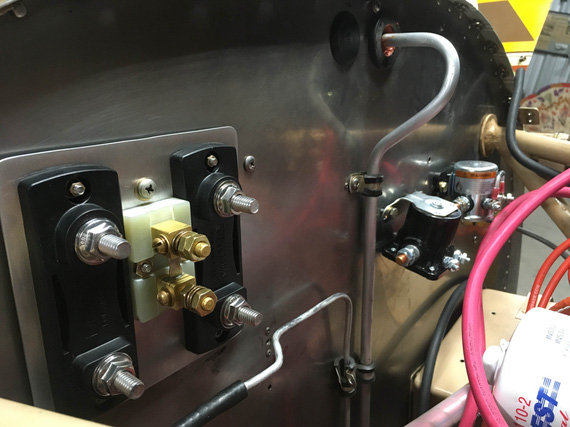
Mounted
I also needed to plug the nearby hole left by the removed mechanical tach cable. That one needed a large plug, and, as before, I decided to use a pipe plug with straight threads. It's nice, light, and aluminum.
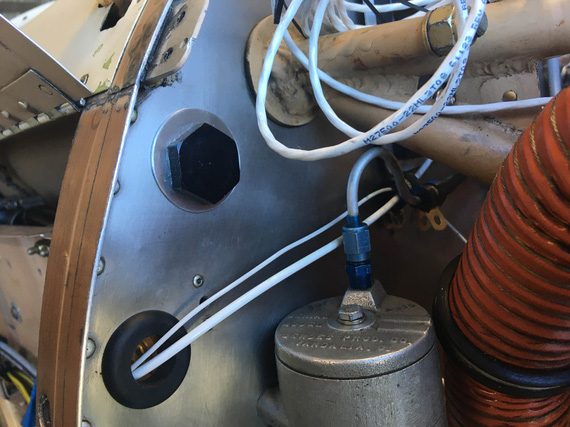
Tach cable hole plug
There, the black one. Above the grommet with a couple wires.
That washer took a couple tries to make BTW. First one was functional, but too ugly.
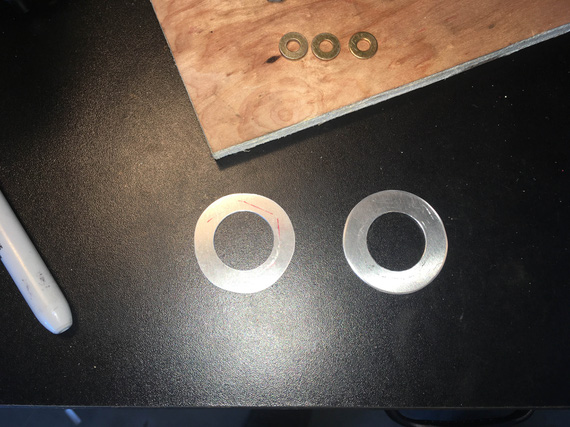
The washers
Plugging the Holes
There were some more holes left after removing some old things. They were for #6 or #8 screws; and I could barely access the other side (fuel tank that's right behind the firewall makes it super hard).
Instead of attempting to maneuver nuts back there, I wanted to try something along a rivnut.. but a bit better. Steel.
Spruce sells these steel "nutserts", which seemed to fit the bill. Got a set, with install tooling.
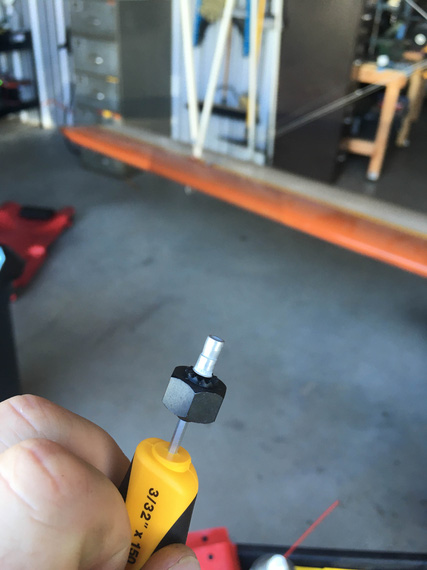
A nutsert with an installation nut
I had to enlarge the holes on the firewall a bit to fit even the smallest nutserts; and used #4 screws to "plug" them.
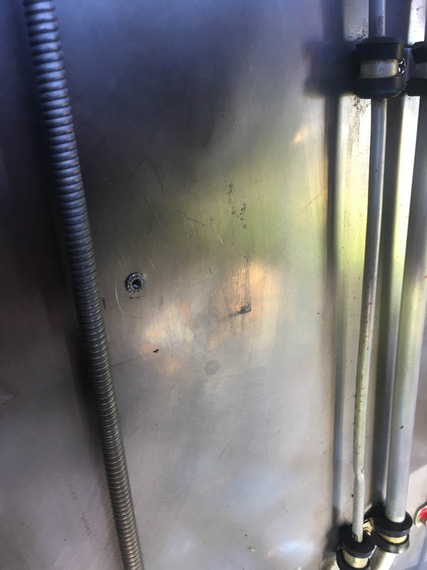
Nutsert installed
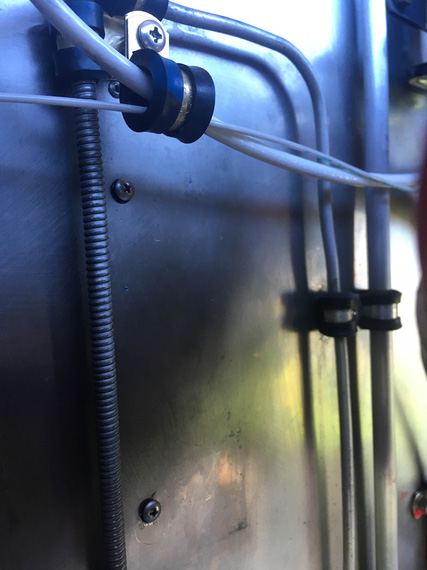
Nutserts with screws
Fat Wires
The contactors got mounted and torque sealed (of course I forgot to add a diode jumper to the starter contactor, will have to add later). Next, came figuring out the alternator wire and battery contactor -> shunt jumper (main buss feeder from the battery basically).
Initially, I thought I could route the alternator wire on the right side of the motor; keeping the starter on the left (remember, the firewall layout on this plane is reversed of sorts - with battery and oil cooler having their locations swapped and producing all sorts of grief due to that).
While not bad, holding the alternator wire on the firewall would've required more holes, and it'd go straight down, at 90 degrees to the main harness on the firewall (going left to right), kinda "crossing" it under. So I gave that idea up pretty quick, instead deciding to run it along that main harness - neatness and 1 less hole/clamp instead of a shorter by about a foot run.
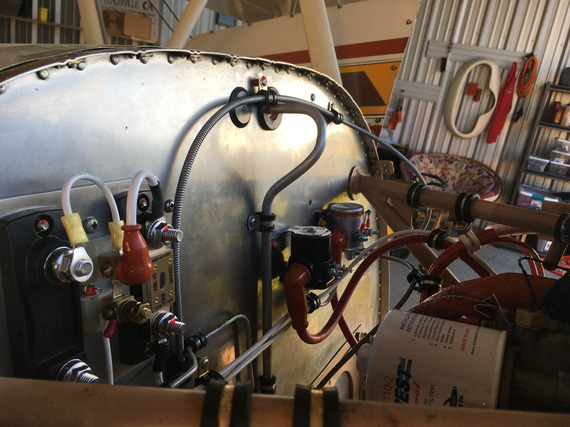
Initial alternator and starter hookups
Alternator wire is the white one going into the ANL current limiter, and starter wire is the red one joining it after coming off of the starter contactor (black) there.
And then, I needed the battery -> starter jumper. That was the spot to hook up the buss feeder too, with other end on the shunt.
I made this fancy thing...
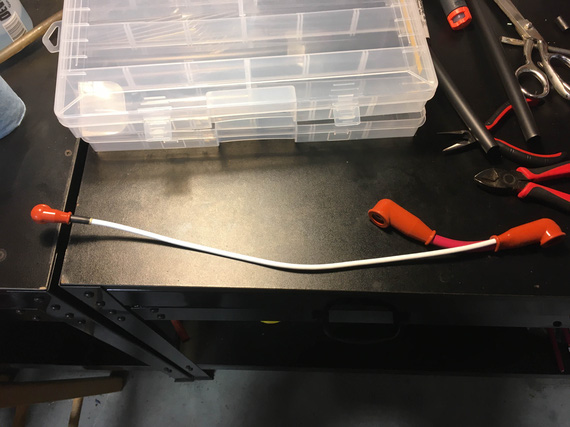
Contactor jumper and buss feeder
... and of course, a mandatory pile of shame...
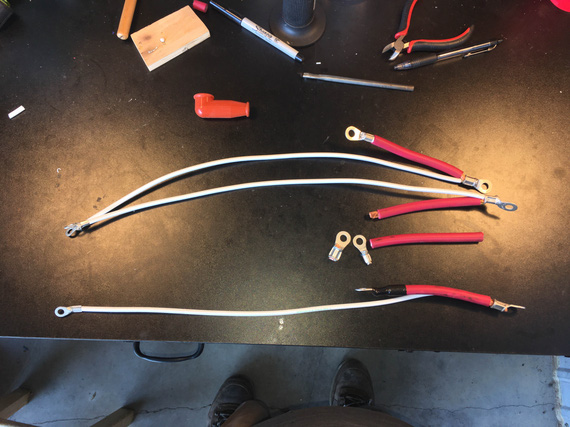
The Pile of Shame
Clocking of terminals is critical on these fat wires. If you're doing two wires, relative position of them in the terminal is critical too. You lose concentration for one moment and clock them wrong; and you're redoing the lead.
The first one I didn't like the crimps on.
The second one I messed up the clocking on.
The third one (bottom one) is the good one.
Mr. Max made a comment that it's the music that's distracting me (he was busy building his "water system" out of the old fuel system hoses and fittings I took out at the time).
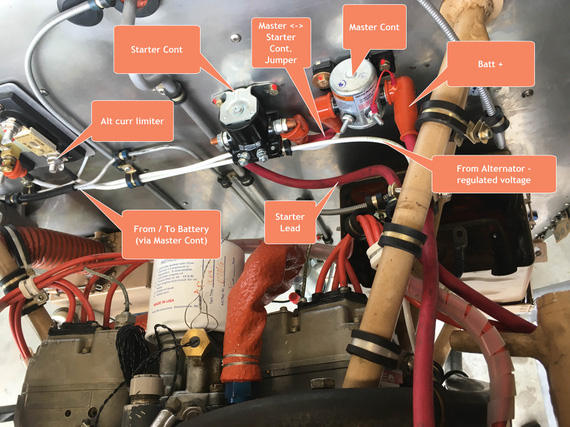
The initial setup
I did not like this. See how tight that Master <-> Starter contactor jumper is? It was very tight. The rigid alternator wire hooked into the ring on the master contactor side was too tight too (that adel clamp that I needed to hold stuff under the starter contactor had to be there - there will be other wires bundled there later). It was so tight that it bent the ring when I attempted to set it up.
No, that wasn't good at all.... hmmm..
Aha! I did a similar trick with the gascolator! Reverse the flow.
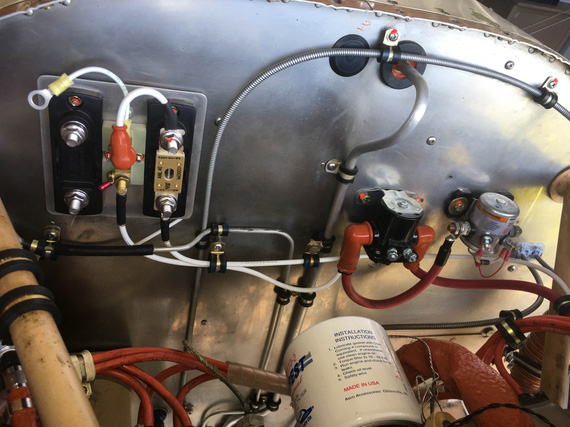
Flow reversed starter contactor
Much better! All I did was swapped the jumper from the Master contactor, and the starter lead on the starter contactor; and, while that made the fat red wire jumper much longer, it made the whole setup much, much cleaner. It made the buss feed wire a bit less pretty, arguably, with that weird "dip", but there's no avoiding it. I'll live with that.
The pile of shame grew.
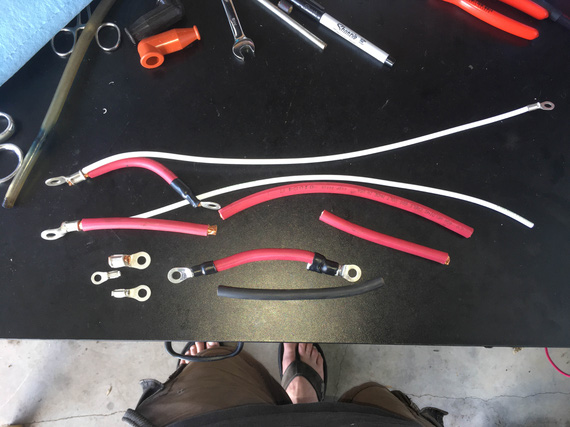
Growing Pile of Shame
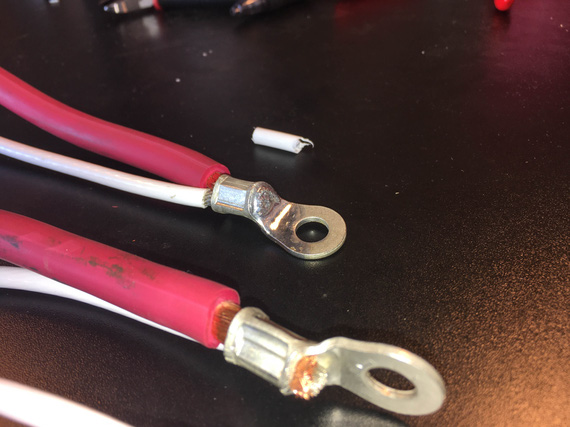
By the way, here's how a crimped end looks up close.
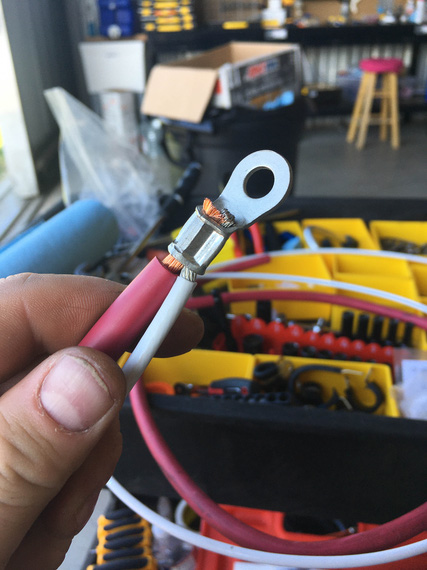
Crimped ring
Even with heatshrink, I had these thoughts of water weeping in between the strands on the ring end, and staying there, and slowly eating up the wire. Probably a non-issue; but it didn't sit well with me. So I used that as an excuse to whip out my small soldering torch, and add "solder caps".
Solder cap
Much better and neater, don't you think? Solder here acts as a filler between the strands and to "tin" the bare copper wire of the welding cable I'm using for those fat red wires. Much; much cleaner and prettier this way.
Ground Strap
This plane didn't have any. The battery was grounded to the motor (good - the biggest current demand is from the starter). The motor wasn't grounded to anything else at all, making the current flow thru probably the control cables and fuel hoses to the rest of the plane. Not good.
So, one was needed. That took more thinking and fiddling. I had a plan initially to ground the battery to the motor and the motor mount (Grummans do something similar - battery to firewall; and motor mount to motor) - but I wasn't sure about how good a connection there is between the motor mount and the firewall. So I decided to jump the motor to the firewall - a very common setup.
Simple braid will suffice.
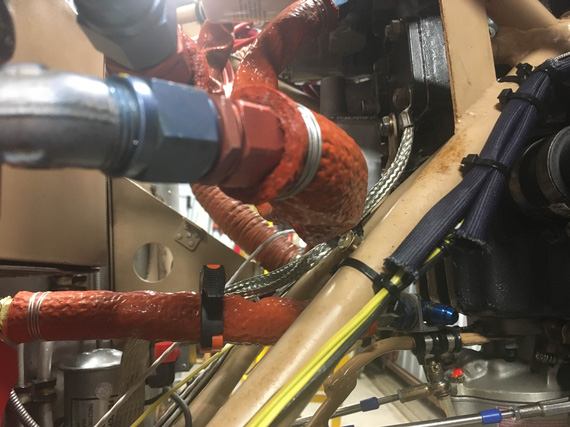
Braid - one end
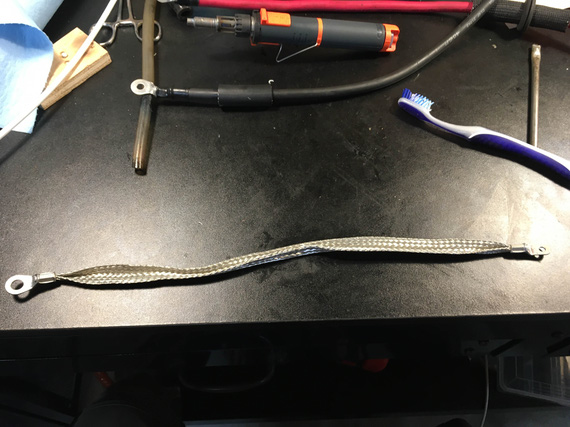
Braid done
I used a super flexible Raychem SFTW tubing and heatshrunk it. Doesn't affect the flexibility, but protects the strands a bit.
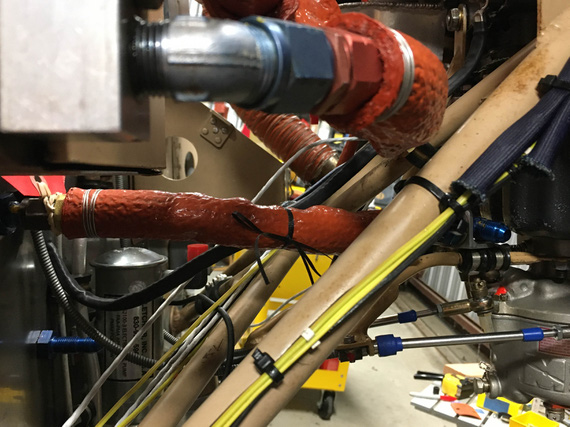
Braid installed
Battery Box
Battery leads were easy to make. Had to fiddle a bit with grommets (holes in the box are much larger than wires, and I had to use a "hose section around a wire in the grommet" trick to keep the wire tight and nice.
The battery box was another matter though.
Glenn had replaced the original large ("standard") battery with a small Odyssey - and took out the space with a bunch of chunks of random foam...
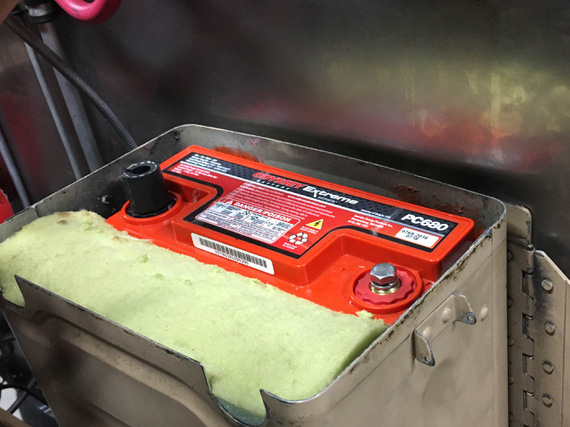
Foam
The box had "dimples" for the battery to stand on, lifted off the bottom (the bottom was made into a funnel of sorts that ended in a drain - setup for an old school battery that could leak acid). Those dimples were sized for a full size battery, so Odyssey couldn't stand on them.
So, .. ahem.. the solution was?
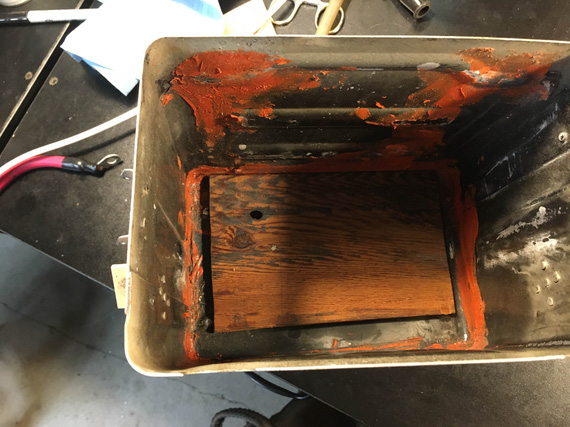
Bottom
Yyyyeah. No. Come on now.
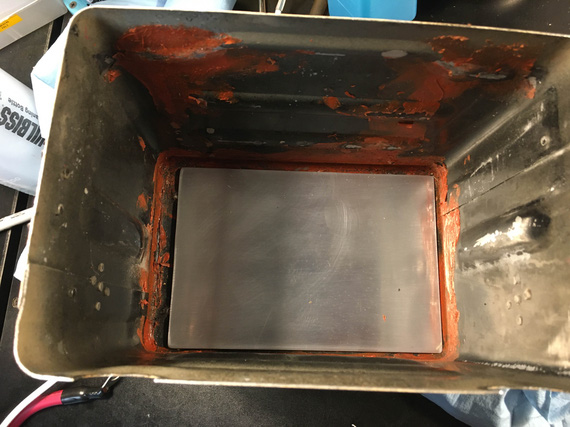
Proper bottom
And that chunk of whatever it was? Belongs here:
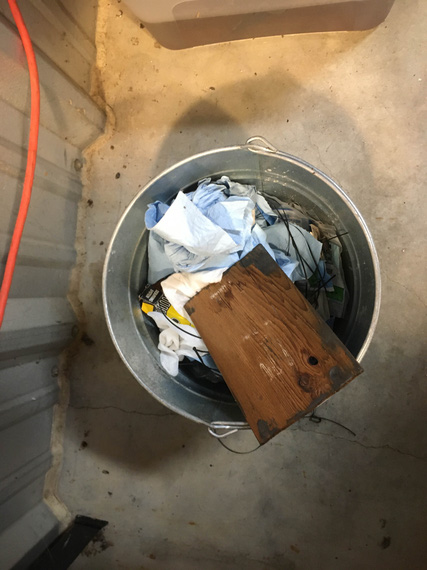
Right there
Now, the checks...
I hooked up the leads, routed them out of the box, and closed it up, only to realize that the battery was loose in the "up and down" direction. Not good at all, but the solution was simple.
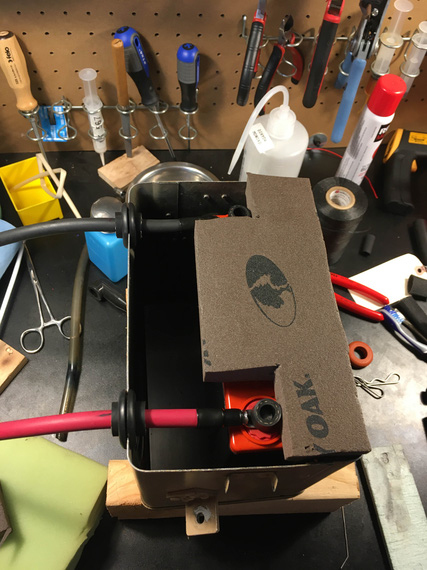
Mock up
I mocked up something quick out of some foam I had around, and closed the lid. Much nicer! No more bouncing. See, I didn't want the battery to hit the top and be bouncing if the airplane all of a sudden went to <0G (in turbulence, trivially possible - and it is aerobatic after all!)
Ordered some foam from McMaster, and padded the top of the box, and the battery sides.
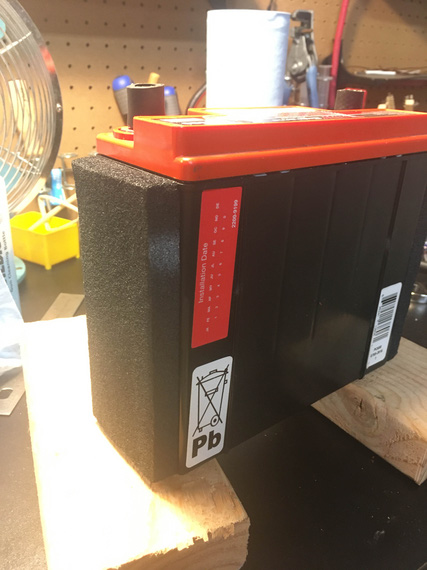
Battery sides padded
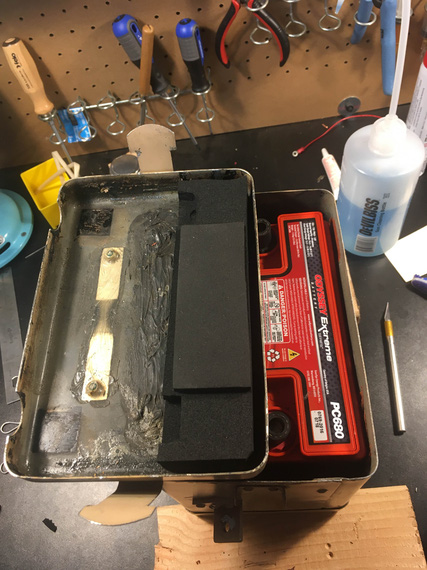
Box top padded
Now, the battery was sitting solid. No more bouncing.
And with that, I moved on. The main layout was done - the rest of tightening, tying, and strapping has to be done when all the wires are in, close to the end of this rebuild.
"N07K you look like you're established on the localizer and I don't know the names of any of the fixes, you're cleared for the ILS approach. Call the tower."
-ORD ATC
© Copyright "79FT". All rights reserved. Feel free to cite, but link back to the pages cited.
This website only shows how I did things in my various projects. These pages are for information and personal entertainment only and not to be construed as the only way, or even the perceived correct way of doing things. You are responsible for your own safety and techniques.
