[79FT]: Building Things |
 |
Hangar Redo
cleaning up!
| On: | Jun 17, 2019 |
| In: | [Dream Shop] Georgetown Annex |
| Tags: | shop, hangar, tools |
Well, since it seems now that my Hangar will become my shop for a while with me doing the electrical rebuild on the Charger, I decided to set myself up in it. I am still rebuilding the main shop at the house (reminder: need to write up a couple notes on that), so the only place I have to work on the plane is in the hangar - and frankly, I probably wouldn't have dragged the whole thing over to the house anyway just for an electrical rebuild... though it is getting hot, and being in a tin can of a hangar when it's 100 degrees outside is not.. pleasant, shall we say.
At any rate, the Hangar is now to be officially known as The Dream Shop, Georgetown Annex!
Not much to tell - but much to show here.
Easy Route
I didn't have anything in the hangar besides a couple of old bookshelves, a couple of small tables, a few filing cabinets I have inherited from my good friend Pete, and a cart. Not very nicely set up for working on airplanes, and everything was overflowing with parts, tools, and hardware even after just a bit of disassembly I have done for the annual.
I needed a lot of shelf space, and a lot of bench space.
I decided to take an easy route this time, and instead of building everything, just bought a bunch of shelves at Costco, and benches and a tool cart at ... Harbor Freight. Yep, I know. Throw a rotten egg in my face next time you see me.
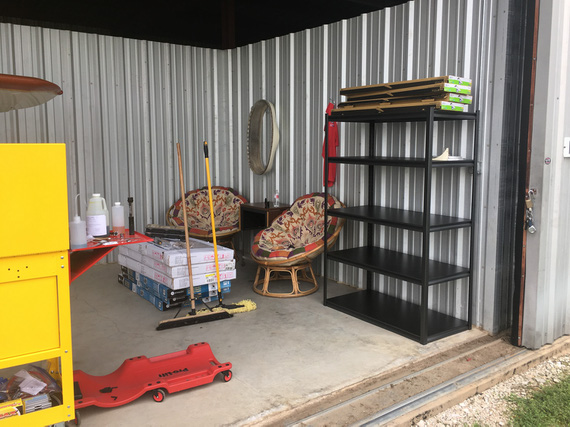
The First Shelf
The Light
I work evenings a lot, and the only light source there was there was a four T8 tube fixture in the back of the hangar. But the most interesting stuff is on the front of it (engine, yep :) ). So I added some lights around the front.
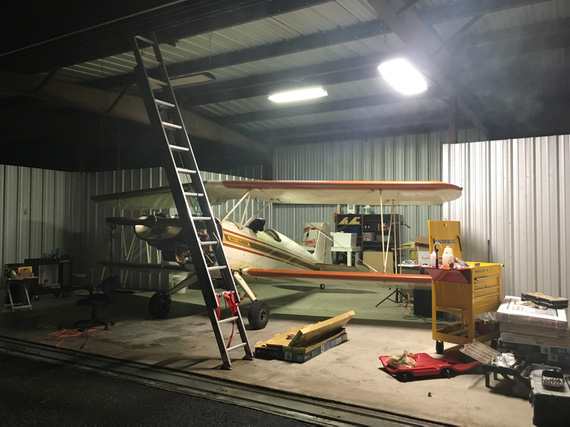
Lights
The Benches
Next, came the benches from Harbor Freight. Don't buy them. They're built like crap, and, frankly, I think I could've built better ones out of 2x4s in about the same amount of time it took me to put these together... But hey, I already bought them, and disassembling the first one (I got three total) rather than putting the other two together... I didn't want to...
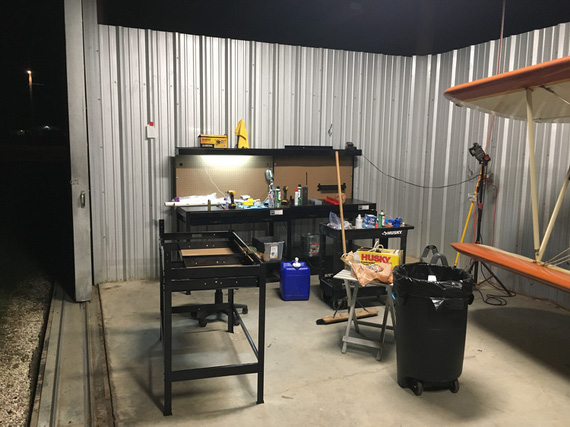
Benches
You might notice the pegboard at the back "wall" of those benches. Well, they attach it every about 12 inches around the perimeter with machine screws and nuts. Guess what happened to the first pegboard after a humidity cycled high, and then low? Yep; it all warped!
Ended up resorting to straightening it out with shelves that acted as "stiffeners", and putting the warped pegboard bench as far away from the "main" bench as possible).
On the other two I actually made the pegboard "floating" - re-drilled the mounting holes to be large, and used large washers and just enough small washers underneath to MacGyver me a "bushing". That worked, and the other two benches' pegboard is straight after quite a few large humidity changes now.
And then, the sink.
The Sink
I long had a large 7 gallon jug with a tap. When I was doing a lot of work, I'd drag it out of the hangar, put it on a small folding table, and use it to wash my hands. Very nice to be able to do that when your hands are covered in oil and crud, and you need to climb into the airplane or grab something generally clean. I also like clean hands when doing detail work like soldering, painting, etc.
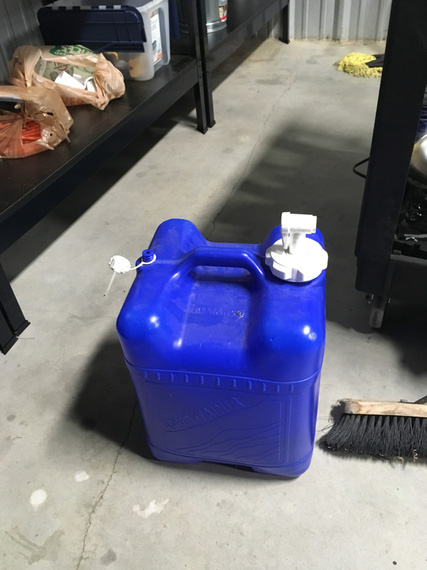
The Jug
But dragging out a 7 gallon jug every time I got into the hangar got very old very fast, and I ended up typically resorting to rags and not so clean hands, or "washing" them with mineral spirits... ugh.
But hey, we're cleaning up! So I decided to put in...
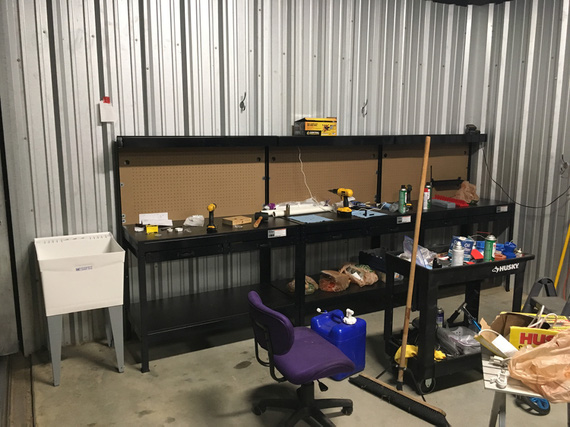
The Sink!
But a sink needs a drain!
No problem.
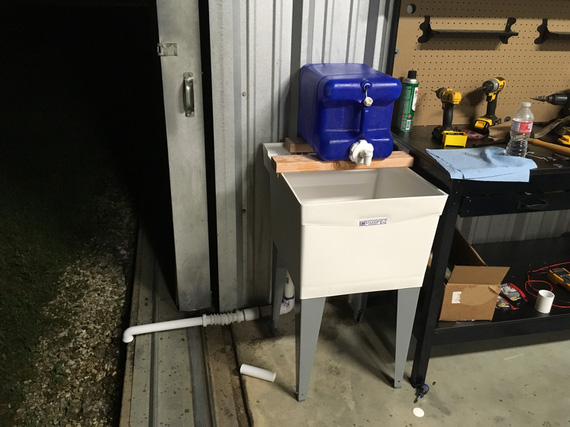
The Drain.
This came out very nice, and I love that I can now just wash my hands whenever, no jug dragging required.
The best part? The hangar door slides, so I can have it closed and then slide it a bit past it's "closed" position, so that there's a gap between the hangar divider wall and the outside for the drain to be put out.
But how do I close the door?
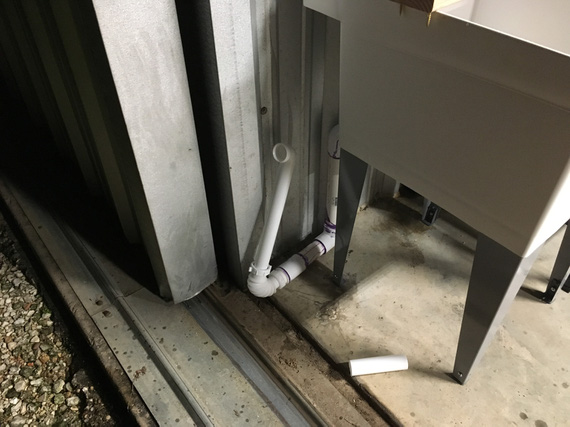
Retractable!
Do I need a Complex endorsement to operate in my hangar now? ;)
The Wiring
Before you wire your plane, wire your hangar, says a proverb. Or something like that.
Well, my hangar floods. And it's not my hangar, so I can't quite make holes in the walls and run wiring and conduit. And I only have one outlet. Yep.
So it was all to be a bunch of extension cords, making sure that all connections are suspended a few inches above the floor, hooked to something (previous tenant of my hangar had some holes in the walls drilled, so I reused his, or hooked them up to legs of whatever was there, etc).
I ended up making a bunch of splices on extension cords. Hey, I love soldering!
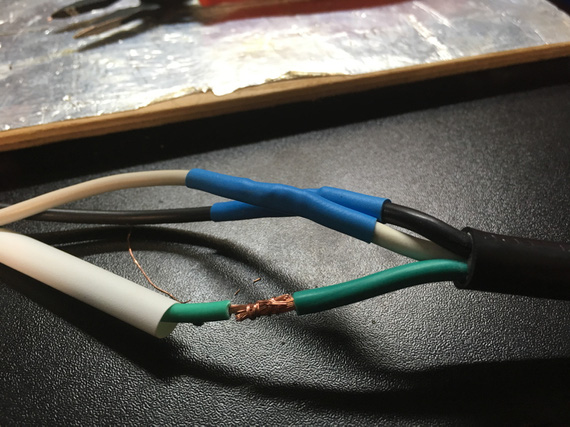
Almost a splice
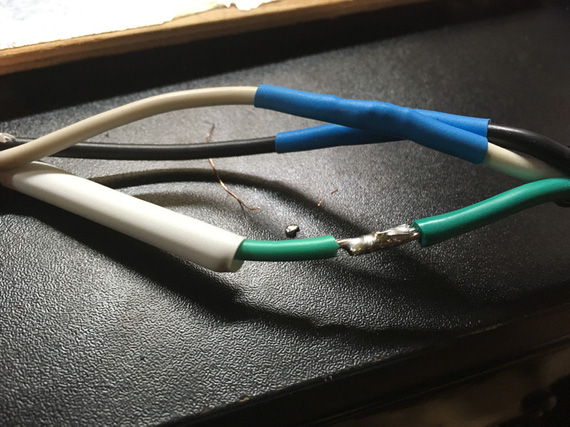
And now, with liquid metal!
Air and Shelves
I had a compressor. I moved it to the back corner of the hanger, and hooked up a reel in the front, so that I can have my hoses neat... Not much more.
The back wall of the hangar got lined with the big shelves, too... Mostly, to stack the parts I take off the plane and need to keep off.
The first one up is there on the right, near the yellow barrel.
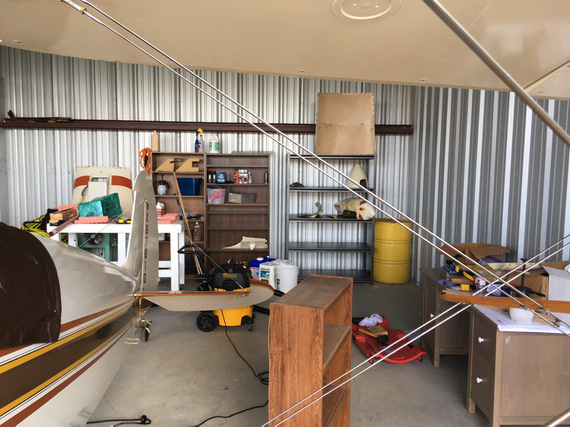
The First Shelf
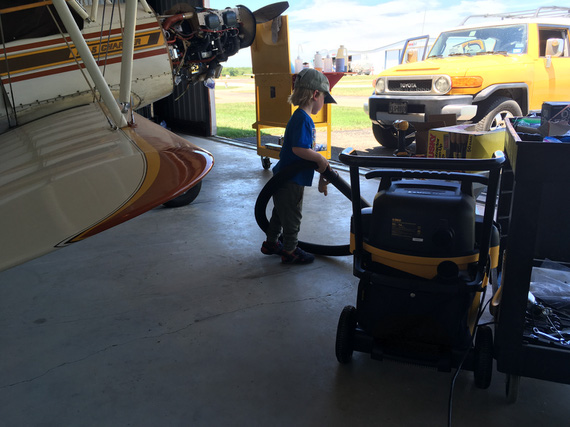
Some child labor might have been involved in cleaning this hangar
The Shrine
... and since the Charger is a Grand Champion, I needed a shrine in the "mancave corner" of the hangar. Every hangar must have a corner with a couch, a fridge and what-not, to relax and ponder and procrastinate. And that's where all the artifacts need to go.
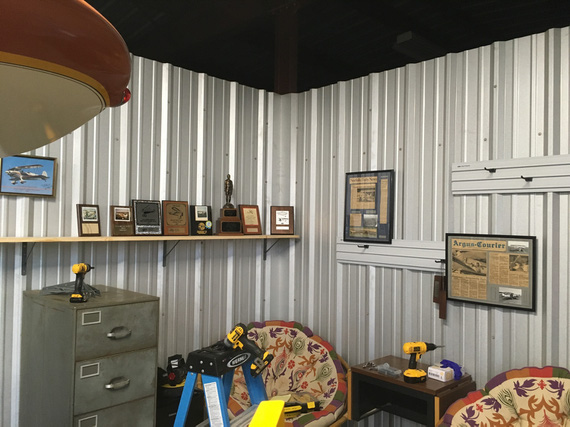
The Shrine
And I didn't drill a single hole! All those rails and shelf are re-using the screws that are holding the hangar walls together :).
The Bench
I needed at least one good bench for grinders, bandsaw, and aluminum work; and there was a perfect spot for it. Didn't have my wood tools though, so had to use 2x4s straight out of the store... Normally, I mill them down :).
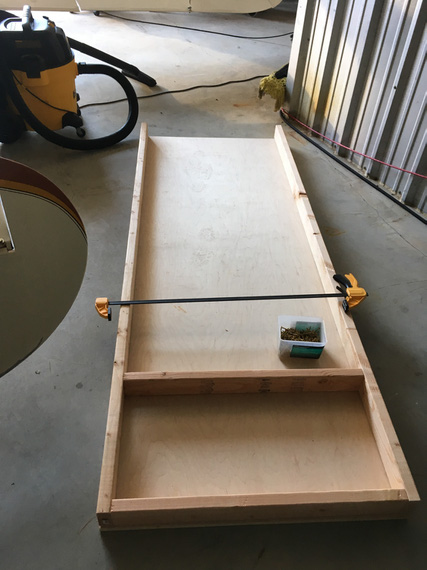
The top and the frame to be
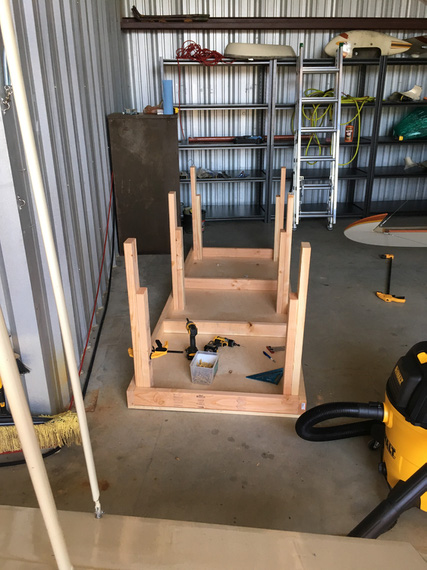
Legs
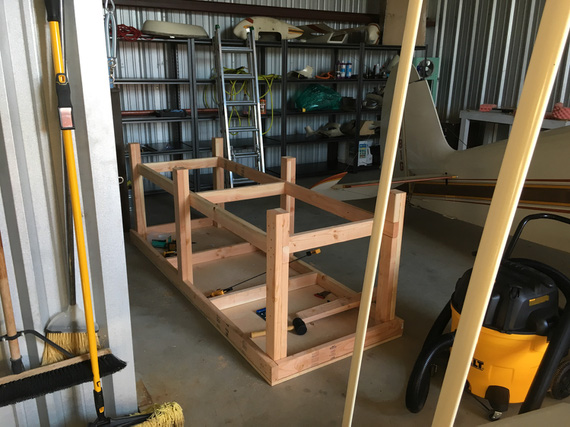
All together...
... and then, you flip it, add the bottom shelf, attach the leg stands, and voila:
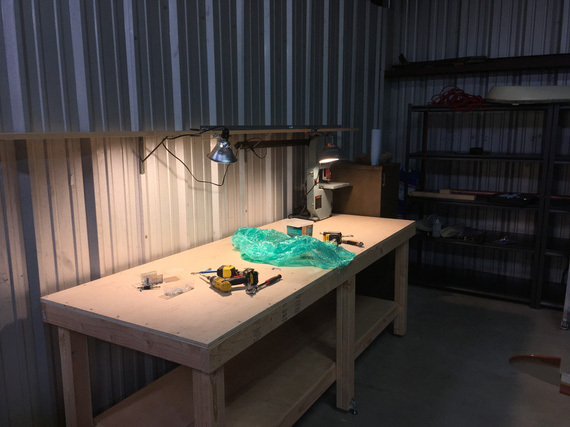
The bench
Even though it's not very flat, it's perfectly fine for anything but being a reference flat surface for assemblies...
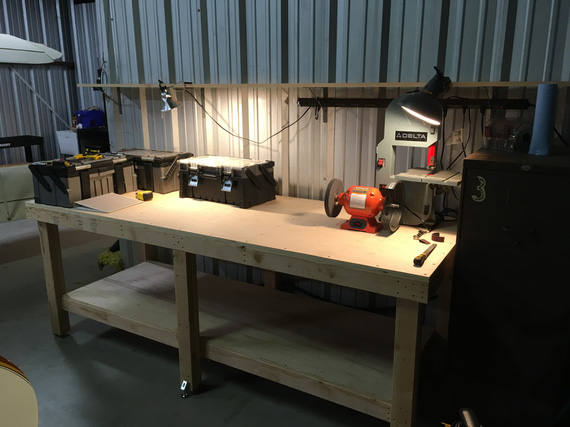
Set up
The End
Well, and I guess, that was it. I spent a few more days and evenings cleaning up, and putting everything in place. And I guess, we're due for some "before" and "after" pics :).
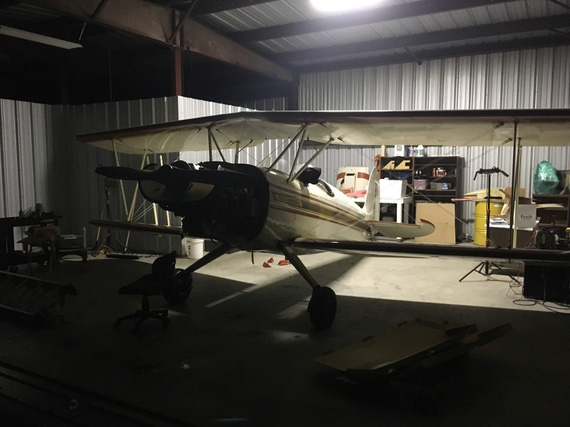
Lighting: before
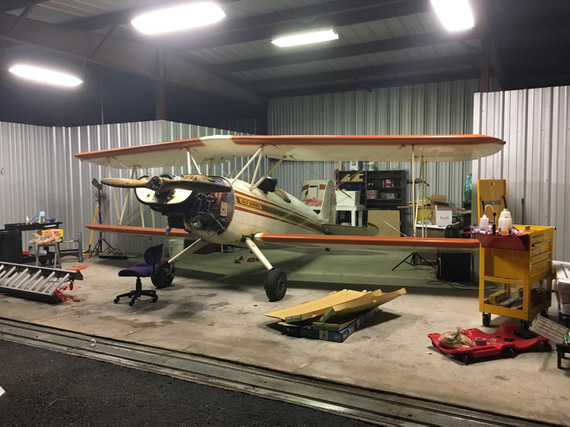
Lighting: after
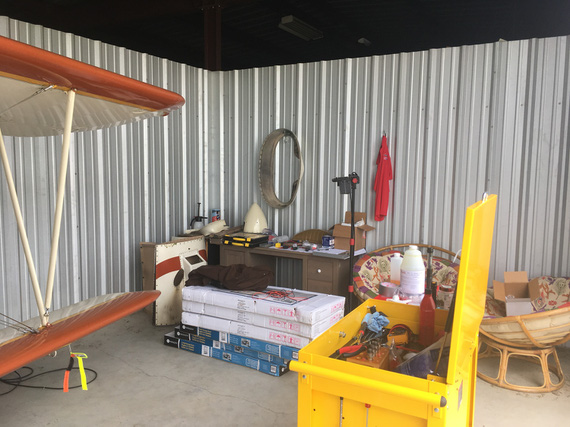
The mancave: before
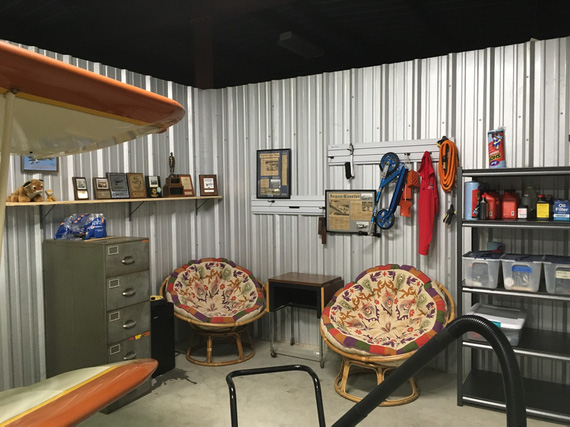
The mancave: after
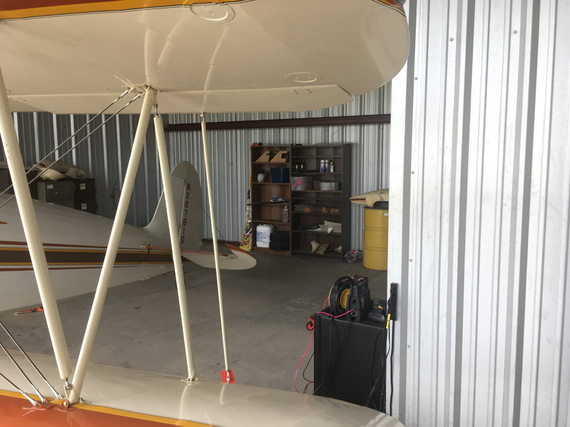
The back: before
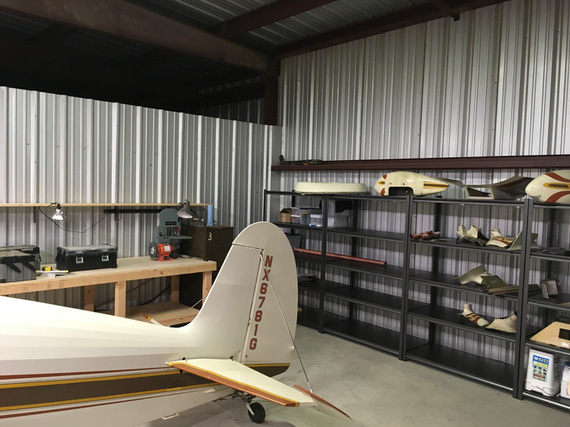
The back: after
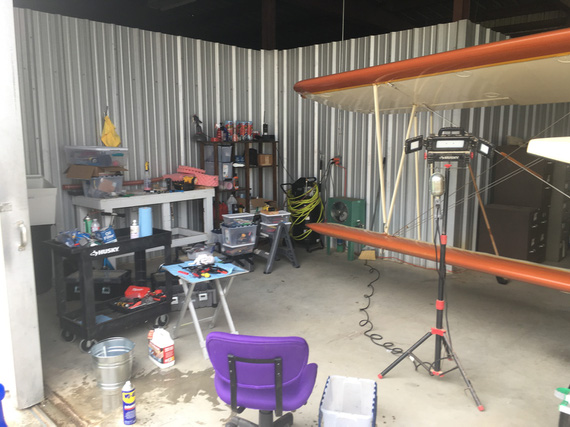
The main work area: before
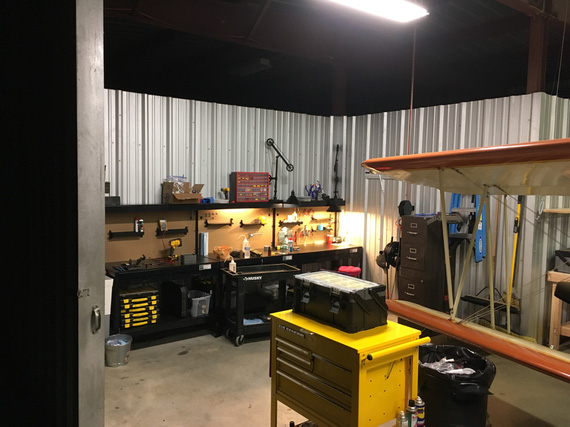
The main work area: after
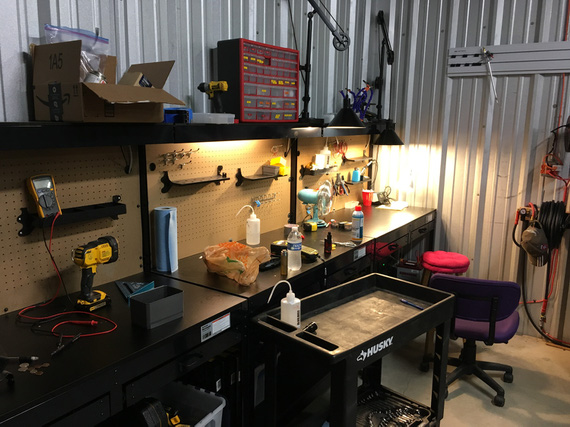
Benches' closeup
So, there. Took me a month with the breaks for fixing HVAC wiring on a Subaru (funny how that happened in anticipation for rewiring the plane, eh? and I really started to dig Molex connectors doing the fix - but we'll talk about Molex when the time comes), and a bunch of other stuff.
But hey, I can work on things comfortably now. And, wash my hands whenever I want!
Learn from the mistakes of others. You won't live long enough to make all of them yourself.
Up ↑
Fall Round of Pickles
... out of heavy machinery
| On: | Oct 12, 2018 |
| In: | [Dream Shop] Tooling |
| Tags: | shop, tools |
As we have established before, Fall for Russians is all about pickling things.
Last time it was an O-360. This time, it's tools for the new shop.
My current shop is all packed up and in storage, waiting for the actual shop to be built. Well, actually for the building to be gutted.
When I have built the new house, I have kept the old house. That's what's about to become my Dream Shop. Meanwhile, all my tools are nicely set up in my storage shed, waiting for their time.
I have sold most of my Chinese Grizzly crap I bought before knowing any better, and was hunting good, old, American-made machines for a while.
Okay, I settled for a Chinese-made Powermatic drill press, arguing with myself that it was in mint shape, dialed in with no obvious runout / shake, and would be my wood-only press anyway.
But two most important things wood-wise I still didn't have: a jointer and a table saw. Few had come up on Craigslist, and I would go over to check them out with all my dial gauges and a U-Haul trailer in tow.
I would spend close to an hour with each one of them, measuring all sorts of convoluted alignments and run-outs, only to find something very basic wrong with them.
One of these was a newer (mustard, but still American-made) PM60 jointer. It checked out reasonably well; until I asked the guy if I could adjust his fence square (I wanted to check it's warp by measuring squareness to tables along it's length).
"Sure Thing!" - he said, walked to a corner of his shop, picked up a hammer, and ... WHACK! - ... ... yeah. Call me a WHACK-o, but that is not how you adjust squareness... Not in my book. I felt for the poor machine.
I left, of course.
Another time I spent just south of 40 minutes with a PM66 table saw, only to check it's flatness dead last. Of course, it was so horribly bowed out of shape, I had to leave. And that was a 3 hour drive. Each way, mind you!
At any rate, yet another PM60 jointer popped up on Craigslist, and I grabbed a trailer in preparation of going to San Antonio the next day. That's where the jointer was.
Now, there was a rolling joke with one of the guys from the office - that he absolutely HAS to convince yet another guy from our office, his buddy, to sell me his PM66 saw - or, Russian Mafia will get him! Them both, in fact!
I kept it up for over a year; and I am not sure if that joke had made any contribution to this... but, he called me and said, "Roger is selling his Powermatic! Grab it, QUICK!". Same day as the jointer popped up.
Hah. So tomorrow I am about to go possibly pick up a jointer. Did I just land me a saw too?
I went to Roger's to dial the saw.
Arbor was shot, but trunnions were in great shape, and arbor for PM-66 is not a problem (someone still literally makes them and sells them on EBay). The tables were flat aside from a very tiny dip, a bit dirty at that, but alright.
I decided to pick it up.
So I did land me a saw and a possible jointer!!!
Next day (Friday), I rush to San Antonio to look at the jointer.
It was a green, older one, and it checked out good, except one minor mis-alignment of infeed and outfeed tables. I was trying to tighten them up a touch with gib set screws, and... I broke one of them.
The tables were flat, the motor was good, and the price was reasonable though, so I decided to buy it from the guy - especially after I broke it :).
Didn't take any pictures of jointer in transit... damn.
So, Friday night Im back, barely manage to roll the jointer off the trailer and into the garage, and Saturday I pack my wrenches and such to go break down the saw at Roger's.
See, it was set up with a large side table, router plate insert, and outfeeds - no way I would've been able to load all that; and besides, I don't need any of that aside from core saw. I already have all my router stuff from my previous shop (Incra no less).
It's raining. Damn.
I get to his place - he's gone for the weekend, his wife lets me in and leaves me alone with the saw and my tools.
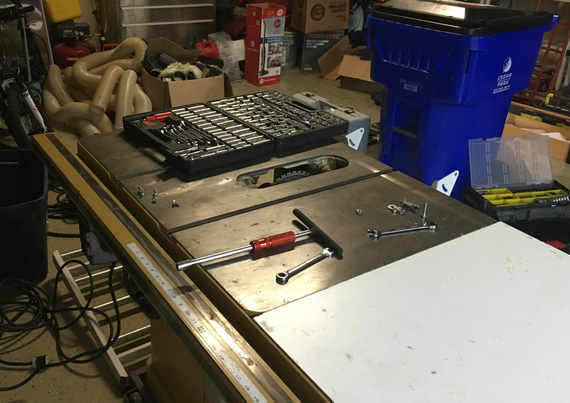
About to begin.
Saw comes apart quite nicely.
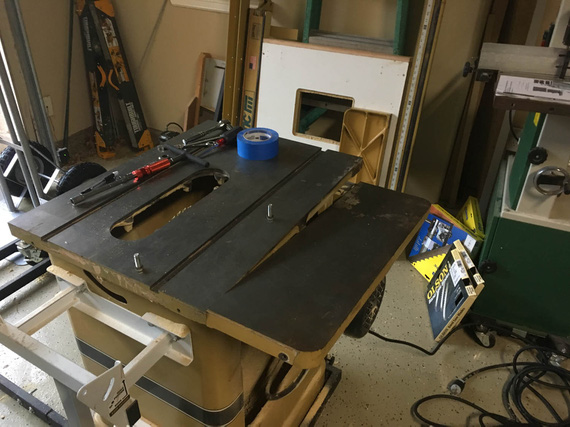
Most of exterior stuff off, table's coming off next
I took off the fence, the side table, and the outfeed rollers. Side table goes into trash. Outfeeds and the fence I will sell (in fact, as of right now I sold the fence already - had three guys call me in the same day!). Yeah, I don't care for it. Incra's TS-LS any day over any other fence (and I have one :) ).
It was obvious no one has cleaned it inside. Likely, ever. Oh, well...
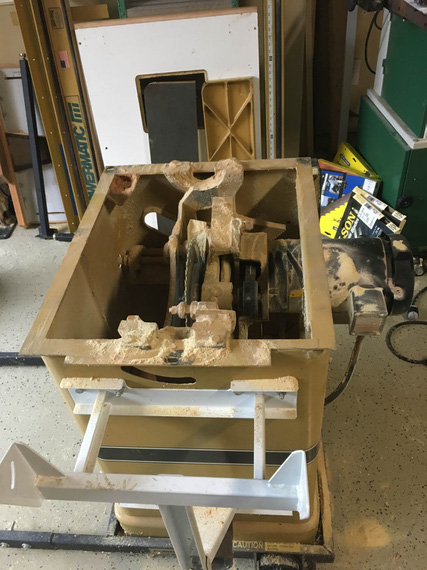
Dust
Remember, I said it was raining? I got a bunch of wrap, and plastic to cover the guts - I wouldn't drive under rain, but even the splash-back concerned me...
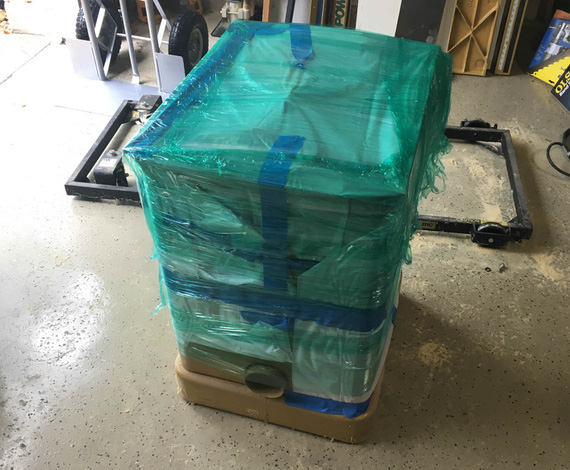
High-Tech Rain Proofing
Funny thing - when I was almost done, we got a nice break in the rain... So, I was able to load the saw up, and got it home without further adventures.
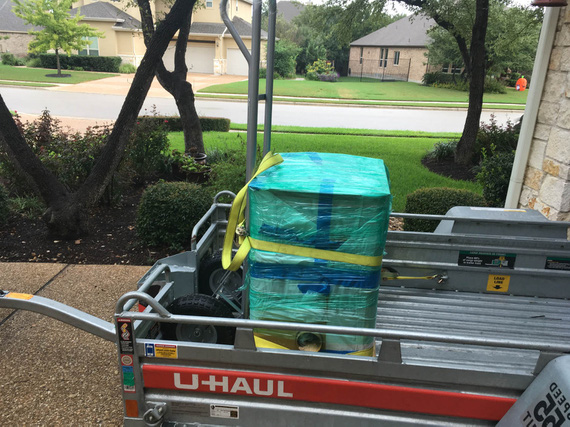
On the trailer
Later, in the next few days, I scraped together a vac and a compressor (remember, all my tools are packed away!), and cleaned it out. All important and not so important unpainted surfaces got a coat of either T9 or Corrosion-X, and she got wrapped back into plastic... The Saw, I will see you in a year or so...
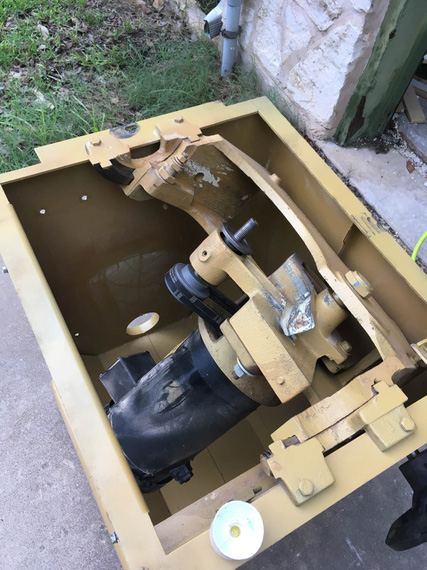
Clean
And the jointer? Well, the jointer was clean already. So it just got wrapped too...
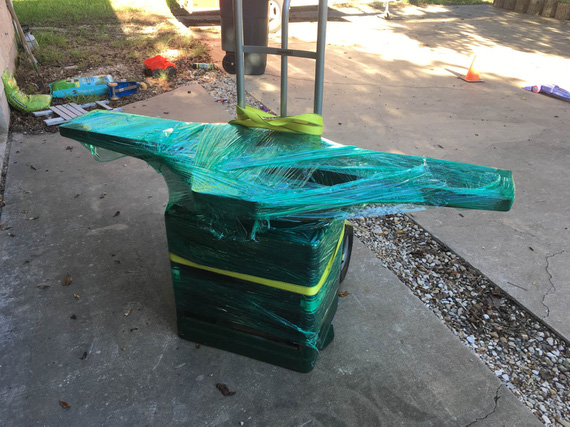
The only pic of the jointer I got
They're sitting nicely in the storage shed now, making acquaintance with my other toys.
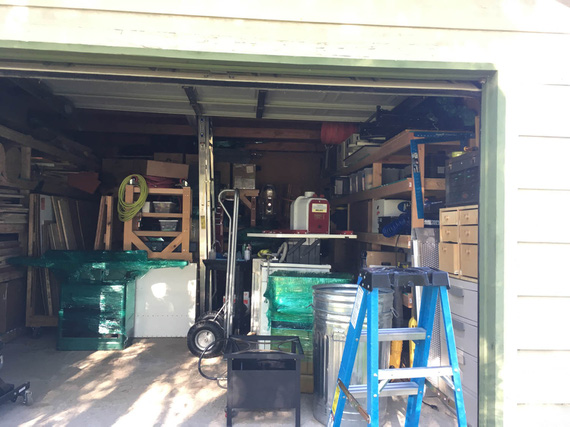
The Shed
And, there. Two most important tools? Done. Pickles out of metal done? Done. What's left?
A mandatory airplane pic, of course! Ken Wittekiend's PA-12 on floats on Lake Buchanan, first time ever I flew a seaplane! That was nice!

The Seaplane
"MidEx 726, sorry about that, Center thought you were a Midway arrival. Just sit back, relax and pass out some more cookies ... we'll get you to Milwaukee."
-ORD ATC
Up ↑
The Shop Day
... and how it turns into two weeks
| On: | Jun 07, 2014 |
| In: | [Blog] |
| Tags: | tools, shop |
So, originally it was supposed to be the shop day. I was gonna clean and put together the compressor I picked up off a gentleman on Craigslist, and set up the air hoses, filters and such - and then, back to CAD. And then..
See, I was looking for a bandsaw. I wasn't in a rush, so I was gonna pick up a good used one; so I was watching Craigslist and such, waiting and waiting. After doing that for about 6 months and after I got tired of not having one; I finally said "screw it" and bid on one on Ebay.
I won it on Friday around 4pm; paid, and went home. Well; there, in my Gmail's Inbox, was a notification from CraigWatcher saying that yet another bandsaw ad was posted... I opened it up; and couldn't believe my eyes.
Someone was selling.. an 18 inch Grizzly saw for 250 bucks! I couldn't pass on it; and next morning was driving back with a 300 pound beast in the back of my car....
... and then, spent a week and a half cleaning it up. I polished the rust out of the table; changed some bearings, re-cut threads on the blade tensioning rod, added a 4 inch dust port (for whatever weird reason, Grizzly decided not to put a dust port on this particular model).
It also ran on the 220, so I had to add a 220 outlet to the shop... Decided to go all out; and added a 6 gauge run with 50 amp breaker, so that I can run a TIG welder off of it when I get one.
So now; I own two bandsaws :).
Here's the perpetrator:
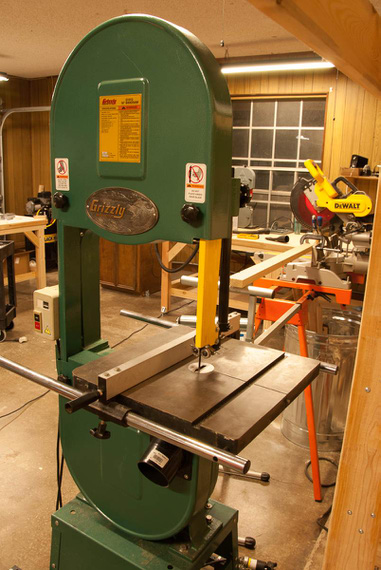
The Bandsaw
Since we're talking shop....
Right now Im set up in the garage of the old house we bought about half a year ago. Dash (my beautiful wife) is working on designing a new house we're gonna build; and that one is going to have a good sized shop. We will build that house first and then demo the old house; so I could start setting up earlier than I thought I would be able to; which is certainly nice.
But; Im dealing with 40 year old electrical; and other fun stuff..
Here are some pictures of that garage, ordered historically, as I was setting up.
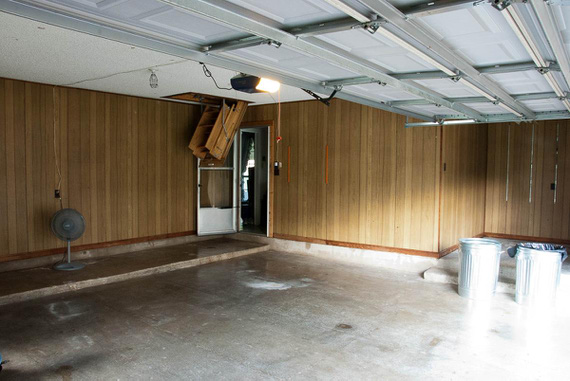
Just after washing everything with a pressure washer...
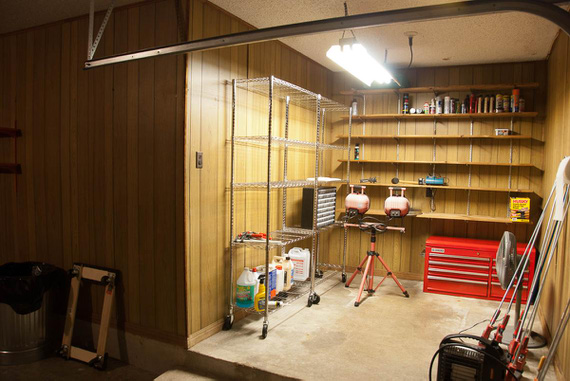
The beginnings of the storage spot
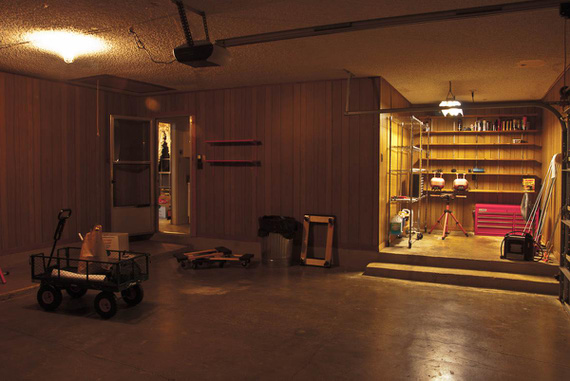
.. all that empty space :)
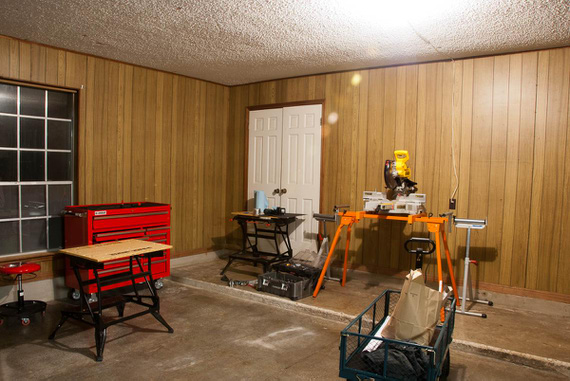
That's pretty much all my tools before I moved (the big red chest is new)
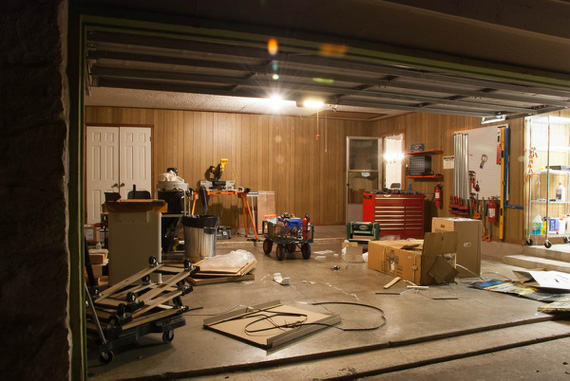
First batch of stuff - table saw, jointer, planer, drill press. Excited!
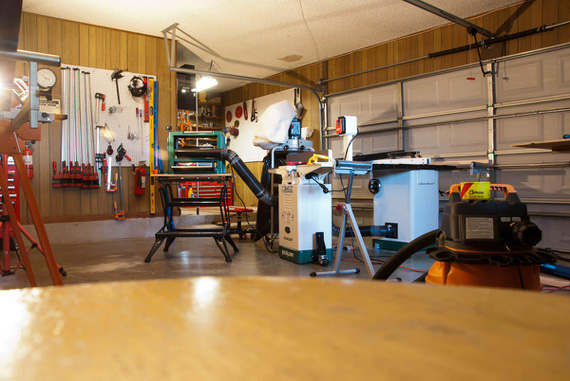
.. and set up!
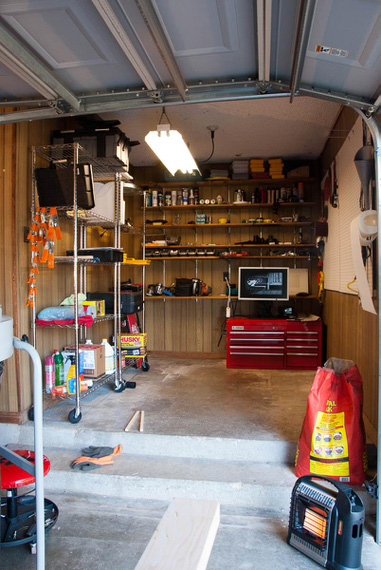
Storage's getting a bit more crowded
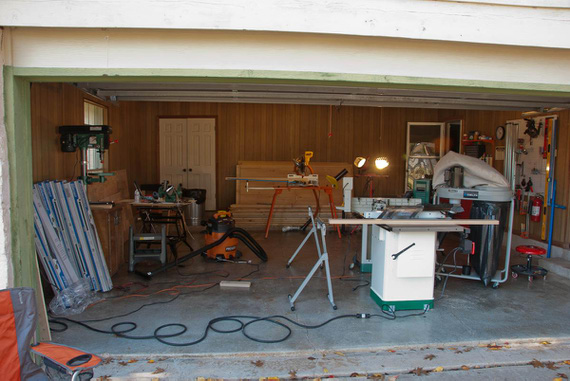
Setting up lighting. All that wood is for the benches.
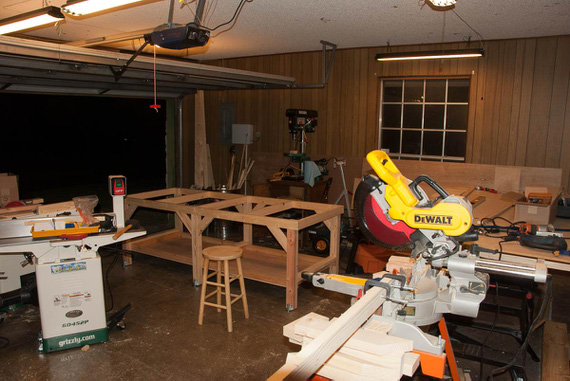
First bench - the frame is ready.
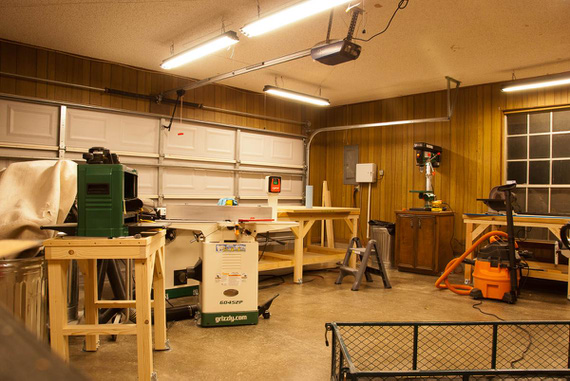
The benches are up - and this place is starting to look like a shop!
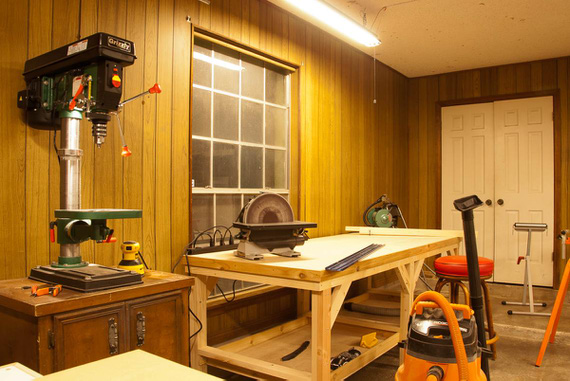
.. yep
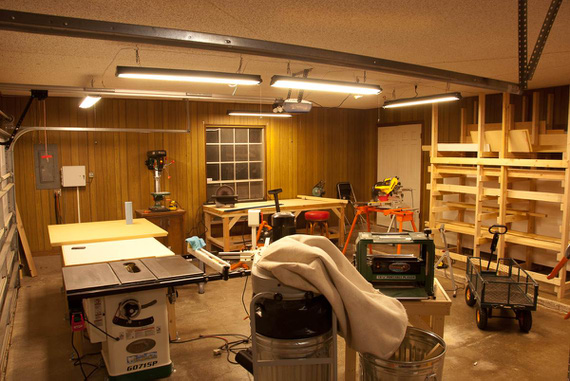
Next, some 2x4s put together into a material rack. Cleared a lot of space!
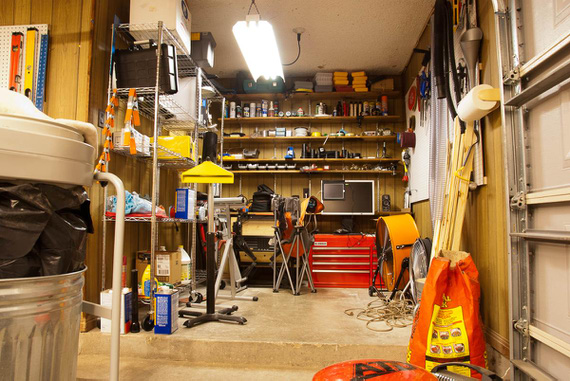
Storage again
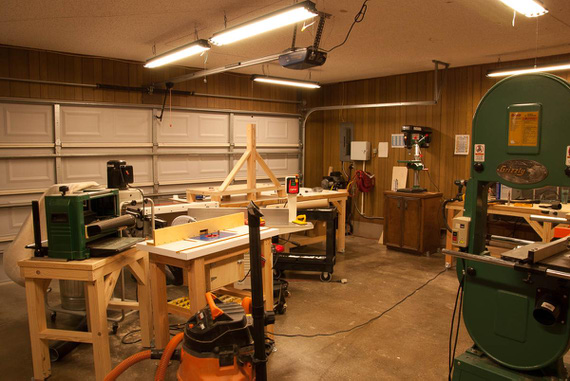
Air setup, router table, and The Bandsaw
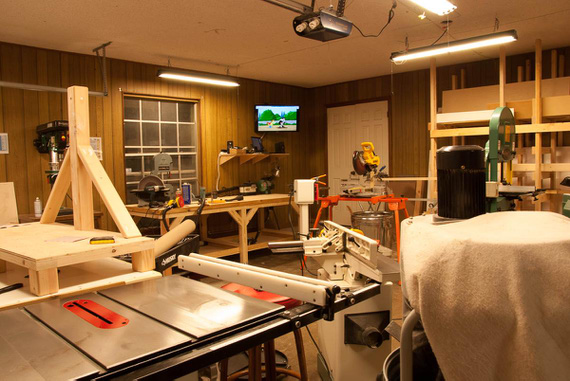
Added some entertainment :) Also, the little Delta bandsaw on the bench
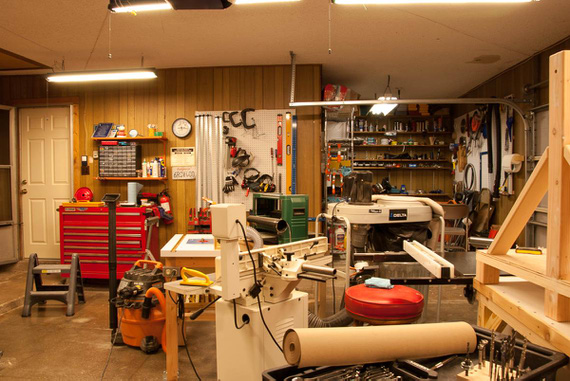
I like how this looks!
And here are a couple pictures of the tools...
Air setup is very simple, a compressor with a shutoff directly into an air filter, regulator, and 25 feet of hose on a reel. That reaches pretty much everywhere.
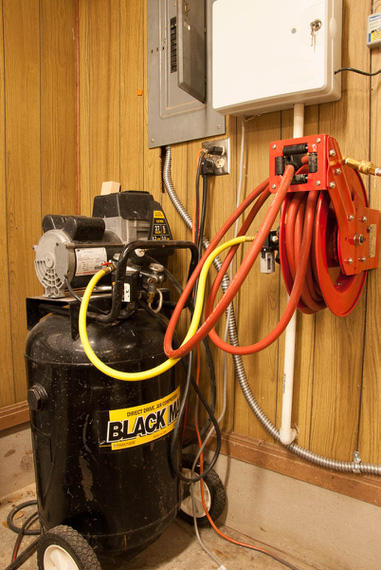
The Air Setup (very simple for now)
At some point; I measured the runout on the drill press -- got around 10 thousandths - no wonder why it was all vibrating when drilling deep holes!
Grizzly includes very cheap chucks and arbors with their presses... Gladly, the bearings have no play though. I ended up picking up a used Jacobs chuck on Ebay, and boy, what a world of difference! Used a SouthBend arbor picked up on Amazon.
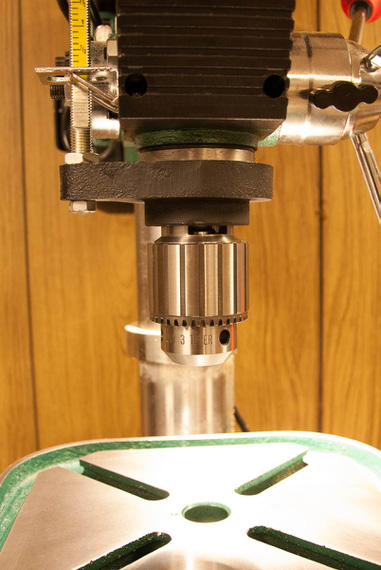
The Jacobs Chuck
I wanted a router table; but didn't want to pay around a grand for the one I like (and cheap ones are just.. crap, honestly); so I built one.
Top is two sheets of 3/4 MDF, laminated together. White Formica is laminated on top, bottom, and sides. All done with DAP Weldwood contact cement.
I bought the insert plate (though in hindsight, I should've just bought a hunk of aluminum and made it myself).
It still ended up being a bit out-of-flat, so I built a leveling system into the base (two bolts on each side are pulling the top "down", screwing into holes in the top with threaded inserts; and there are two screws pushing up on the top in the center of each long frame side. All that allows me to work out any non-flatness out of the top.
Fence is 3/4 ply; and the router sits in the box under the table. The box has 4 inch dust fitting epoxied on it on the other side (and the fence dust collector feeds into that fitting too).
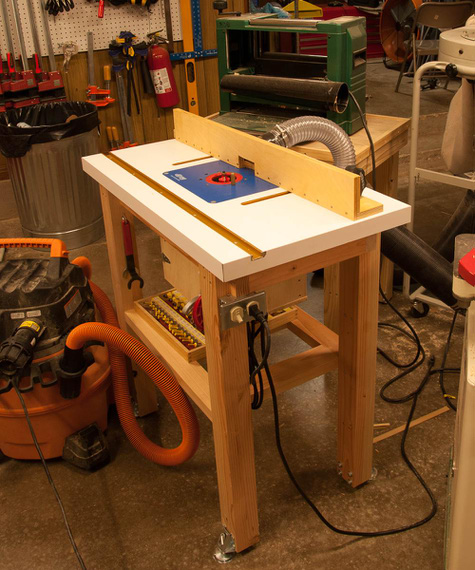
The Homebuilt Router Table.
"Sure you can have eight miles behind the heavy...there'll be a United tri-jet between you and him."
-ORD ATC
© Copyright "79FT". All rights reserved. Feel free to cite, but link back to the pages cited.
This website only shows how I did things in my various projects. These pages are for information and personal entertainment only and not to be construed as the only way, or even the perceived correct way of doing things. You are responsible for your own safety and techniques.