[79FT]: Building Things |
 |
LR3-C
... mounted, and pretty!
| On: | Oct 09, 2019 |
| In: | [Chickenhouse Charger] Electrical Rebuild |
| Time logged: | 6.6 |
| Tags: | electrical, 6781G, MA5 Charger |
Prior to mounting the newly finished brake line, I wanted to finish fastening everything that's around it - so that I minimize wrenching around the brand new line.
Voltage Regulator is one of the bits that will go right there, so it was to be done.
I was working on it's mounting, on and off, and eventually got stuck with attempting to solder a short grounding strap that was to go under one of the "standoffs" for the regulator.
And then, I was making the new brake line - but now that is done too. I also figured out how to make that ground strap. So. nothing prevented me from completing the voltage regulator install.
But, we're getting ahead of ourselves.
First, the holes.
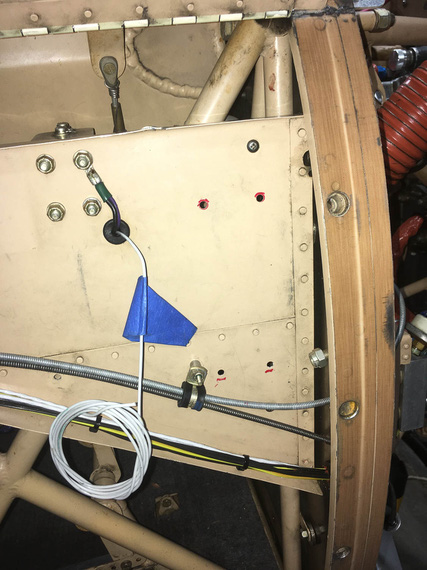
Holes
How do you drill real good, round, quality holes, you ask?
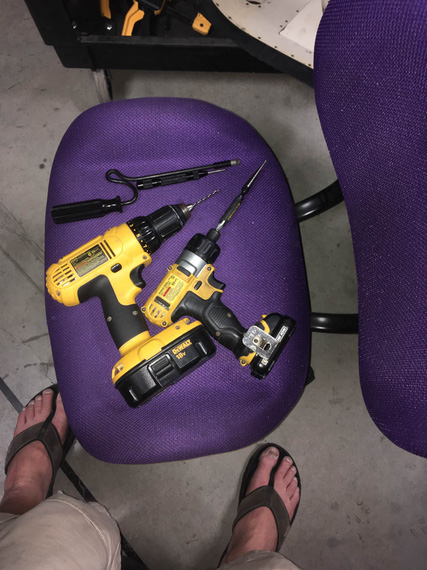
Tools!
Well. All those tools were participating in making of those holes, in sequence. Here's a game: name that sequence!
And then, the mounts. The regulator was to be on standoffs, to "raise" it above that rivet line. The regulator wants two grounds, which will go under two of the standoffs. I also wanted to have a ground strap go under a standoff.
Now, I have to explain the ground strap. I already mentioned spending quality time trying to make it.
I want to set up good grounding architecture in my all new electrical. This side conduit, to which the regulator is mounting, is key.
It's continuous, and aluminum - so it presents a really nice grounding point. I am planning to add jumpers between it and the firewall, and it and the instrument panel, tying it all up nicely. Loads will be grounded to the conduit, firewall, and instrument panel only.
Since the voltage regulator is right next to the firewall, it's very logical to have the ground strap under one of it's stands. And besides, there is already a convenient hole right next to it for the firewall side of the grounding strap - which is why the strap is very short.
At any rate, those three terminals under three out of four standoffs for the regulator are making hardware stacks of varying thicknesses per standoff, so standoffs need to be individually sized to keep the regulator overall "level" above the conduit.
Another fly in the ointment is that "jog" created by one portion of the conduit riveted on top of another - that has to be accounted for, too.
So four individual standoffs.
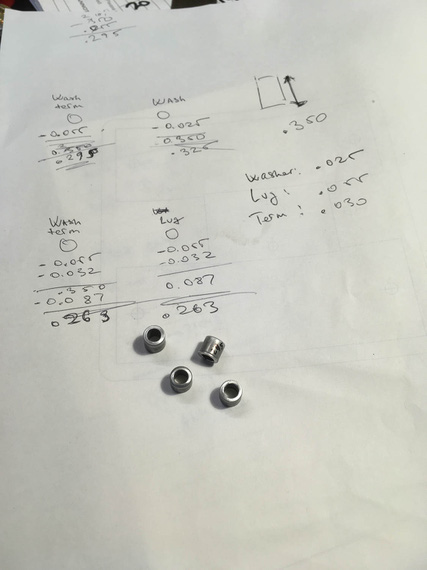
Calc and standoffs
If I had a lathe, I'd do them on the lathe; but my lathe is pickled, waiting for the shop - so, tubing cutter and a bit of luck made them all within 5 thou of the right size.
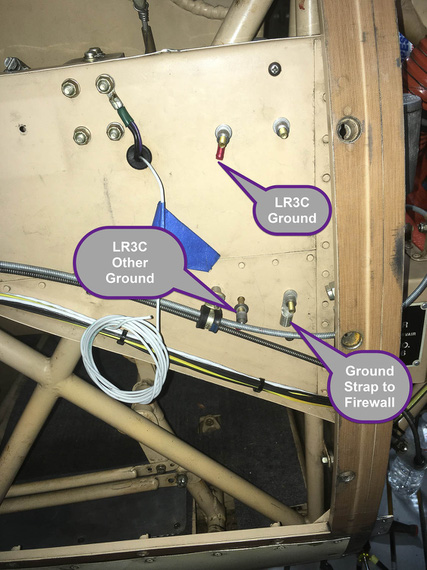
All set up
Here are the stacks, just to give you an idea of the mess I got into :).
Top and bottom left:
- Bolt head
- CAD Plated Washer
- <side conduit>
- SS washer
- Ring Terminal
- Standoff
- SS washer
- <volt reg flange>
- CAD Plated Washer
- Nut
Top right:
- Bolt head
- CAD Plated Washer
- <side conduit>
- SS washer
- Standoff
- SS washer
- <volt reg flange>
- CAD Plated Washer
- Nut
Bottom right:
- Bolt head
- CAD Plated Washer
- <side conduit>
- Ground strap lug
- Standoff
- SS washer
- <volt reg flange>
- CAD Plated Washer
- Nut
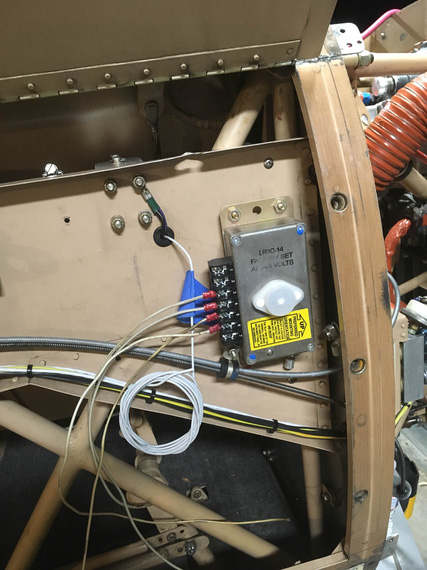
Test mount
Nuts there are temp AN315 nuts.
And now, for the final mounting.
First, scrape all the paint from the side conduit, to ensure good contact (top right doesn't have anything electrical so didn't need to scrape the paint there).
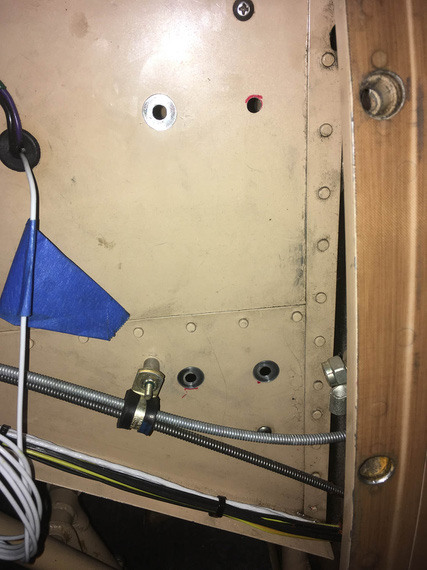
Holes prepped
Then, make the ground strap.
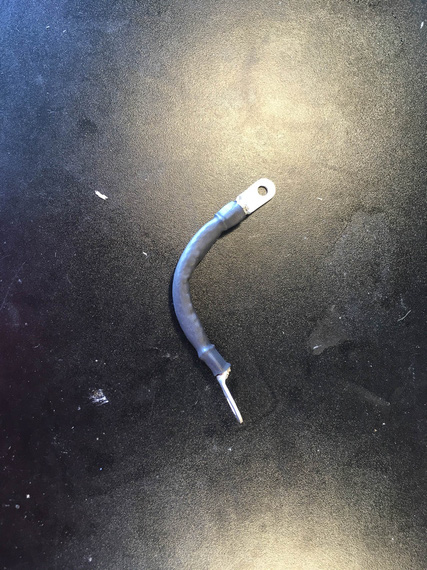
Ground strap
And then.. Well, I wanted to clean up and make sure I mount the bowdens and the engine analyzer harness at least semi-permanently. So, started doing that - discovered that screws in some places, sticking up, were getting in the way of my clamps.
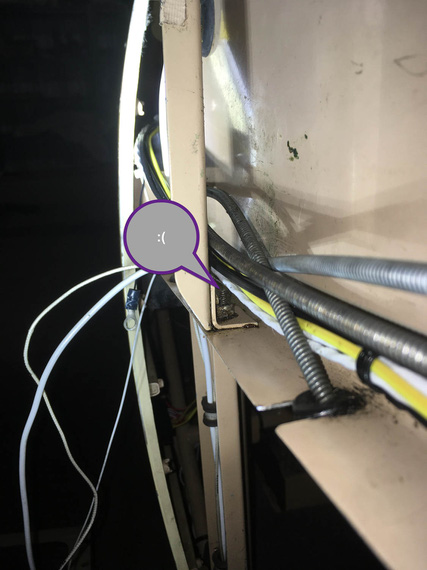
Boo!
No matter.
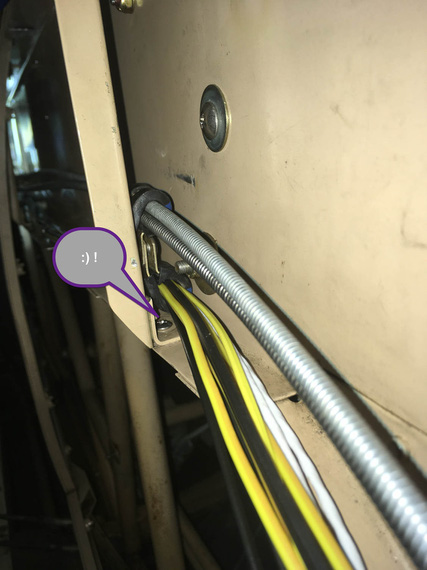
Pretty!
Who said forceps are a doctor's tool?
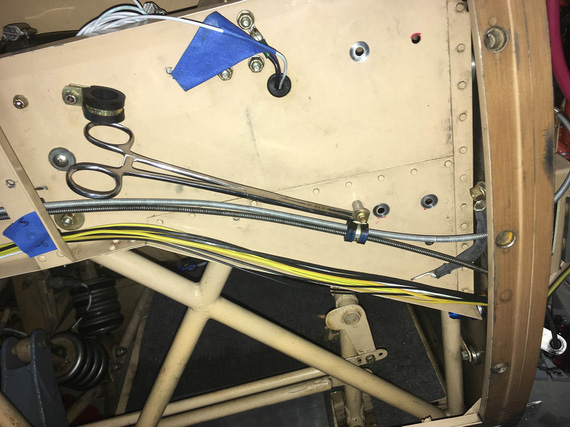
Mounting an adel
At any rate, after making sure that I'm happy with bowdens and probe harness, it was go time!
Intermission
Everywhere I take a nut off, I replace it with MS21042. Half the size, and it supersedes the default AN365 and AN363.
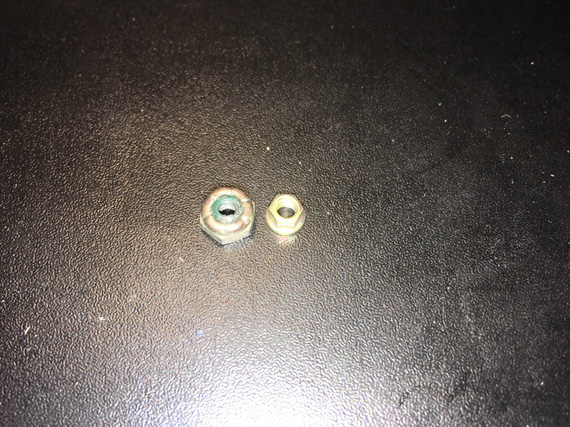
Just nuts!
And by the way, often times it's convenient to use a "grabby thingie" to start them.
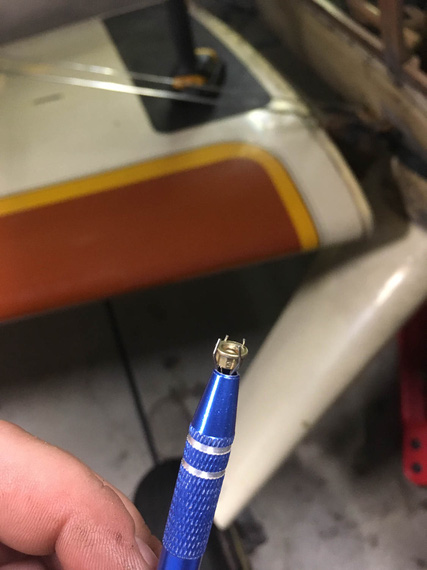
Grabbie
Back to it
Set up the hardware stacks, crimped short lengths of wires into the terminals, hooked up the ground strap...
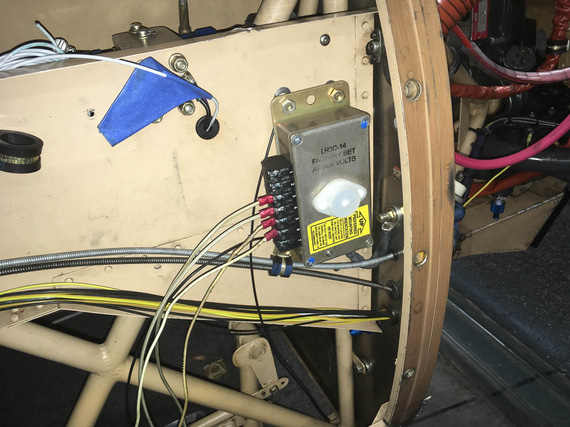
Starting to mount
...and finally, got to use my TorqSeal! I think this is the first fastener I have torqued to it's final state in this project. Milestone!
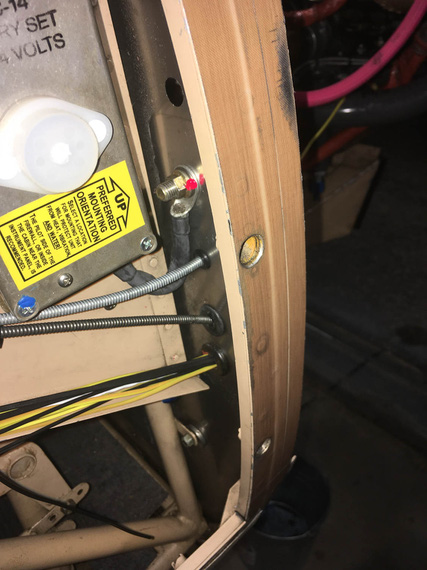
First dab of torqseal
Next, trimmed and crimped the ground wires.
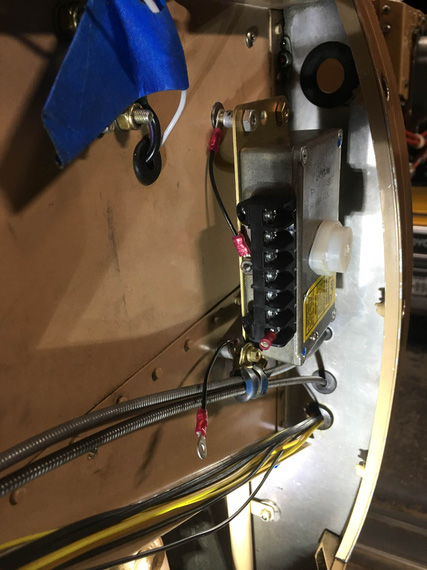
Ground wires
And that was it! Two more dabs of torqseal on the bottom nuts, and installed all the plugs for the holes left over from removing old lines. I'm using AN-6 plugs here.. nice, light, and pretty.
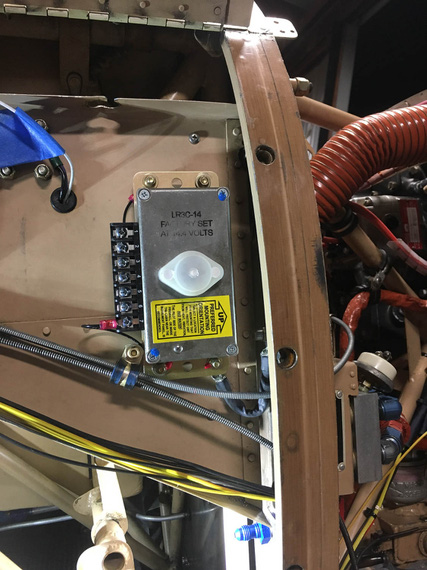
Installed!
Why not top ones as well? Well, I have this pesky gutfeeling that I will hook up an adel to at least one of them to hold the main wiring harness to it. It's just too convenient a spot not to do it.
And to top it all off, did a couple of nice placards to remind myself of things :).
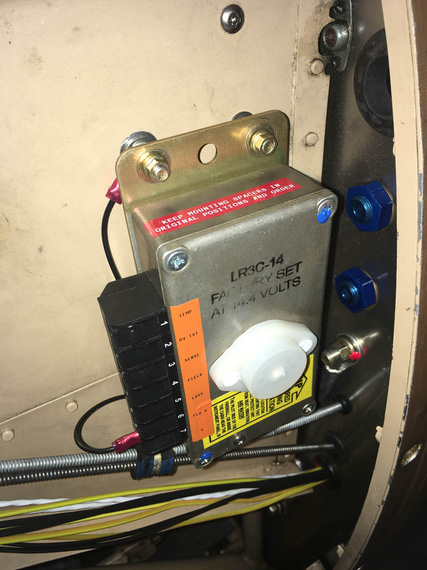
Placards!
An airplane will probably fly a little bit overgross but it sure won't fly without fuel.
Up ↑
© Copyright "79FT". All rights reserved. Feel free to cite, but link back to the pages cited.
This website only shows how I did things in my various projects. These pages are for information and personal entertainment only and not to be construed as the only way, or even the perceived correct way of doing things. You are responsible for your own safety and techniques.