[79FT]: Building Things |
 |
Annual 2019: April 6
...wing root fairings
| On: | Apr 06, 2019 |
| In: | [Chickenhouse Charger] 2019 Annual |
| Tags: | 6781G, MA5 Charger, Annual |
Only had a few hours today, so decided to concentrate on taking off the wing root fairings. As I mentioned before, the "back-side accessible" screws were set up to have nuts on them rather than nutplates. Well, I don't know about that accessibility....
It ended up being 3 hours for ~30 screws.

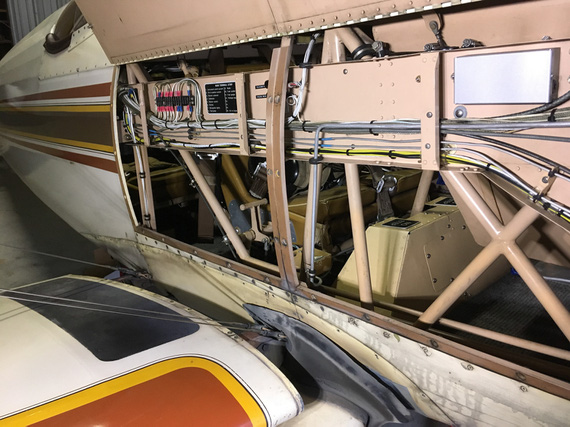
Root fairing off
Most of them on the back side of the wing require you reaching with a wrench thru the rear cockpit, and my arm is just barely long enough to do that successfully. Since nuts are nyloc, no way I can hold them with my fingers - they need a socket.
Some of those nuts are in a U-type channel over which the fabric is glued, and some of the holes are off-center: making it impossible to put a socket over them.
I could've ground a socket down; but I don't have a grinder - so especially one of the nuts took a while to get off. And oh, you have to do all that without dropping the nut and the washer onto the floor (and having them go into the tail). So the process looked like this:
- Get your hand in, try to put the socket over the nut.
- While holding the ratchet, try to put the screwdriver into the screw w/o missing it and poking a hole in the fabric.
- Undo the screw, almost.
- Remove the socket, take a strong magnet.
- Finish undoing the screw, hoping that the magnet will catch the washer and the nut.
Having magnetic sockets helped. They weren't deep enough to grab most of the fully tightened nuts because screws protruded from them. I used them as magnets sometimes, and sometimes used my magnetic "fishing for lost hardware" probe.
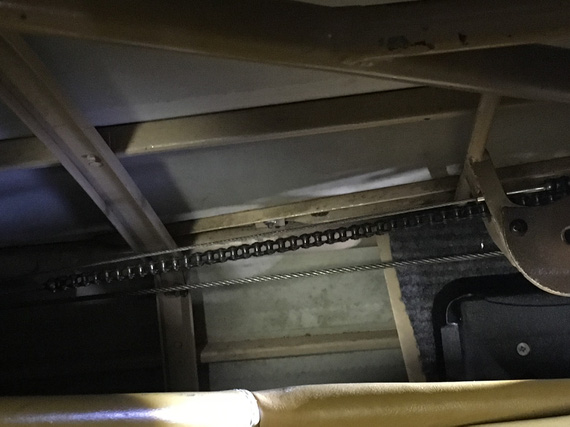
Now I'm writing this, I realized what I should've been doing is using a long extension and a 90 degree adapter on my socket. Damn! But this still doesn't solve the problem with some of the nuts that were hidden almost behind things that were in the way (ie, a trim control wheel's attachment structure that's welded into the fuselage).

One of those pesky nuts
I'm considering replacing those nuts with Tinnerman-type and screws with sheet metal screws thru Tinnermans. I'd put some anti-chafe tape inside the U-channel, and then Tinnermans on top of it. Since Tinnermans are long, when undoing (or tightening) the screw, they will turn and touch the side of the U-channel, which will act as a wrench.

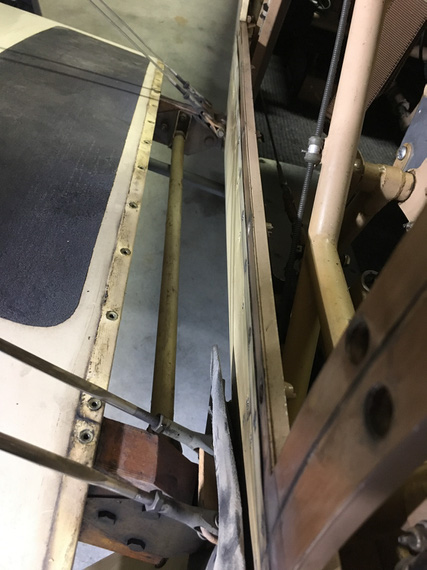
Wing attachment - right side
And that's literally all I got done today. Just took those damn screws out.
When you’re sitting in the rubber raft looking up where your airplane used to be, it's too late to check the flight plan
Up ↑
© Copyright "79FT". All rights reserved. Feel free to cite, but link back to the pages cited.
This website only shows how I did things in my various projects. These pages are for information and personal entertainment only and not to be construed as the only way, or even the perceived correct way of doing things. You are responsible for your own safety and techniques.