[79FT]: Building Things |
 |
Wiring - Pt III
...part three: done!
| On: | Sep 07, 2020 |
| In: | [Chickenhouse Charger] Electrical Rebuild |
| Time logged: | 16.6 |
| Tags: | 6781G, MA5 Charger, electrical, panel, instruments |
... and the only bit of wiring left was the gauges at the panel.
It was not interesting in any way - mostly, lots of tying in awkward position.
A lot of stuff had to be done thru the front hole's headrest, while standing on a wing, and trying not to get "tangled" in the flying and landing wires.
Oh well.
I realized this was another mistake. Since all the gauge wires started at their transducers or sensors (amps, fuel and oil pressures, oil temp, and the like), I ran them "backwards" as one piece, and was planning to put on the corresponding D-Sub connectors in place.
What I didn't realize was how much pain it will be if I had to work in close quarters. And unfortunately, the 3-in-1 gauge - with the fattest of the connectors - required that.
What I should've done was cut the transducer and sensor's wires and made "whips" for them with connectors while on the bench. Then, I should've spliced them somewhere on the side of the airplane - yes, I'd have to do a lot of soldering, but that would've been better than what I ended up having to do...
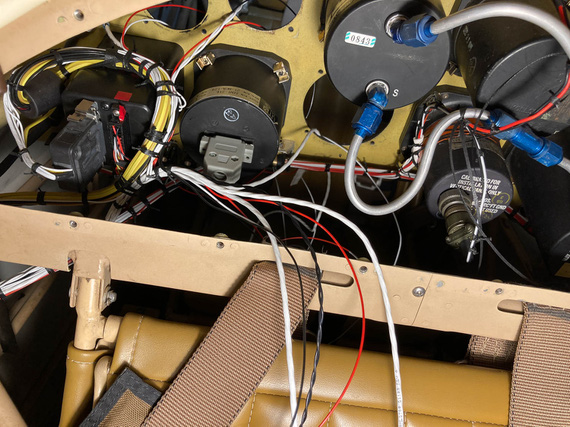
Instrument wires - and the back side of 3-in-1
You can see the DB-15 connector there - that's the 3-in-1. Sticking the wires thru the instrument hole, doing all the stripping and crimping from the panel side while sitting in the cockpit, and then tying the extra length up... maybe was possible, but seemed to me like it would be too much extra, producing ugliness and possibly rubbing on the structure nearby, so I decided to make that connector as close to the actual gauge as I could...
I tried it on the bench first, figuring out where I would put heatshrink, how much of the length is necessary for the connector, and the like.
Another interesting tidbit was that one of the connections had to feed two transducers off of the same one pin. Both wires were 22GA and I couldn't put them into the pin no matter how I tried - too much wire for one D-SUB pin's barrel. I'll show you the solution I used for that.
So, I bunched up the wires, put a round of heatshrink on, and prepped those power wires.
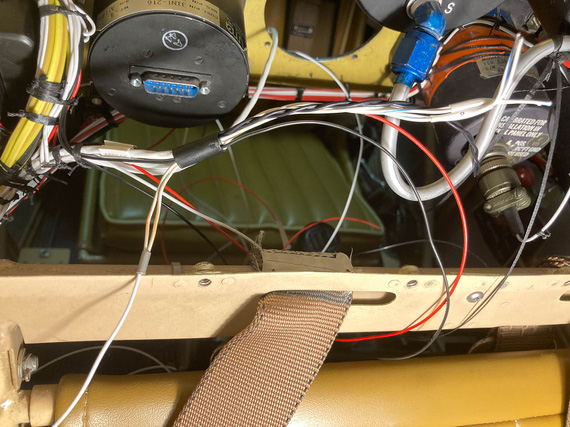
3-in-1 bundle
I bent the two power wires for transducers backwards "out" of the connector, and pigtailed a single 20ga wire to them. That looped back into the connector and hooked up to the pin.
Then, I set myself up on the wing, slouching over the front hole's combing, took my stripper, and stripped a wire... bam! 2/3ds of the strands came off...
What the..?!
I think the stripper pinched the wire when closing on it, and since I was so much out of position - practically upside down - I didn't notice...
And since I effectively just destroyed ~1/2 inch of the wire, and the wires were cut short....
I lucked out. The wire I was stripping was a standalone ground wire. Moreover, I had two more tails coming from the same source - for the other two gauges, and the unintentionally shortened tail I just made was just the right length for another gauge.
Phew. Only having to cut two knots, I re-routed the shortened wire to the other gauge, and that gauge's wire to the 3-in-1 bundle.
Tested the stripper multiple times. Yes, I think I just missed the right hole.
Making dead sure I was on this time, I tried again - phew. All worked out.
Slowly, everything got crimped.
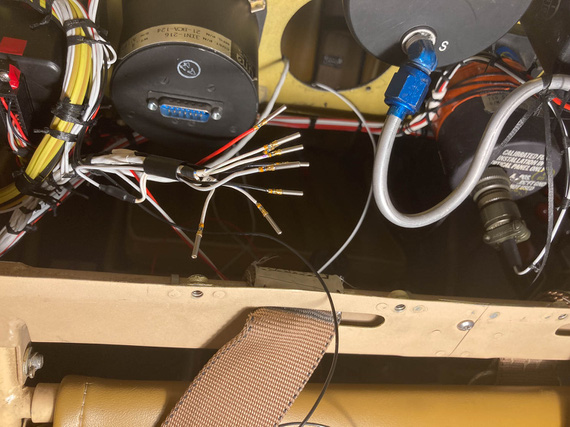
3-in-1 gauge pins
You can also see that "power loop" in the above picture.
Then, I installed the pins in the housing, and checked the 3-in-1 out. Used a plumber's gauge to pressurize pressure transducers with some appropriate amount of air and made sure the correct arrow went up on the 3-in-1, and by the right amount.
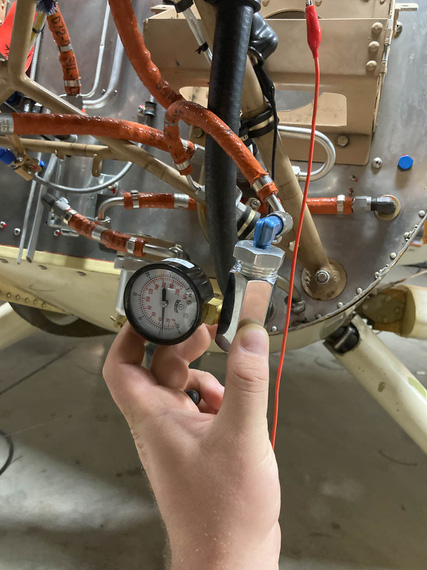
Testing pressure transducers
The other three gauges were much easier - because they were further from the 3-in-1 and tie point, for each of them I could trim and crimp the wires from the cockpit side. I had some fun times with the housing of the tach connector - a DB-9... UMA shipped me a weird sheet metal shell for it I've never seen that I think needs a special crimper to install, so I ended up replacing it with a regular cheapo plastic after spending what feels like a few hours trying to find out what the hell that shell was... Failed at that.
At any rate.
The final result? Well..
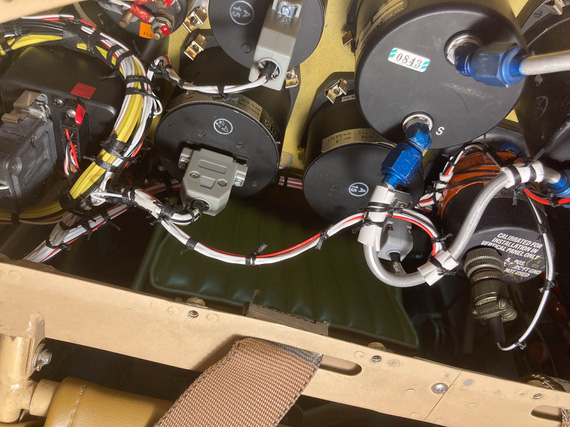
Beind the panel: done.
And with that, the re-wiring of the Charger was...
Complete!!!
"Leave five on the glide, have a nice ride, tower inside, twenty-six nine .... see ya!"
-ORD ATC
Up ↑
© Copyright "79FT". All rights reserved. Feel free to cite, but link back to the pages cited.
This website only shows how I did things in my various projects. These pages are for information and personal entertainment only and not to be construed as the only way, or even the perceived correct way of doing things. You are responsible for your own safety and techniques.