[79FT]: Building Things |
 |
Brackets for Transducers
fun litte project
| On: | Feb 23, 2020 |
| In: | [Chickenhouse Charger] Electrical Rebuild |
| Time logged: | 5.1 |
| Tags: | 6781G, MA5 Charger, fabrication |
Pressure transducers. Those little doodads that take liquid pressure and transform it into electrical pixies on the wire...
The ones I got are from UMA. I'm replacing the mechanical engine gauge with electric - same 3-in-1 (oil temp, pressure, fuel pressure); but the fluids stay under the cowling. Pixies run in the wires to the gauge and rat those fluids out to it.
Ahem.
Well, this was always a part of the plan:
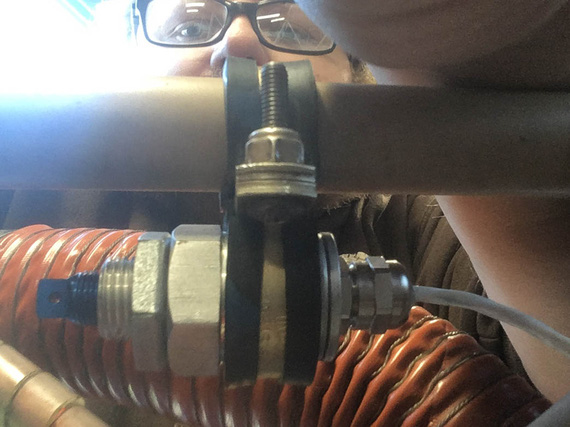
Pressure transducer on adels
but this never felt like sufficient. Only rubber (will harden up pronto) and screw torque (well, not too shabby, but still) prevent it from rotating. Plus, a single point of failure - and I am probably over too sensitive to a probability of dangling fluid hoses with transducers at the end under the cowling in flight.
No sir, we can do better!
Long time ago, I have installed a CGR-30 onto my Cheetah, and back then I mounted the transducers on two adels - but those were different style transducers, much longer than the ones UMA makes.
But they have that threaded "neck" and a nut on it.. hmm... Let's see if we can make some kind of a bracket?
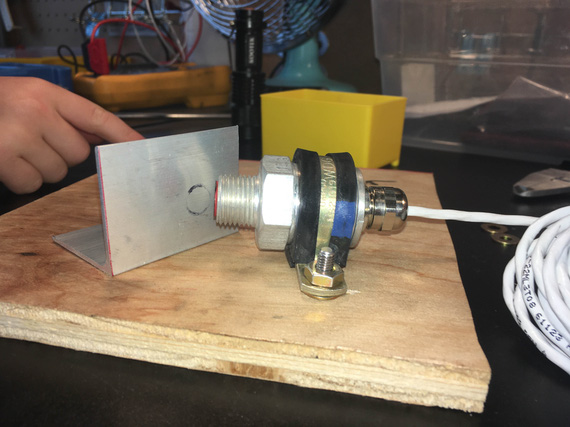
Marking the hole
Start with our good old friend aluminum angle. Now, the "tab" on the bracket will screw with another adel on the motor mount; that was the idea (so the bracket basically was replacing a second adel around the transducer that didn't fit). Therefore, the tab off of my bracket would have to be co-planar with the adel. It did not have to be super precise - I figured, 1/32" of mistake was fine.
A bit of black sharpie transferred the imprint quite nicely.
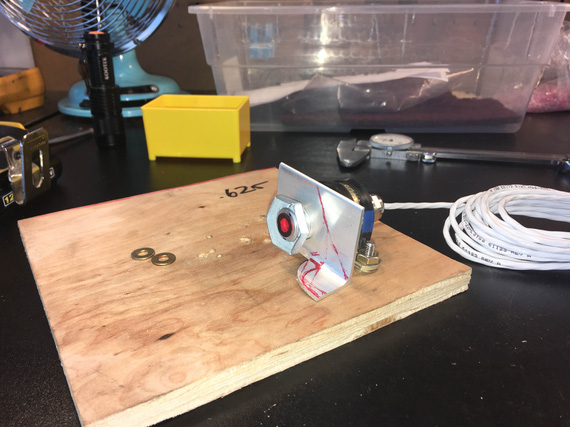
The bracket taking shape
And then, bandsaw and sander. Had to break out my good files to clean up the "fillet" that remained after cutting off one side of the angle under the nut (otherwise, the nut won't fit).
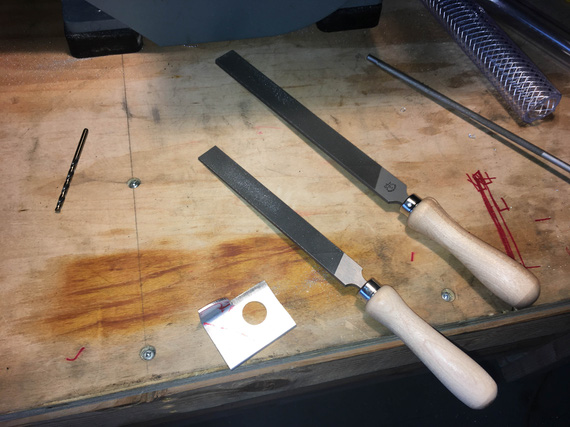
Pferd and Grobet, the two buddies at work
OKay, now, let's add a bit more fanciness to it. Using the nut to draw out circumference and to make sure to stay well clear for now
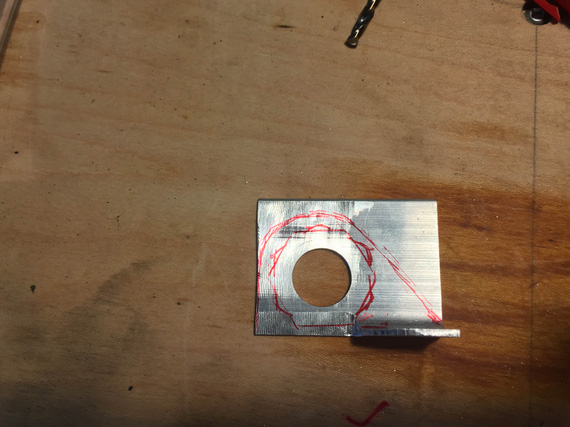
Now, make it "flow"
This above picture also shows the filed area real well - bottom left.
Finally, need to drill the hole for the adjoining adel in the horizontal portion - that one needs to be somewhat precise too, if the transducer is to sit straight. So, we'll test mount it on one adel, and mark out the second hole using the second adel.
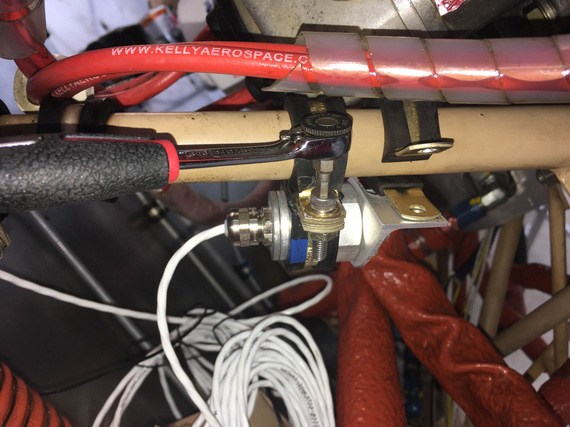
Marking hole location
Okay, drill it, and then clean up, deburr, round over all the corners, yada yada - the usual drill.
Tadaa!
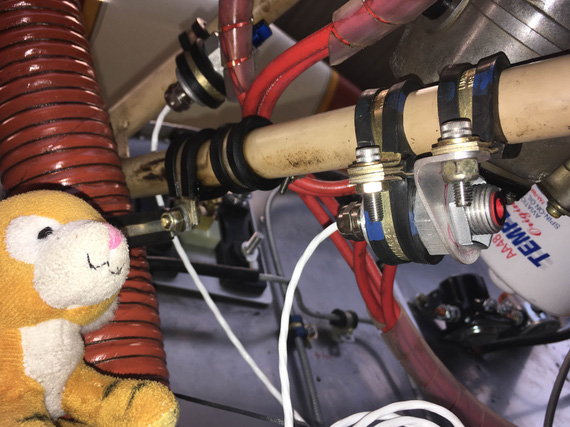
Jack likes the bracket very much.
But we have another transducer. That one's bracket will have to be "mirror image" of the first one.
I used the first bracket to kinda "estimate" the second.
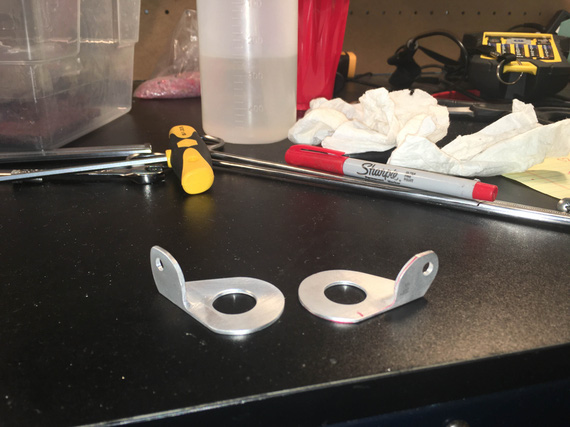
Now, both brackets.
Are they the same? Hell no. But I wasn't trying to make them the same. Just close enough to do the job.
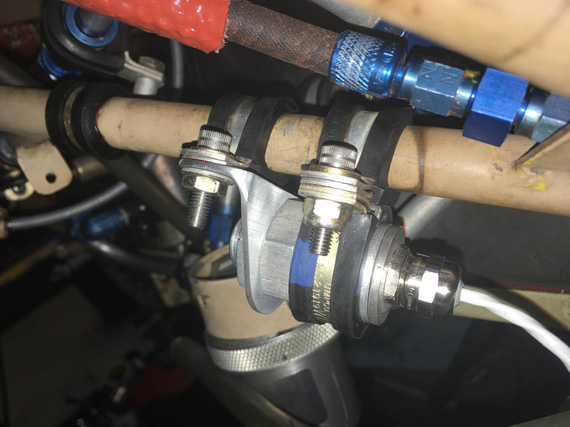
Second, fuel pressure, transducer
Fun little Sunday project, and I broke in the new fancy files :).
A kill is a kill.
Up ↑
© Copyright "79FT". All rights reserved. Feel free to cite, but link back to the pages cited.
This website only shows how I did things in my various projects. These pages are for information and personal entertainment only and not to be construed as the only way, or even the perceived correct way of doing things. You are responsible for your own safety and techniques.