[79FT]: Building Things |
 |
Light and Compass
...panel work
| On: | Jan 29, 2020 |
| In: | [Chickenhouse Charger] Electrical Rebuild |
| Time logged: | 10.5 |
| Tags: | 6781G, MA5 Charger, electrical |
While waiting for someone else to get back to me to help me finish <the thing that took last month and a half and is yet to be written about>, I decided to work on the panel a bit.
Lighting strip seemed like a nice place to start.
It's a simple LED strip that I planned to glue right behind coaming on the underside of the eyebrow. This way, it'd be invisible from pretty much any angle.
But, the wires! The wires in front of the panel, that have to go to the behinds.. No worries I thought, I'd make a small hole / slit in the top of the panel, also invisible - and fish the wires thru there.
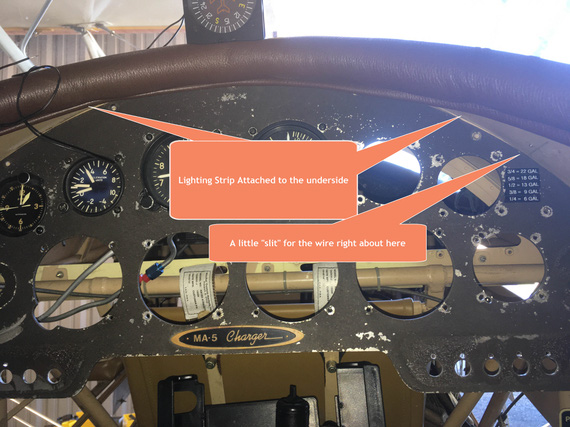
The Plan
That was the plan.
Reality, of course, decided to disagree.
The plan was to take out all the screws that went around the top of the panel, and tilt it "down" - so that I could use a drill comfortably to make the little slit for the wires.
Couple screws came out nice.
I think the third one came out like...
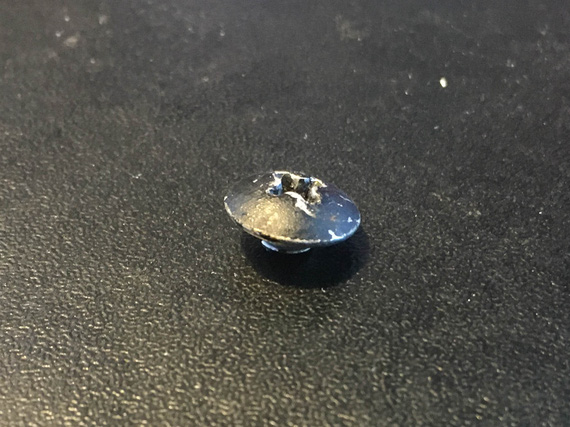
?!
Did I just bust a screw? I looked into the hole. Empty?!
Upon further examination, I found... glue? What? The screw head was... glued into the hole? That's a first.
After taking the rest of the screws out, I realized what happened.
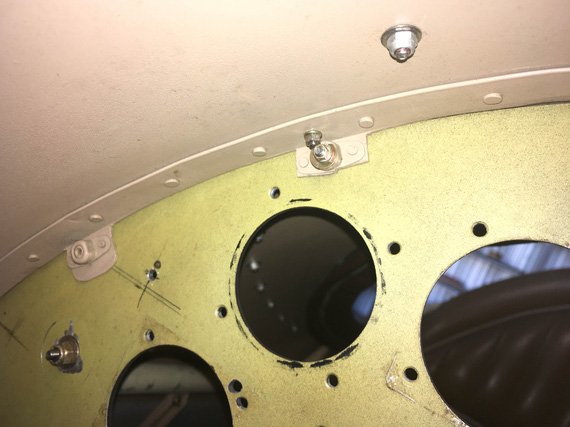
Backside of the panel
This is the back side of the panel. The panel is attached thru those little tabs and nutplates.
Notice the nutplates using rigid (not floating) style nuts? A slight misdrilling of the holes in the panel, and screws won't go in at all.
So, there were two "screws" that were just heads glued in - yep - and two more that used #6 screw in a #8 nut - the TPI on those is the same, and the holes were drilled sufficiently close enough to let a #6 screw pass thru; but not a #8. Le.. Sigh.
To top it all off, the panel won't fold down for me to get access to where I wanted to be, and to fish it out I'd have to take out the carb heat bowden cable that was attached to it. Too much trouble if I can avoid it (that carb heat cable would've been a 3-4 hour affair just by itself).
Plan B solidified; but first the panel had to be put back.
I ended up putting #6 screws into all the misdrilled holes (sorry, but glueing heads into holes is.. not my thing :)); but I installed nuts on them on the back. Effectively, set up like this the nutplates don't do anything - just add weight. See the picture above - it has the nut over that nutplate. That nut, by the way, was a pain to get in - see how close another nut is to it?
I think all the fiddling with the panel, screws, nuts, washers (losing a few of them and going on fishing expedition to pull them out of the guts of the plane included, of course), and trying to get it back in right took what.. around 6 hours?
The plan B, now executable after the panel was back in, was to route the wire under the eyebrow, and fish it thru behind the coaming to the "top" side right in the middle, where the compass was to be. It then would join the compass light wire, and go to behind the panel land.
So, the strip was glued, and the wire attached to under the eyebrow with HVAC duct sealing tape, ahem, aircraft grade glue backed aluminum sheeting from the local friendly Aerospace Depot.
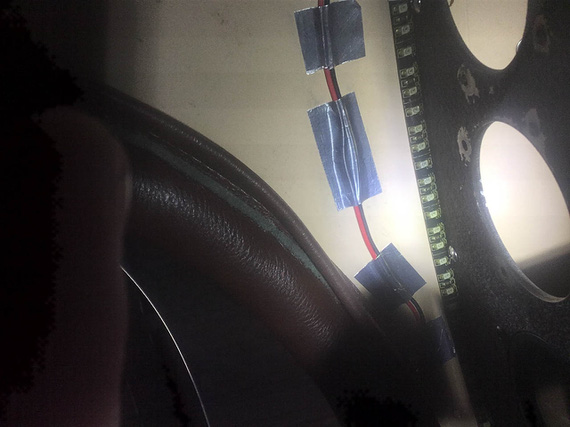
Strip glued - looking up
That picture's taken "from under, looking up". Ugly? Well, not too easy to make it pretty doing it basically blind with an inspection mirror the only view. Like this:
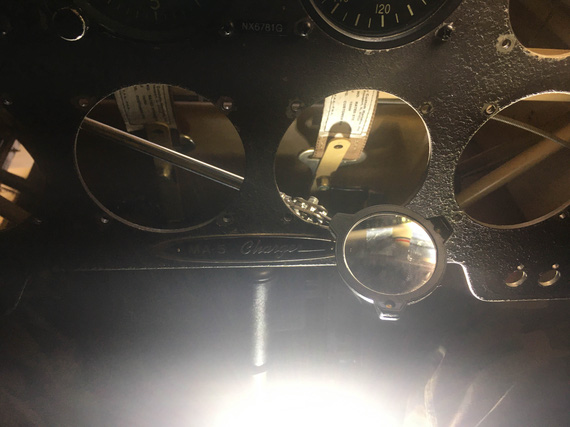
The only way to see it
The wire was fished thru to the "top side", and it was time to test.
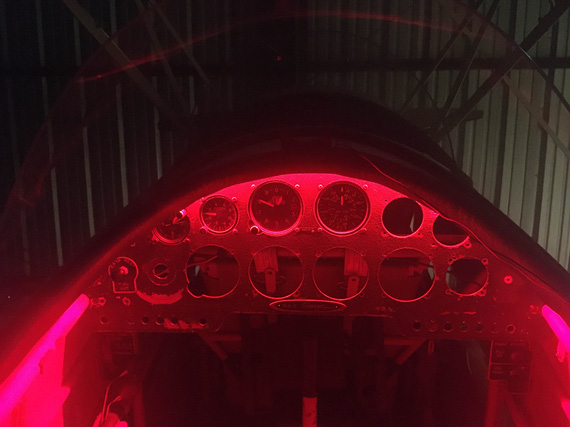
Lights on!
Pretty, huh? :)
Since I was working on that area, I decided to finish it off. Compass was prepped...
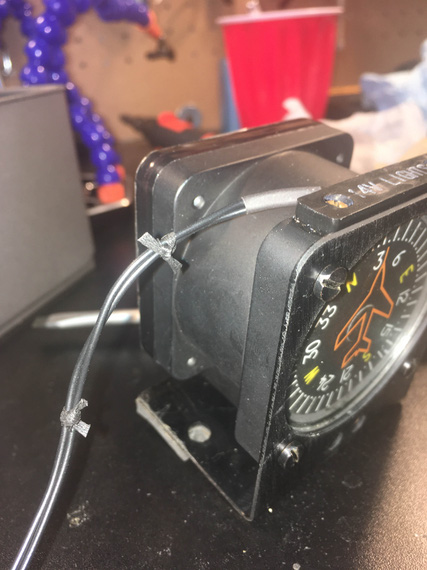
Screw those zipties!
... and installed.
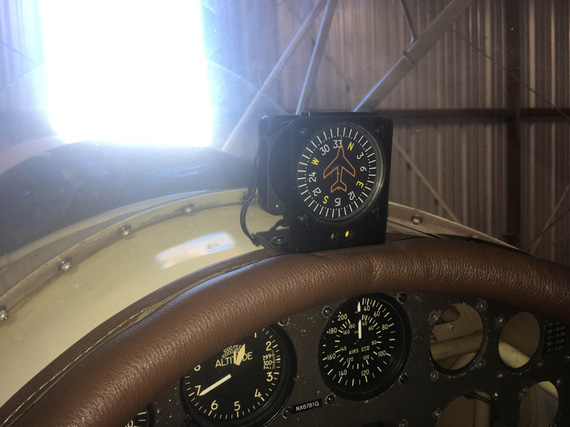
Compass installed
The compass bracket is pinning the compas lighting wires there, and ...
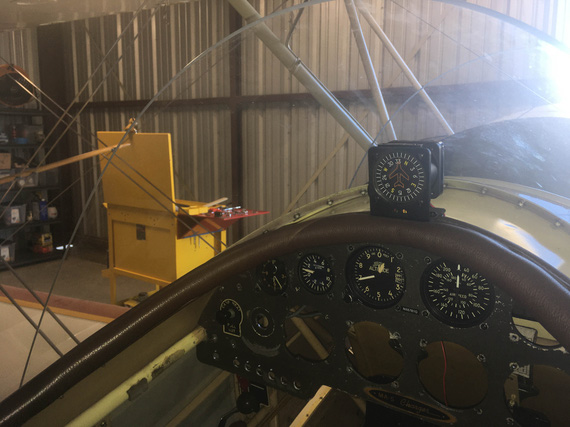
Other side (see the red wire)?
... the fished thru wire for the panel lighting strip (see the little red wire? that's it).
Done, and done.
"The first officer says he's got you in sight."
"Roger, the first officer's cleared for a visual approach runway 27 Right...you continue on that 180 heading and descend to three thousand."
-ORD ATC
Up ↑
© Copyright "79FT". All rights reserved. Feel free to cite, but link back to the pages cited.
This website only shows how I did things in my various projects. These pages are for information and personal entertainment only and not to be construed as the only way, or even the perceived correct way of doing things. You are responsible for your own safety and techniques.