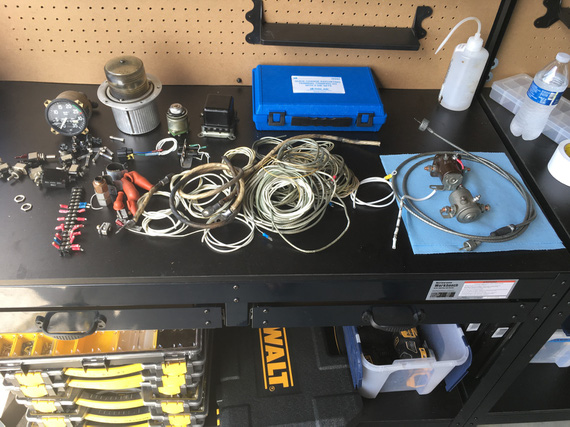
... and fitting in place
So, yet again, last few weeks turned into working on lots of little bits simultaneously.
But, finally, one of them is done - and therefore, something to log.. ahem, pardon, b-log, about :).
The brake line.
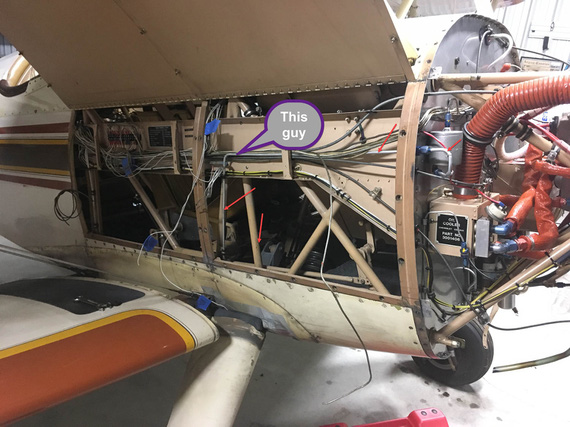
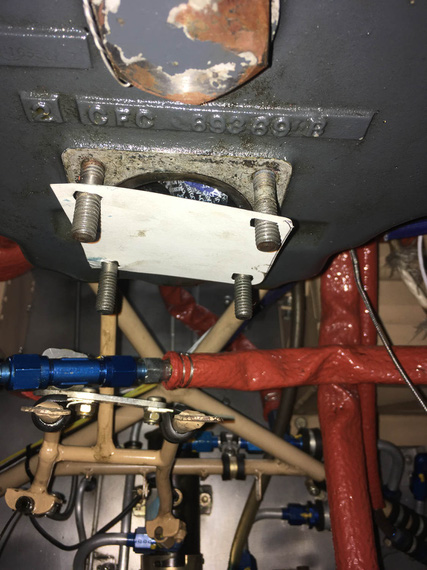
The old brake line
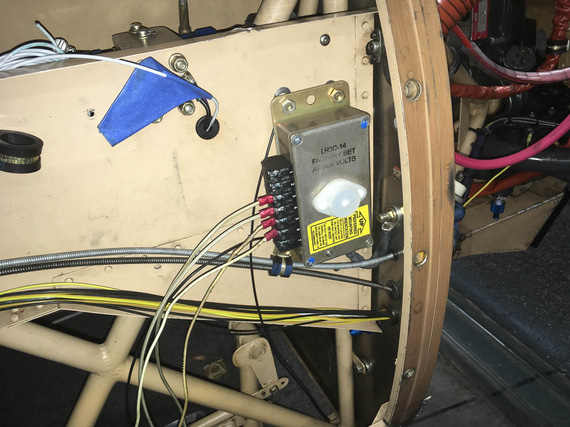
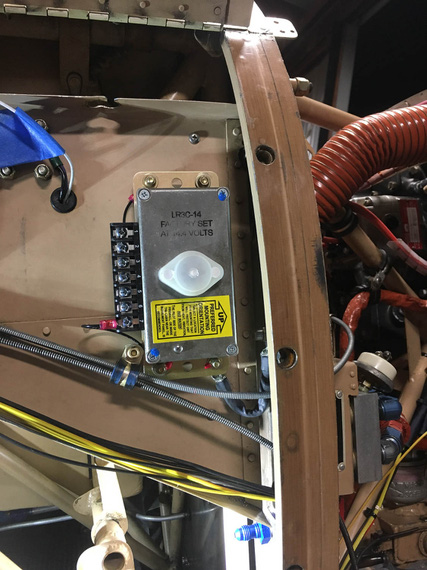
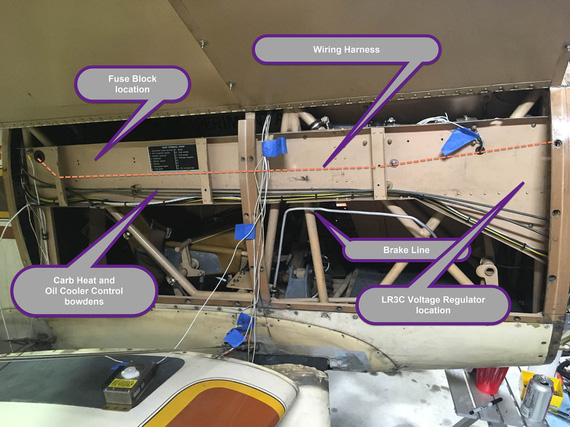
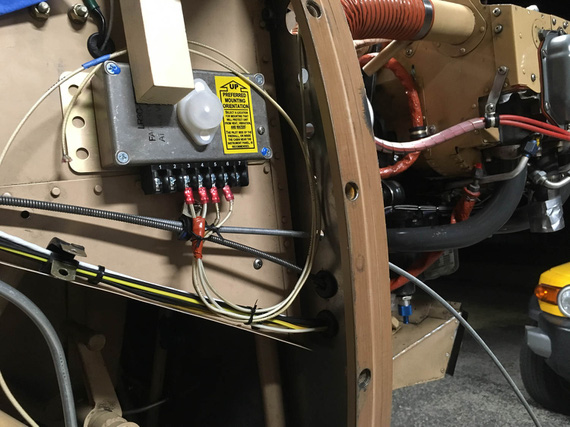
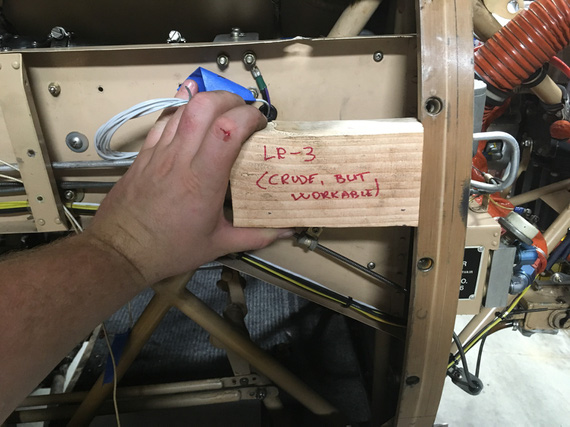
I needed to relocate this bad boy to free up room for the Voltage Regulator. This is the older picture - I have long
bent it out of the way and cut off a chunk. It was to be relocated to run below the conduit.
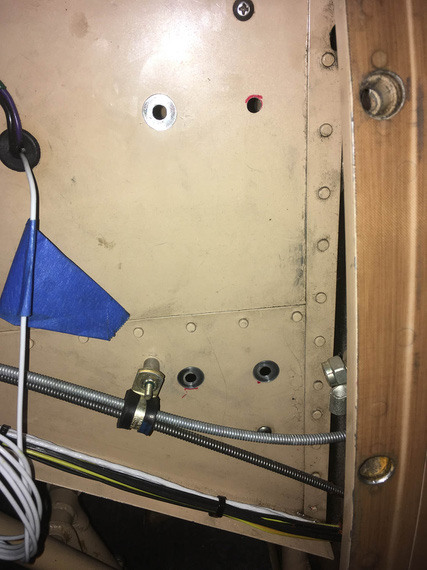
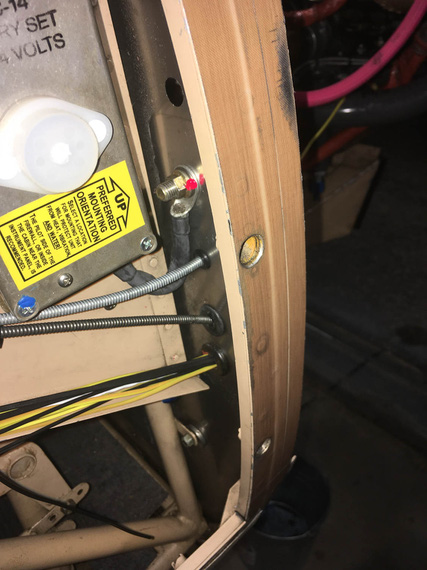
Well, first, we had to locate the hole in the firewall. And that depended on the line to the reservoir, firewall forward.
After having thunk a bit about it, decided to replace the 90 degree fitting in the reservoir with the 45 degree; and
the firewall bulkhead fitting with a 90 degree. That'd minimize the amount of bends and make for a neat job.
So, firewall forward we go first - that will locate the bulkhead fitting and the hole.
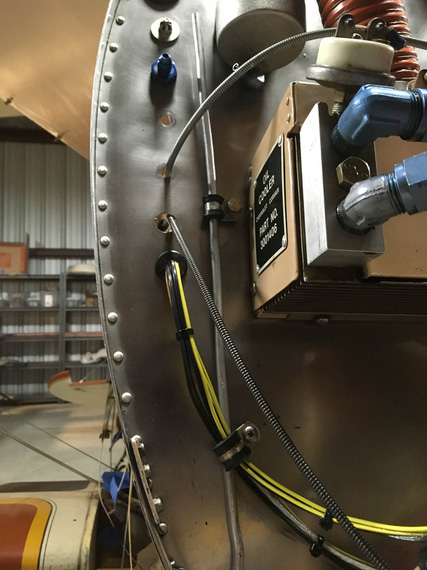
Mockup one
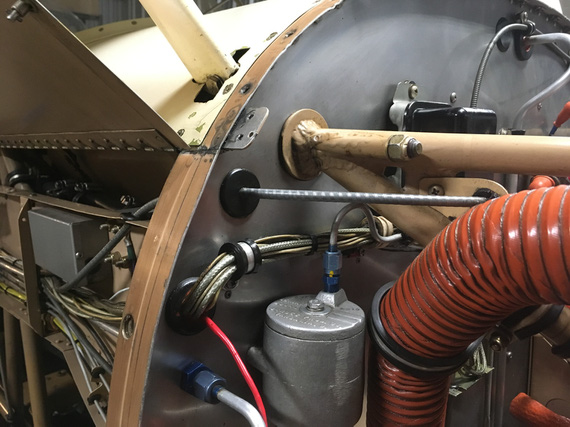
This is with old fittings in the firewall and the reservoir. The clamp on the mockup line is using an existing
hole in the firewall - nice happenstance; I'd have to plug it with a "blank" bolt otherwise.
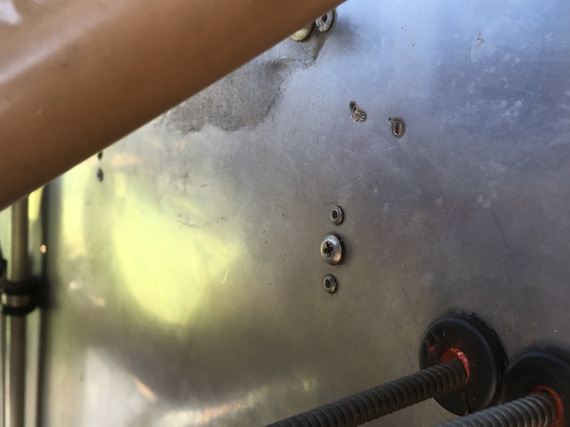
Then, "project" the tube onto the firewall, roughly mark the center, and drill!
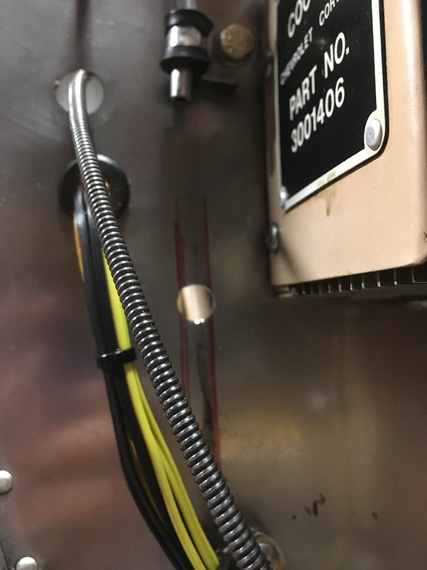
New hole!
And now, to the most fun part. Making the tube.
This was another first - never done tubes and flares before, so first of, had to figure out how to flare them
properly.
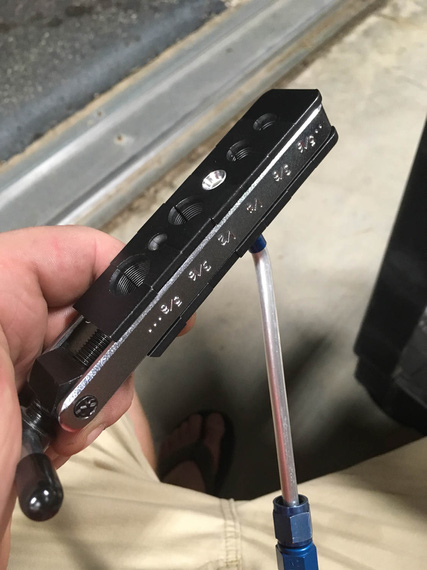
Flaring tool
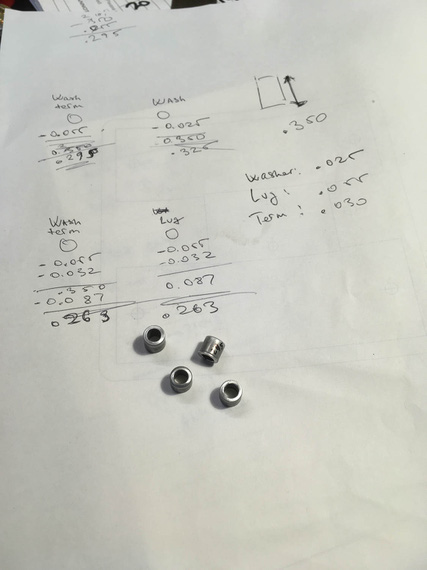
Question: by how far does the tube have to stick out of it to arrive at the correct size flare?
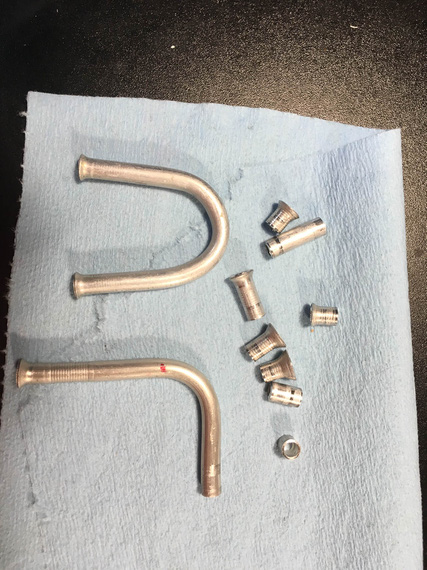
Practice (evidence)
Answer: 0.035. For the -4 tube. :) Yeah, those practice flares are not ALL the ones I made. Just some of them.
OKay, so the next question was how to actually make it fit.
My first thought was,
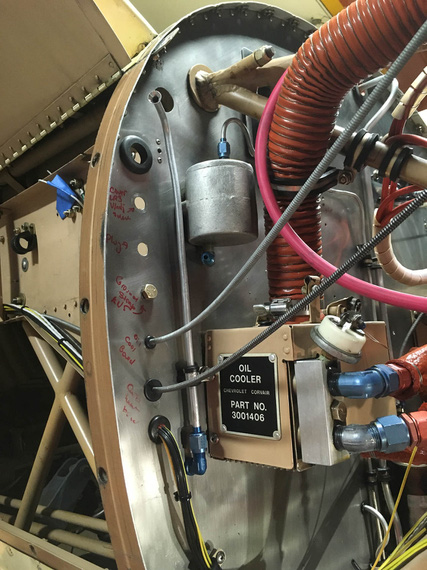
Bottom hooked up, top not bent yet
- Hook up the long portion (bottom)
- Mark out the centerline of where the bend should be
- Bend
The tubing bender has alignments marks for where the marked CL should go for different angles of bends.
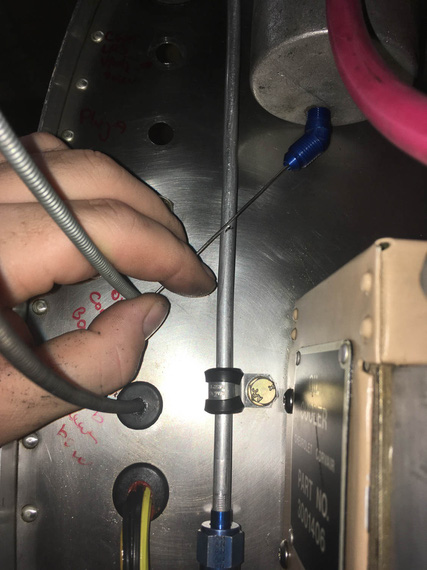
Marking centerline
What I didn't realize is that on this short a run, even a little error (bend being off of the ideal centerline by as little
as 1/16") would cause a total misalignment.
It did, of course.
Okay, second try.
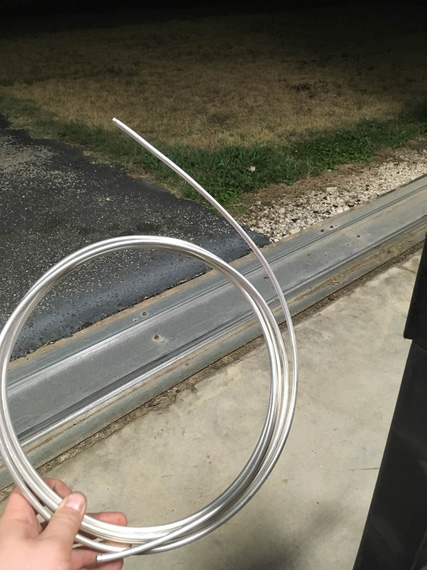
Real material!
I pulled out the roll of the new tubing, too. Partly to motivate me. Partly because I ran out of the chunk I've cut off
of the old line.
This time, the idea was to bend it first and get the bend angle just right. Then, trim to correct length.
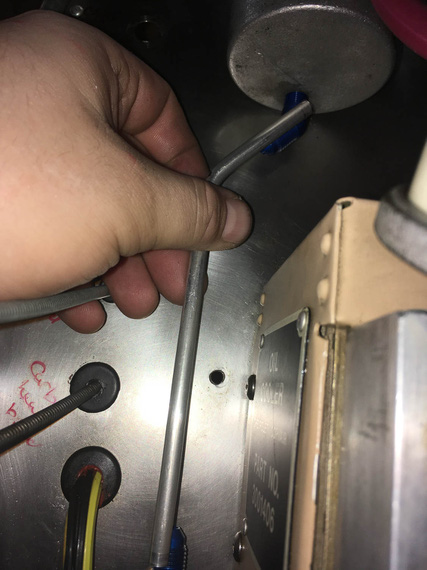
Bend angle first
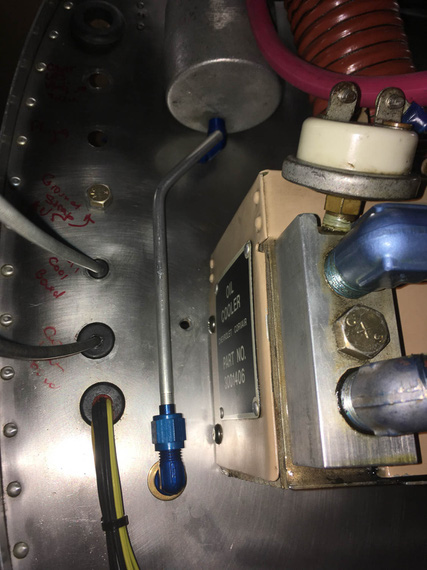
Trim, flare, hook up the bottom and mark the top
This actually worked.
Question. If you have a fitting with a flared end, where to place the cut mark, so that after you cut, and deburr, and
flare it, while it's sticking out of the flaring tool (un)-precisely 0.035", it fits?
Answer? I don't know. I think I got lucky :)
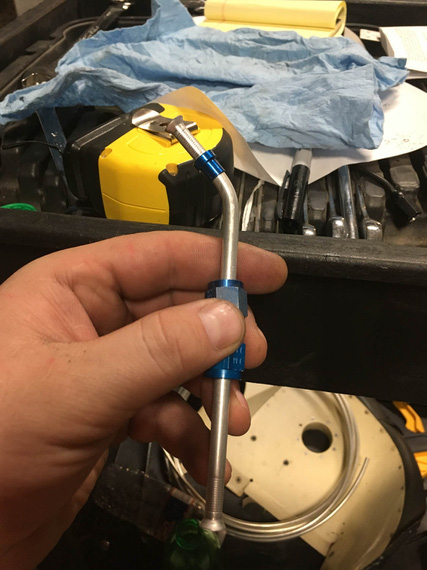
All done
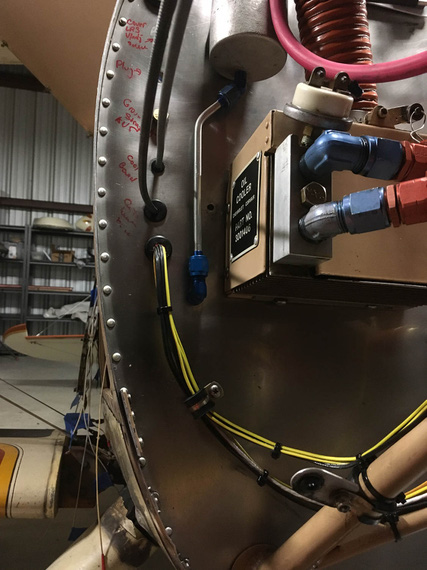
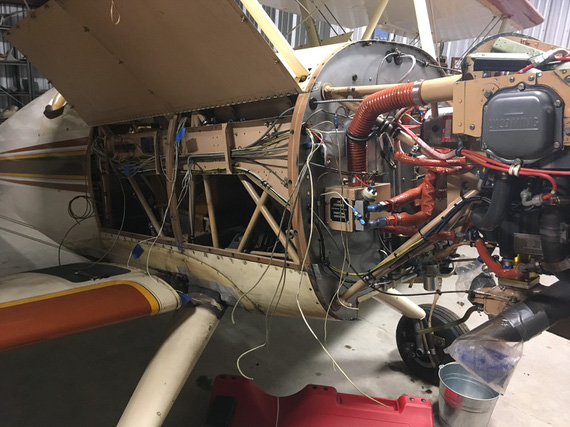
Installed
It fits perfect. I have no idea why the fitting there looks crooked - probably weird camera angle. It's straight :).
Okay. Time for the Big Kahuna - the actual long line, running along the conduit, and under passenger's seat.
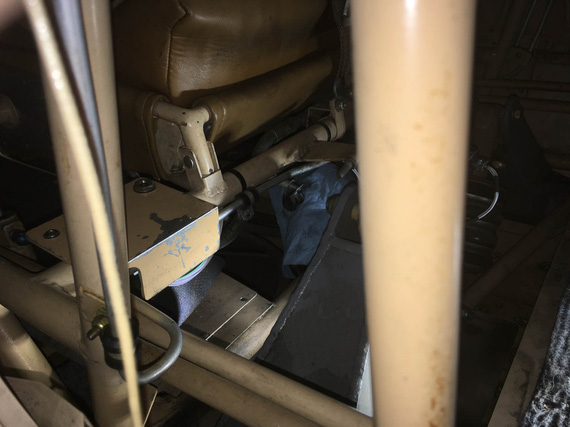
Under the seat it goes..
See that line? It goes down, turns, turns again, and again, and then goes to the center of front seat's front, and goes
under.
It was rubbing against structure in a spot, too - so I wanted to clean all that up.
~30 minutes of head scratching yielded clamping arrangement that would work.
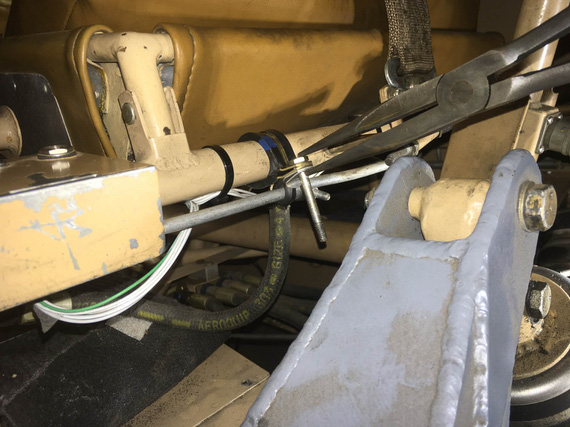
Clamps
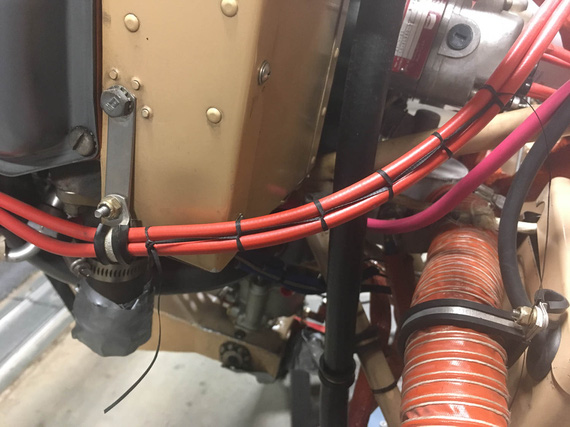
By the way, I am stealing this arrangement shamelessly from my friend Mr. Gary Vogt of AuCountry Aviation fame. He uses similar arrangement to organize wires along motor mounts. Genius, really - and I have never
seen this before (but I likely am a total idiot, anyway).
One final mock-up, and we're good to go.
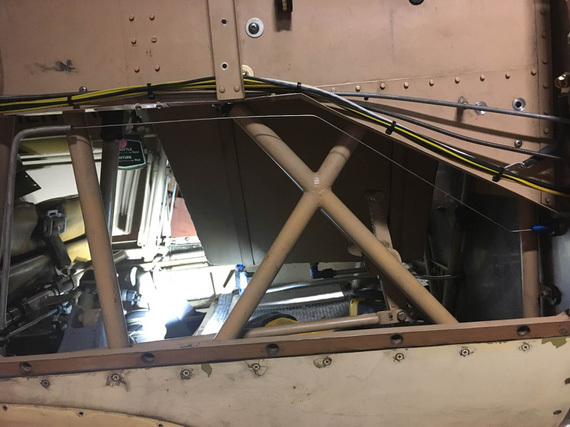
Safety wire for mockup
BTW. How do you make safety wire straight? Chuck it into a drill, and spin a bit :). It'll work harden a touch, and
straighten out.
Okay, now, let's do the actual new line.
Unbend a long enough piece of tubing from the roll.
Pull out the old line. (and use it as a template!)
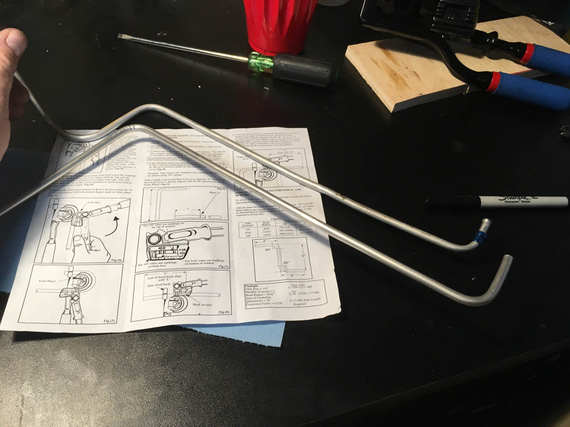
First two bends
Old line on the top, new on the bottom. I made the "tip" (that first section on the left) longer and planned to
flare it later - can you guess, will that bite me or not? ;)
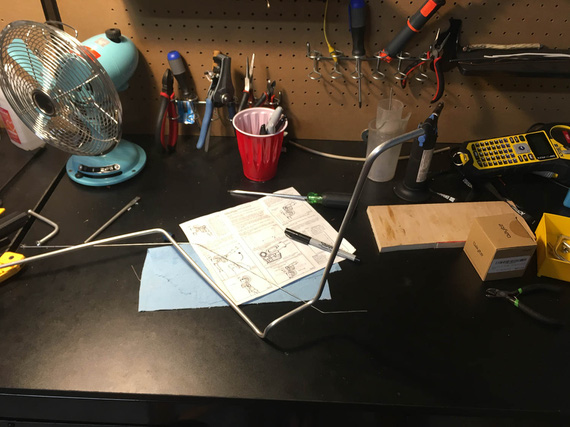
Getting close
Once I got to the point where the complex section (the one that goes from under the seat, to the side of the plane, and then up, and down again to run parallel to the conduit), it was time to try it on.
Maneuver it in.. it fits! Perfect! Bends clear all the right spots and fit in all the tight places.
Okay, now, time to actually attach it to the fitting under the passenger seat, hook it up with temp clamps, and do final bends
and trim to final length in place.
But first, I need to flare that end - the one to go under the seat, where I left somewhat a longer stub to be trimmed later.
I trim it. Perfect length.
Crap! It does not go into my flaring tool now. It's way too short for it. WAAAY too short.
See, the flaring tool has some thickness to it. The sleeve has to fit on the tubing before you flare, and takes up another 1/4"
of it's length. And, it won't go thru the bend. So there's a certain minimum length of straight tubing required for you to be
able to flare it.
And, I already cut it off :( And I can't unbend it - it'll just break.
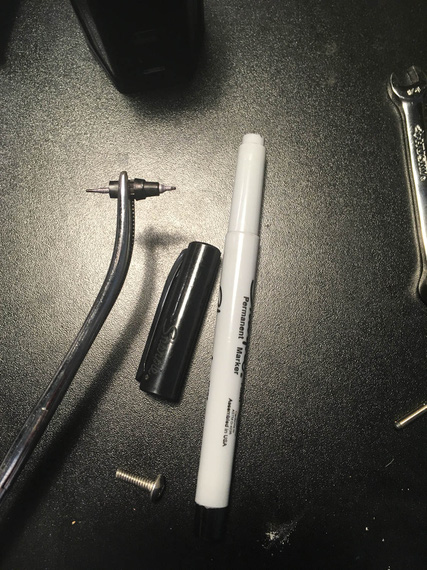
Okay, I'll admit to this. I did try to unbend it. I annealed it back to soft (torch + sharpie as temp indicator) and
actually did succeed at it. But, bend flattens the tube some - and the sleeve still won't go over it.
Besides, bending this big Kahuna was actually not that hard - much easier than I thought, with old line acting as
template. And, I had enough tubing. So, I decided to re-bend a new one.
Second try, I flared first. And then, I realized that Remo has probably bent his with a different kind of bender, or had
a different kind of flaring tool - my bender would make that first section a bit longer than what the original line had.
Well... it wouldn't interfere with anything (I checked). It'll make it run a bit at an angle, and stick out from the
seat a bit more... a bit uglier, but not a big deal (and I'll try to massage it into a bit more parallel run during final
install).
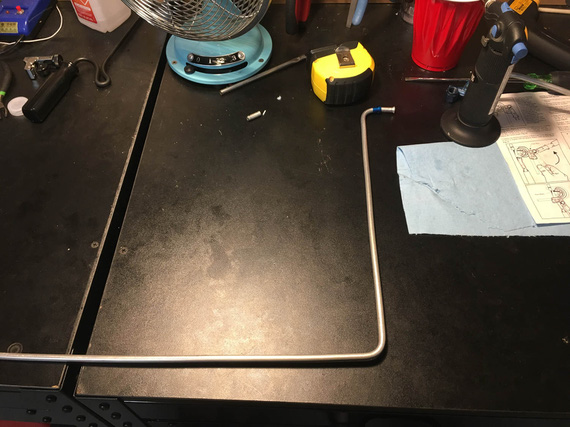
First bends - the first section (with sleeve and flare) is longer than original
Oh well.
Finished bending it, and installed it into the plane.
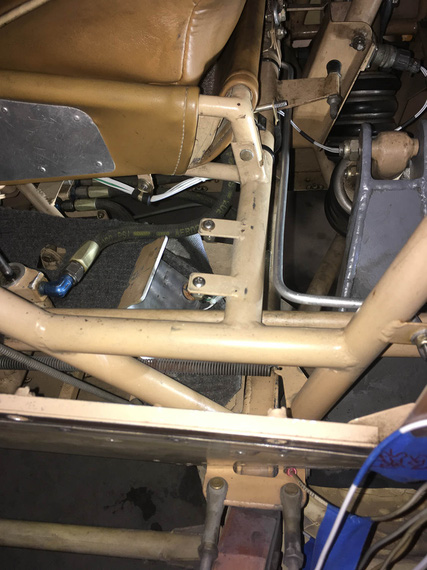
Seat to side...
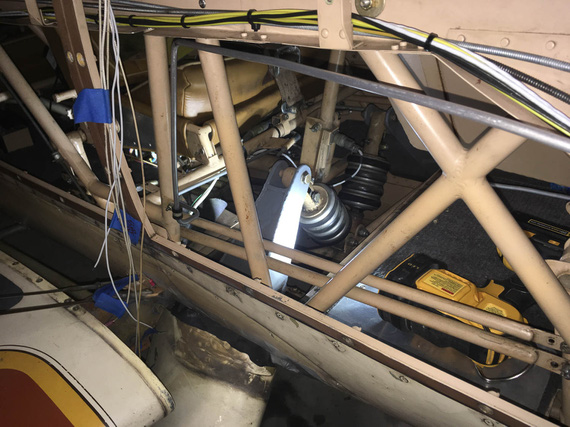
...and up the side
By the way, this is how this looks from under the plane.
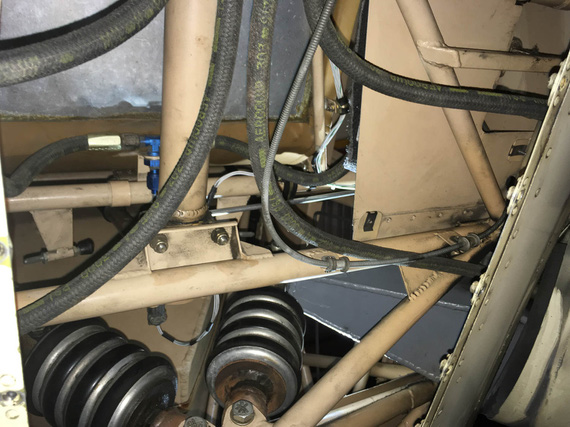
From under
The "front" of the plane is on the bottom of the pic. Can you find the line? (hint - it feeds the T with hoses attached to
it. Hoses go to master cylinders under rudder pedals).
OKay, so now to final bends and trimming.
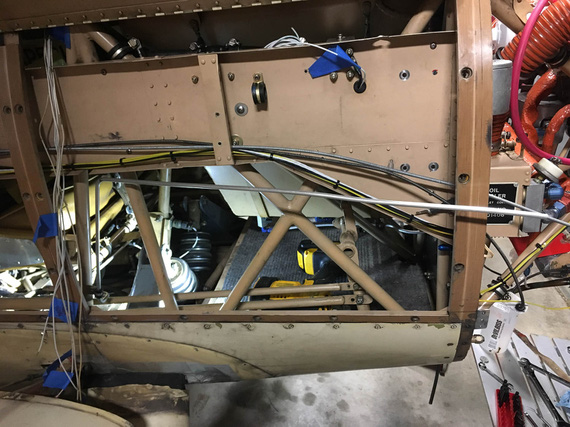
Still needs to be bent and trimmed
There'll need to be two more bends - "down" to follow the conduit and "out" to hook up to the bulkhead fitting on the firewall.
That geometry would need to ensure that I have enough straight tube to successfully flare it - learned my lesson there :).
So, our little safety wire mockup to the rescue.
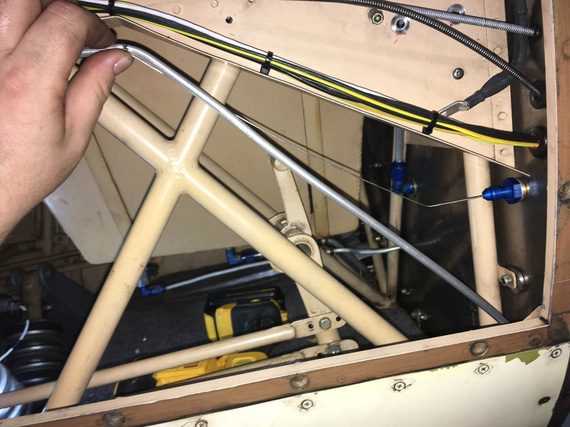
First bend made, marking / eyeballing the second
What I didn't realize is that this long line is much easier than a short stub. Even if you make a mistake, you can massage
the line into compliance, "smudging" your mistake over the whole length - mistakes like wrong angle, a bit short here, etc.
Though, marking precisely does help. :)
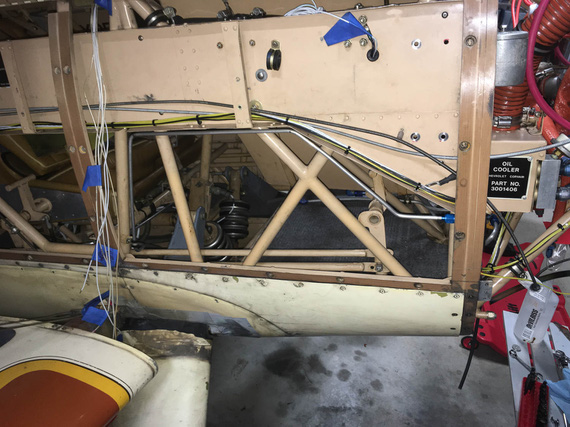
All done
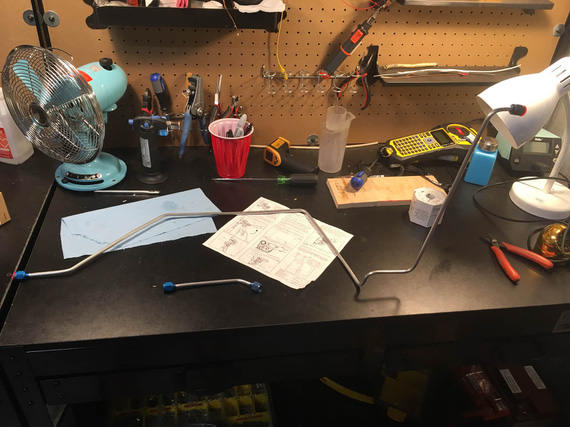
Two new tubes, all ready
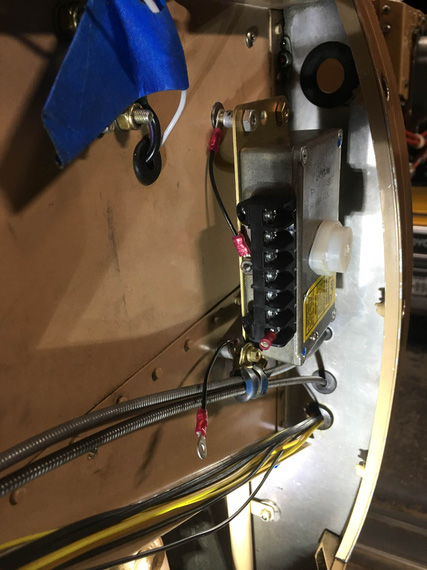
I guess, mounting and bleeding is next; but for that, I need to replace the busted cylinder on the wheel, attempt to fix the leak in the parking brake, and re-pack the wheels (or I'll be re-bleeding the brakes later). I want to install the voltage
regulator first, too, because that will minimize me messing with fasteners in the vicinity of this line.
Oh well.
PS: at the time of this writing, I am actually more than 50% thru with both of finishing up brakes, and voltage regulator. :).
"Approach, what's the tower?"
"That's a big tall building with glass all around it, but that's not important right now."
-ORD ATC
Up ↑
