[79FT]: Building Things |
 |
Electrical Disassembly
...fun with wires
| On: | Jul 01, 2019 |
| In: | [Chickenhouse Charger] Electrical Rebuild |
| Time logged: | 13.1 |
| Tags: | 6781G, MA5 Charger, electrical, soldering |
Well, all the electrical on the Charger is disassembled now. I logged about 24 hours doing it.
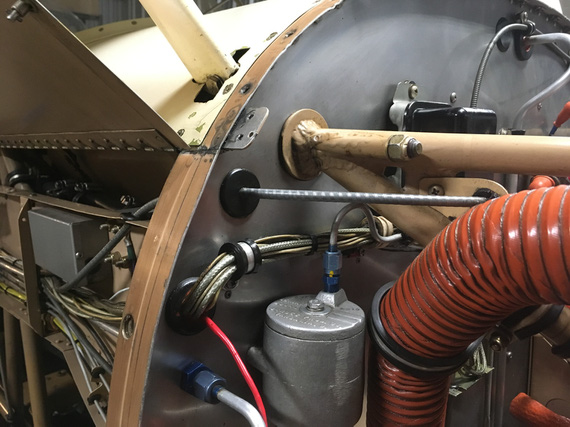
Firewall wire harness, looking into the side conduit
I have started with wires on the terminal block and in the side channel, and was moving back and forth between various locations - get bored in one, move on to the next.
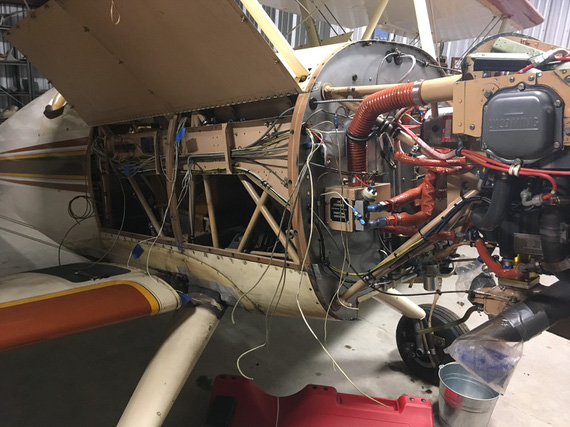
The disassembly has begun!
In the side conduit, going on the right side of the plane to the back cockpit, I was slowly removing the wires, and the oil and fuel pressure lines.
Had to be careful to mark the wires I wanted to keep - all the wires going to the lights, and some instruments in the front and back.
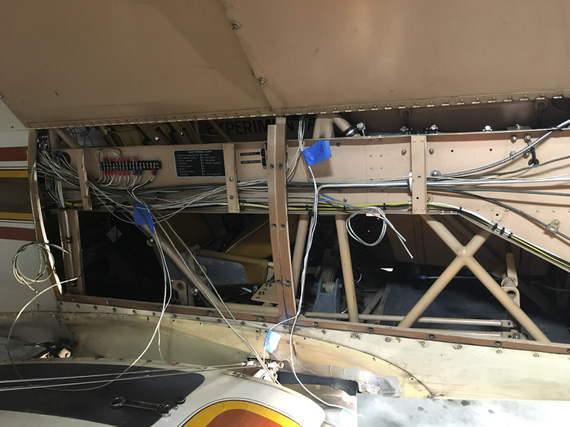
Wire by wire...
I would cut them off, and pull them out one by one.
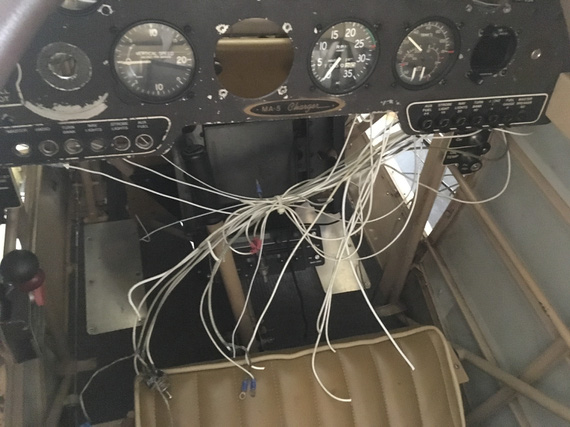
Behind the panel is a rat's nest!
I pulled the mechanical tach and it's cable, and the oil temp and pressure and fuel pressure gauge.
By the way, the oil temp gauge was unpowered! And still ran on a thermocouple - but it's huge, to generate enough power to move the needle.
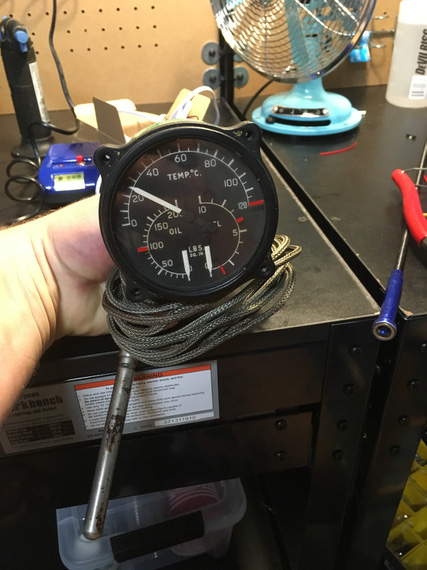
Old school!
Heck, I'm keeping it as my IHT Gauge!!! (Internal Hangar Temperature, that is). It just looks too cool.
Eventually, all the wires were gone from there, aside from the ones I'm keeping; and the ones I'm keeping got temporarily marked.
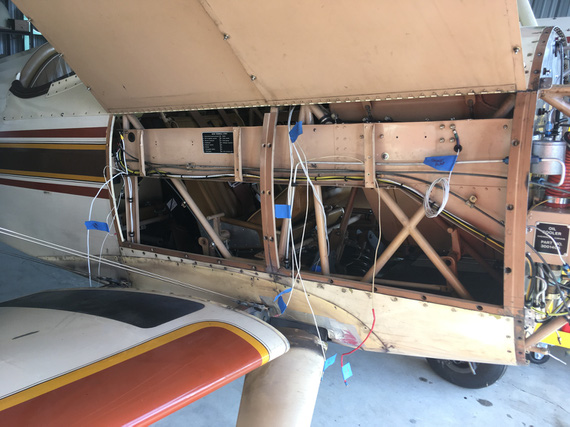
All done!
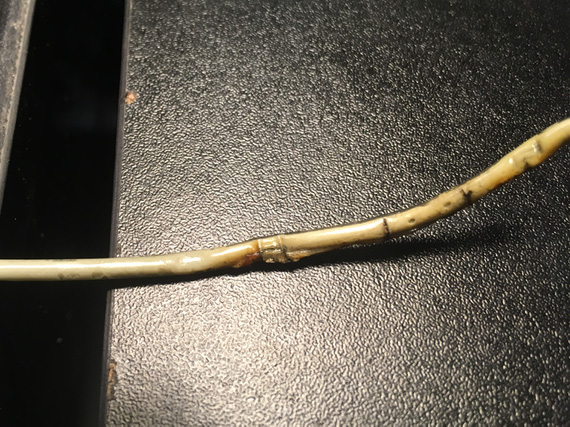
By the way, I found a burnt wire! Was one of the unfused wires going to the voltage regulator.
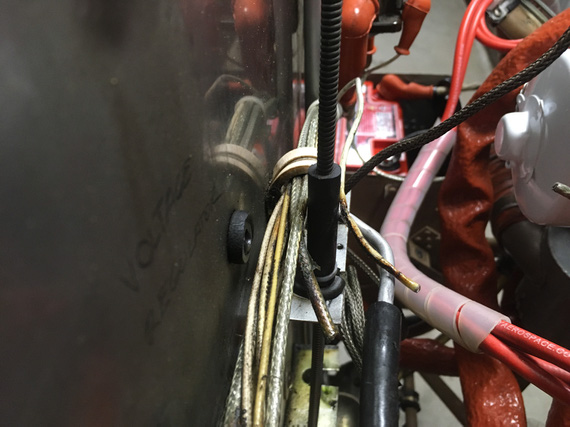
Burnt wire - can you see it?
I cut off the burnt chunk.
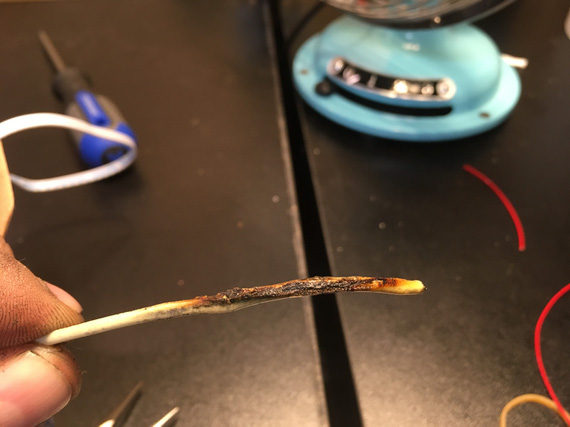
Front
Back
See those little "boil bubbles" on the back side? Insulation was super brittle, and just a minor twist cracked it open.
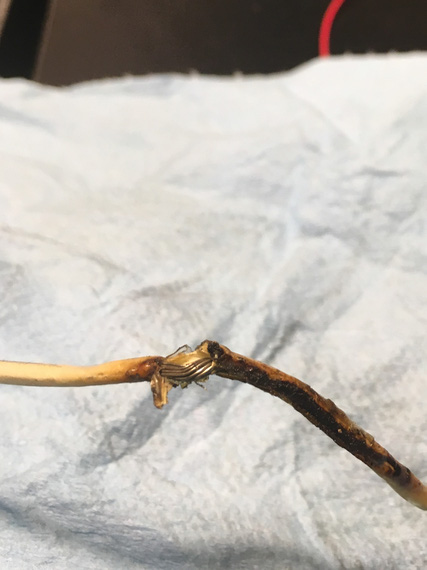
Cracked
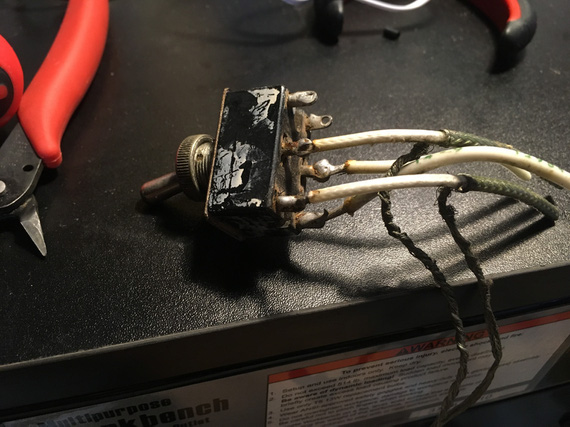
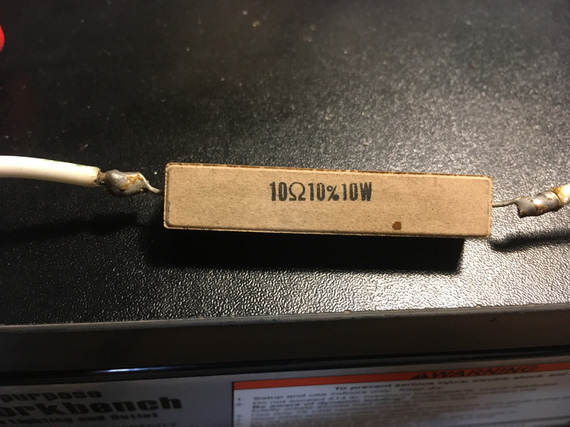
Meanwhile, behind the panel were a couple of soldered things - with wires unsupported. One of them was the master switch, the other one was this weird resistor in the voltage regulator circuit where the low voltage alarm light was supposed to be.. go figure.
But look at the solder joints:
Master Switch
Resistor
Notice, they were not done very carefully (especially the ones on the Master Switch). Flux was not cleaned. But! The joints look, and are, solid. They are almost 40 years old.
I think I am officially now in the "no soldering on airplanes is an old wife's tale" camp.
At some point, I decided to take a break, and try on the new Voltage Regulator I'm planning on installing.
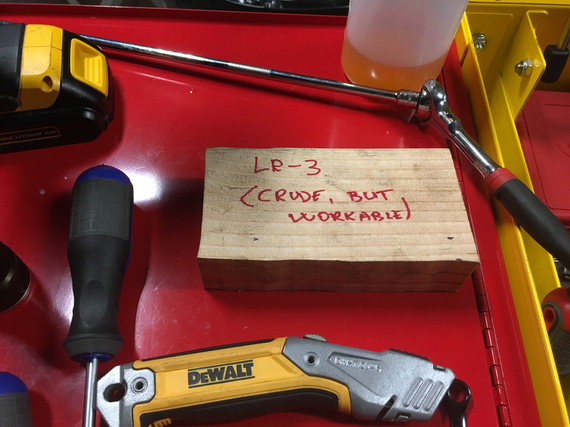
....it's not up to scale, and I did not have the time to paint it...
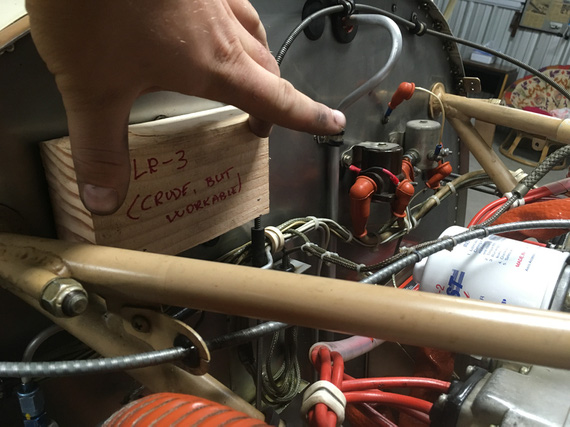
FWF location
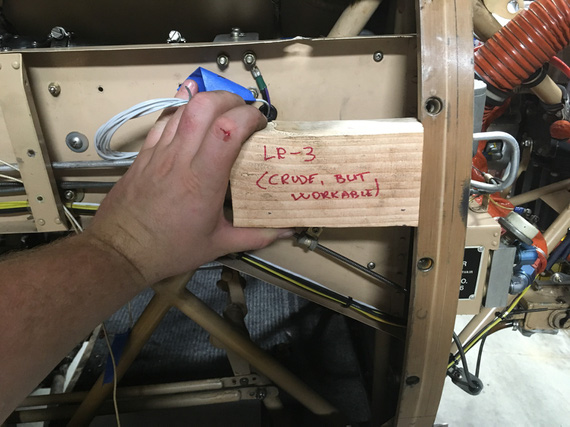
Side Conduit location
I'm thinking I'm gonna mount it in that conduit on the side. It'll stay cooler, and generally be tidier. I'll use the space occupied by the old voltage regulator for my current limiters and the ammeter shunt, though still need to think a bit more about placement. Maybe those will go somewhere else, too.
By the way, the old voltage regulator in all it's glory:
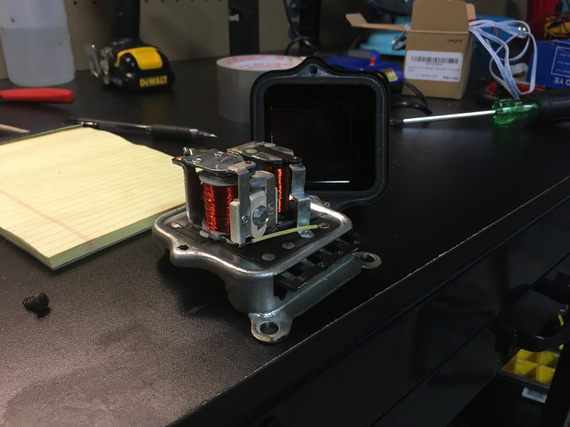
A Mechanical Switching Voltage Regulator
I also completely removed the strobe - I'll be replacing nav lights with SkyBeacon/SkySensor; which will cover my blinking needs.
Wanna see a couple old electrolytic caps? The strobe power supply still worked, by the way!
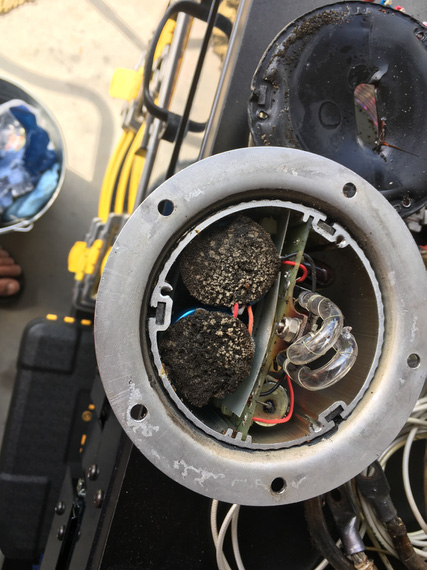
The Strobe power supply and bulb
I have disassembled the charging and starting circuits completely, too. Since I'm redoing everything anyway, adding better wires, and new terminals would not add too much expense, and be good for the system. I also want to modify how battery is grounded.
Found this next to the Master Contactor
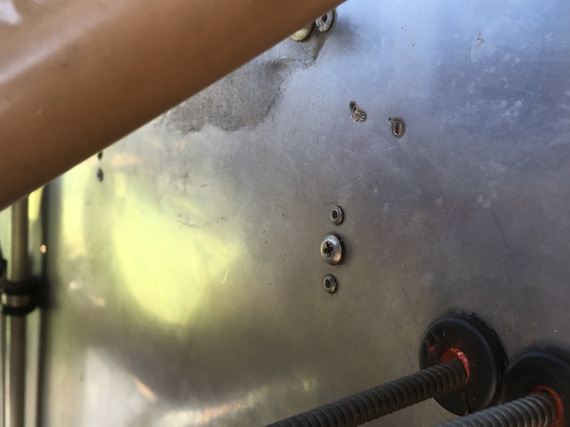
Accidental welding on firewall
Do you see it? Two spots, above the screw? Someone didn't disconnect the cable when working on her! :). (And, no, that wasn't me)
And finally, here's how almost the entirety of electrical system looks like.
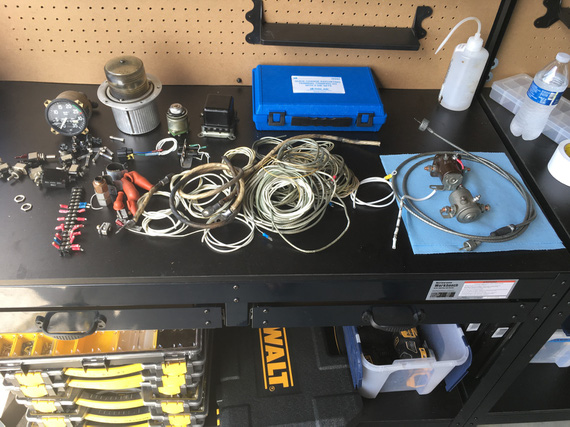
Most of the electrical of a biplane
Some swithces, some fuses, some wire, and that's it!
Try to keep the number of your landings equal to the number of your takeoffs.
Up ↑
© Copyright "79FT". All rights reserved. Feel free to cite, but link back to the pages cited.
This website only shows how I did things in my various projects. These pages are for information and personal entertainment only and not to be construed as the only way, or even the perceived correct way of doing things. You are responsible for your own safety and techniques.