[79FT]: Building Things |
 |
Baffle Seals
...are baffling!
| On: | Mar 13, 2021 |
| In: | [Chickenhouse Charger] Electrical Rebuild |
| Time logged: | 20.5 |
| Tags: | 6781G, MA5 Charger, FWF, baffles, engine |
One last thing identifiable as a "sub-project" left! Also, the most annoying thing probably.
Baffle seals.
The old ones were cruddy, petrified, and worn. In fact, baffles were what I was working on when I discovered that I needed to rebuild the electrical.
So I guess it made sense to finish where I started.
I pulled the old ones out of their bag, looked thru my notes of what goes where, and put them back up.
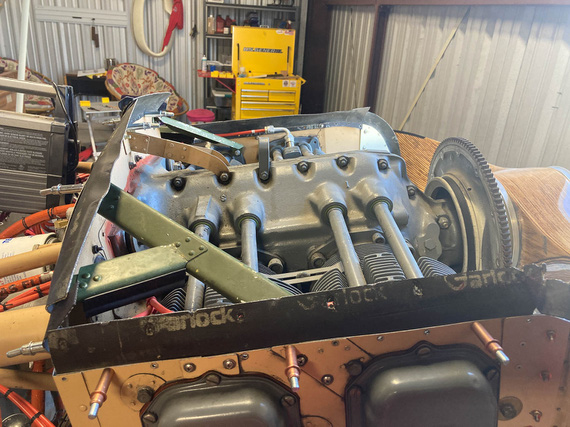
Old baffle seals back on
And then, duplicating and tweaking.
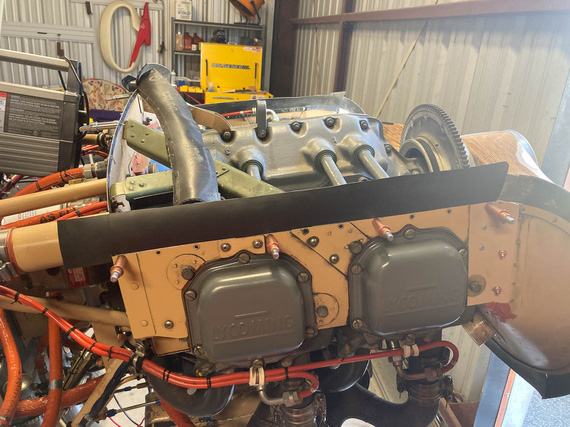
New seal fitting
Weirdness number one - or rather, unusualness? - was how Remo hooked up the nosebowl. On most airplanes (and on the plans as well!) the nosebowl is just held by the rest of the cowling.
On this Charger, Remo decided to hold it on four U-channels bent out of aluminum going from the firewall to the nosebowl. Those U-channels would also act as cowl stiffeners.
Here's one of them, on top of the engine baffle.
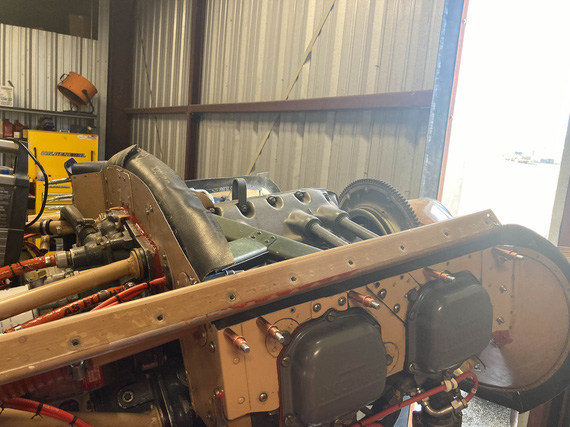
Hosebowl support C-channel
I even think I know why. He probably attached the nosebowl to the flywheel with some kind of a jig, lined everything up the way he liked, and made those.. stringers? I'll call them stringers. In place. That held the nosebowl, and he could build the rest of the cowling around them.
Problem?
Well, the two on the top have to go "thru" the "airbox" that's created between the motor and the top cowl, making two nice holes in it - and allowing air to escape thru them rather than be forced down thru the cylinders.
Here you are looking towards the firewall thru one of those hose.
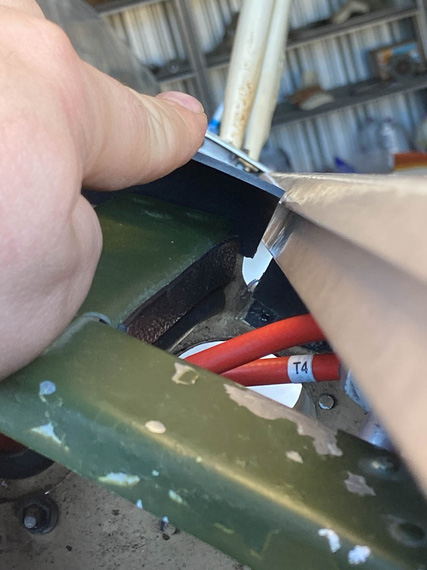
Hole
I pondered this for a while, asking Mr. D. if on his Eagle he built he had anything like that. He said no; his cowling was "normal". No "stringers". I thought about making some small strips and attaching them to the "stringers" to plug these holes. I thought about maybe filling them with RTV (making those stringers' removal a fun affair).
At the end, decided that for now, I am going to ignore it. There are much larger "takeoff" holes right there - for the oil cooler on one side, and for the fuel pump on the other. So, there.
The other problem was that instead of using standard 1/8" large-head pop rivets almost everyone uses to attach the seals, Remo decided to be "frugal" (weight savings?) and used 3/32" rivets on the back baffle. He used 1/8 rivets on the side baffles alright; but instead of using large-heads, he drilled the holes too close to the edge and used a "retaining strip" - basically, a narrow piece of aluminum on the "rubber side" that acted as one long washer.
That's all good, but of course they were old, torn to pieces due to vibration, and basically all broke up when I removed the old baffles.
I toyed with the idea of using large head rivets or emulating them with washers.
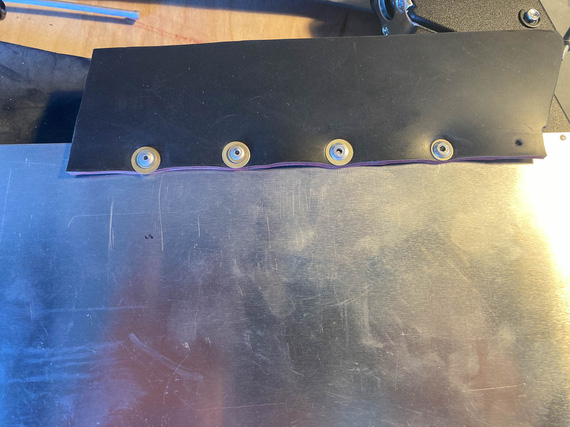
Large head rivets emulated with washers.
Talking to Mr. J.F., one of the IAs on the field, he seemed fine with that. Mr. D of that Eagle fame said it was a good idea too. Mr. J.F. said, "baffles are baffling", by which unwillingly contributed to the subtitle of this rant.
In the end, I ended up remaking the retaining strips.
Why?
Because the holes were too close to the edge. A larger diameter rivet or washer will "poke in" to the seal when it bends down, and quickly cut a slot in it. The seal will tear up, and.. well, that's the end of that seal.
So, the strips.
Using old ones as templates to replicate was out of the question - they were too beat up. So, the second best option? Make them in place.
First, the holes.
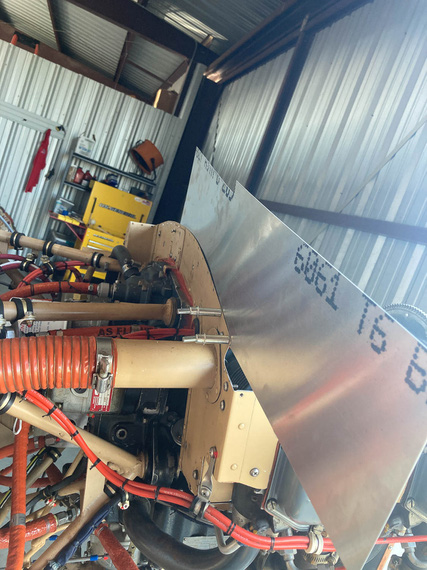
Drilling holes to match
Then, I would draw the edge onto the metal and take it off...
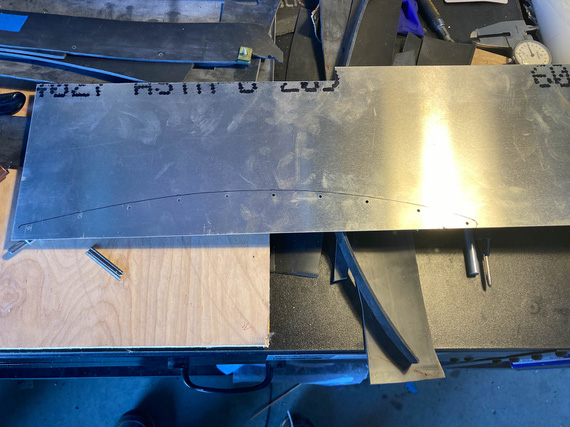
Top edge duplicated
... cut it, and put it back on to make sure the edges would match up
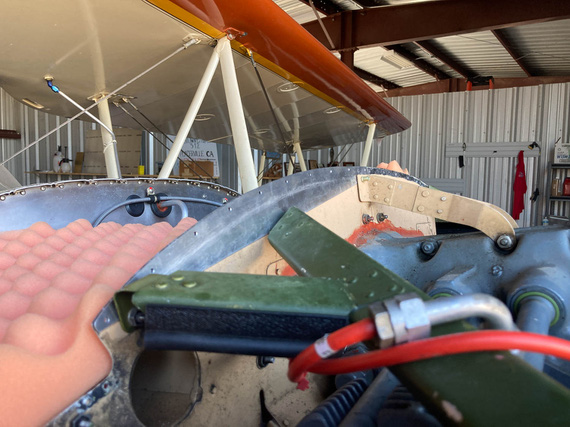
Test fit
The bottom edge would be duplicated off of the top edge using a compass, and - voila:
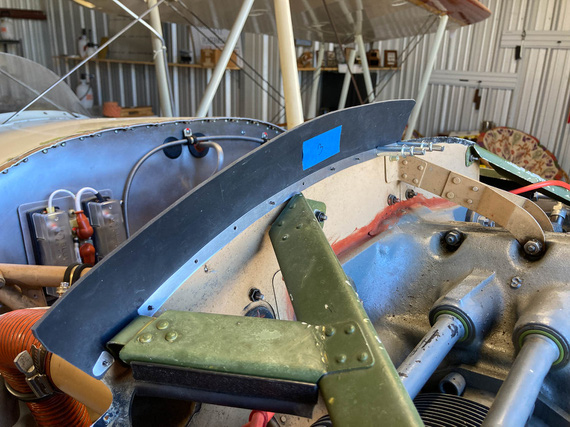
The new strip
The strip would be done.
And that, all around.
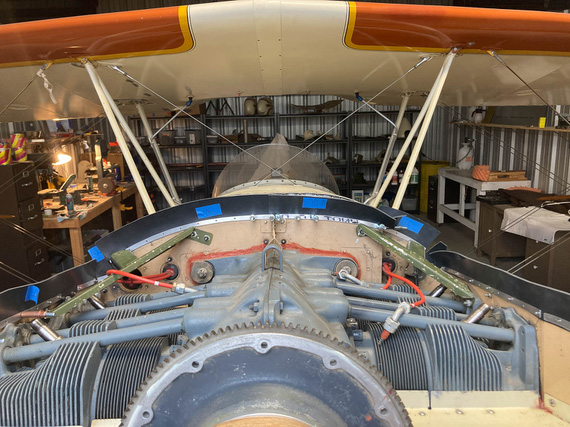
New retaining strips
Final test would be making sure it fit with the cowling - didn't pinch anything anywhere...
Except that...
Funny story. The top piece of the cowling was standing upright (grave mistake!) on the top of a shelf in the back of the hangar. For a year, or probably even more.
And then, one day, it did catch a particular gust of wind that so rudely entered the premises, couldn't stand the offense, and fell down.
WHACK! I heard.
First thought: "Please, not on the airplane!". No, it didn't fall on the airplane.
But it did mess itself up.
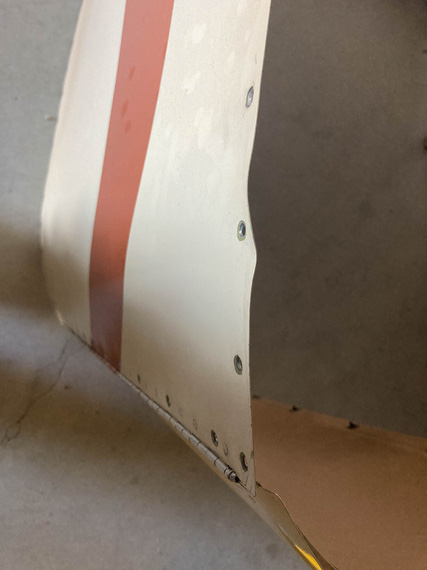
Bent cowl
So I guess I learned my lesson at not to steep a price.
Mr. M, the same Mr. M that welded my exhaust tailpipe back on made quick work of it with his very fancy shrinker.
The cowling went on, and I confirmed that everything would fit - because next, the seals would be riveted permanently.
Then, Mr. M decided to join me. He'd pull a Cleco, and I'd pop a rivet...
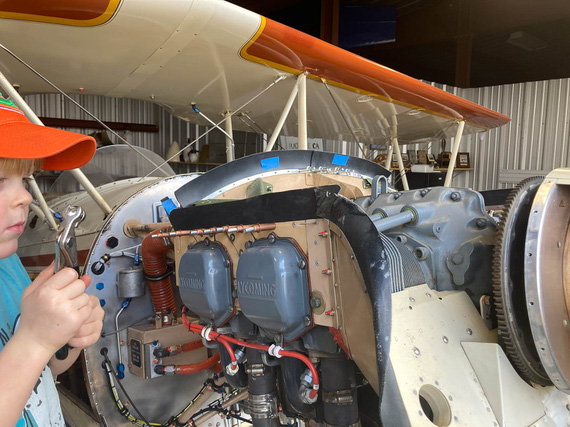
Riveting
...and, we were all done!
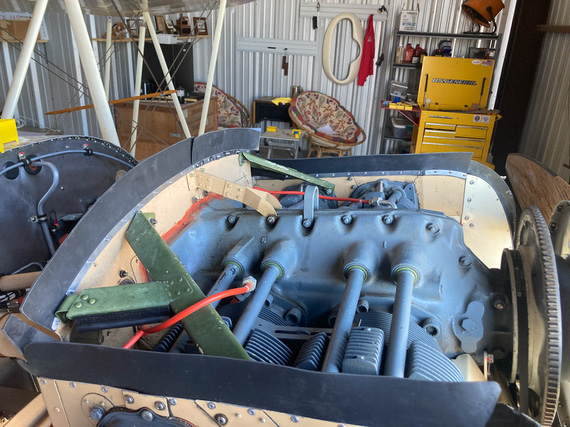
Done
Some final passes with RTV to patch up some holes between the metal and the motor, and I call this good to go.
CAUTION: Aviation may be hazardous to your wealth.
Up ↑
© Copyright "79FT". All rights reserved. Feel free to cite, but link back to the pages cited.
This website only shows how I did things in my various projects. These pages are for information and personal entertainment only and not to be construed as the only way, or even the perceived correct way of doing things. You are responsible for your own safety and techniques.