[79FT]: Building Things |
 |
The Shop Day
... and how it turns into two weeks
| On: | Jun 07, 2014 |
| In: | [Blog] |
| Tags: | tools, shop |
So, originally it was supposed to be the shop day. I was gonna clean and put together the compressor I picked up off a gentleman on Craigslist, and set up the air hoses, filters and such - and then, back to CAD. And then..
See, I was looking for a bandsaw. I wasn't in a rush, so I was gonna pick up a good used one; so I was watching Craigslist and such, waiting and waiting. After doing that for about 6 months and after I got tired of not having one; I finally said "screw it" and bid on one on Ebay.
I won it on Friday around 4pm; paid, and went home. Well; there, in my Gmail's Inbox, was a notification from CraigWatcher saying that yet another bandsaw ad was posted... I opened it up; and couldn't believe my eyes.
Someone was selling.. an 18 inch Grizzly saw for 250 bucks! I couldn't pass on it; and next morning was driving back with a 300 pound beast in the back of my car....
... and then, spent a week and a half cleaning it up. I polished the rust out of the table; changed some bearings, re-cut threads on the blade tensioning rod, added a 4 inch dust port (for whatever weird reason, Grizzly decided not to put a dust port on this particular model).
It also ran on the 220, so I had to add a 220 outlet to the shop... Decided to go all out; and added a 6 gauge run with 50 amp breaker, so that I can run a TIG welder off of it when I get one.
So now; I own two bandsaws :).
Here's the perpetrator:
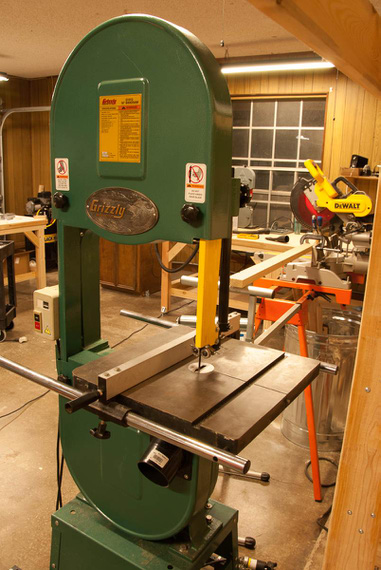
The Bandsaw
Since we're talking shop....
Right now Im set up in the garage of the old house we bought about half a year ago. Dash (my beautiful wife) is working on designing a new house we're gonna build; and that one is going to have a good sized shop. We will build that house first and then demo the old house; so I could start setting up earlier than I thought I would be able to; which is certainly nice.
But; Im dealing with 40 year old electrical; and other fun stuff..
Here are some pictures of that garage, ordered historically, as I was setting up.
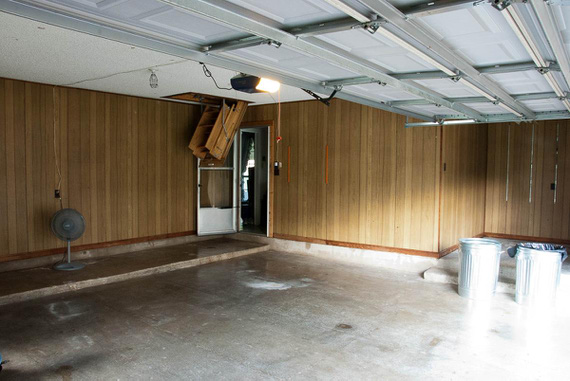
Just after washing everything with a pressure washer...
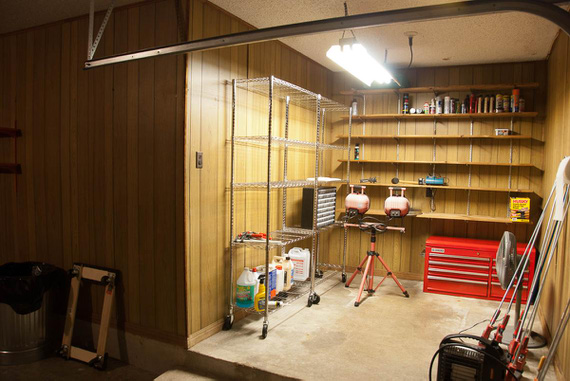
The beginnings of the storage spot
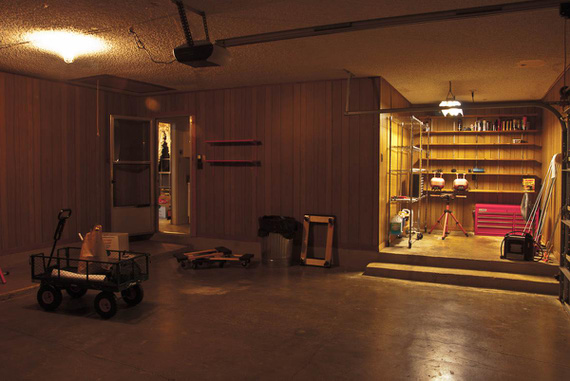
.. all that empty space :)
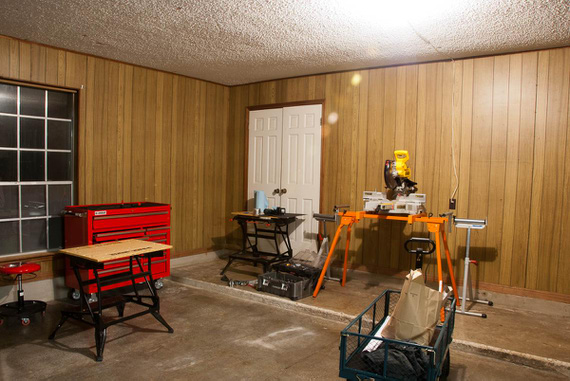
That's pretty much all my tools before I moved (the big red chest is new)
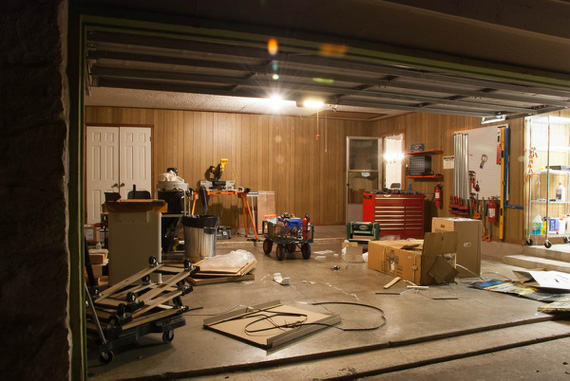
First batch of stuff - table saw, jointer, planer, drill press. Excited!
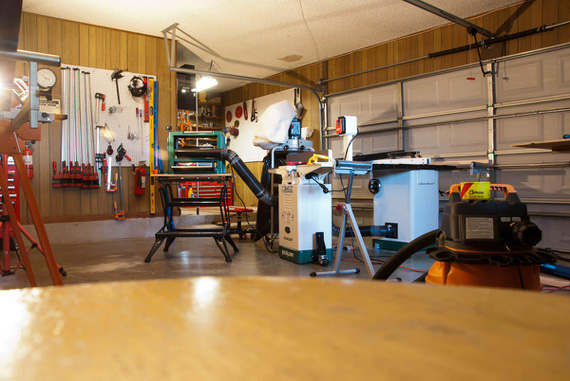
.. and set up!
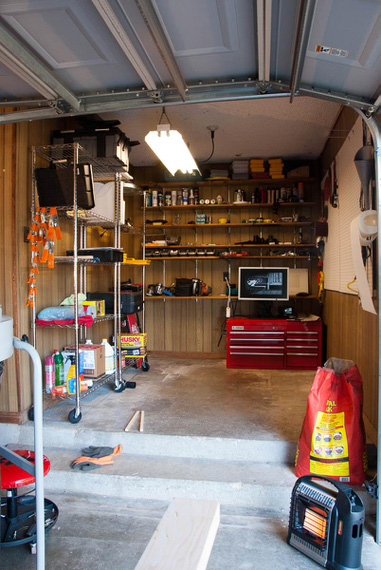
Storage's getting a bit more crowded
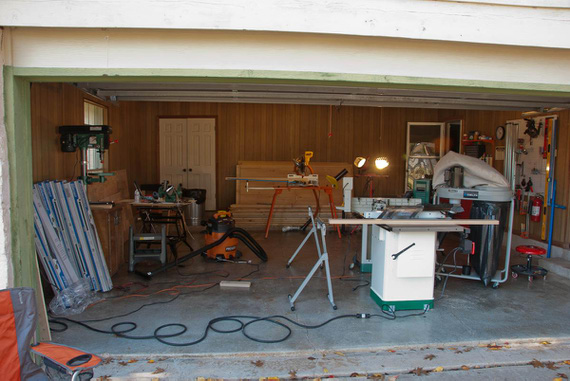
Setting up lighting. All that wood is for the benches.
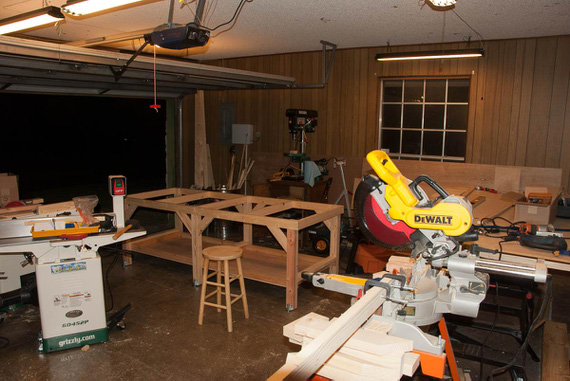
First bench - the frame is ready.
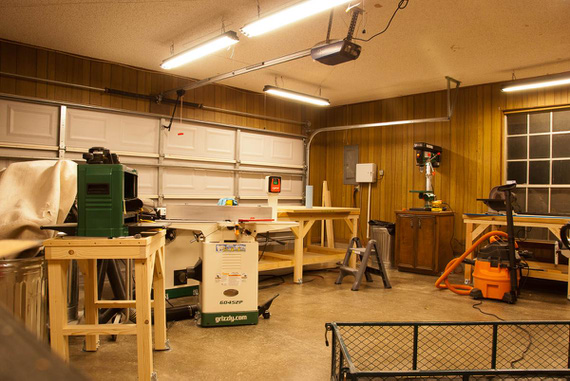
The benches are up - and this place is starting to look like a shop!
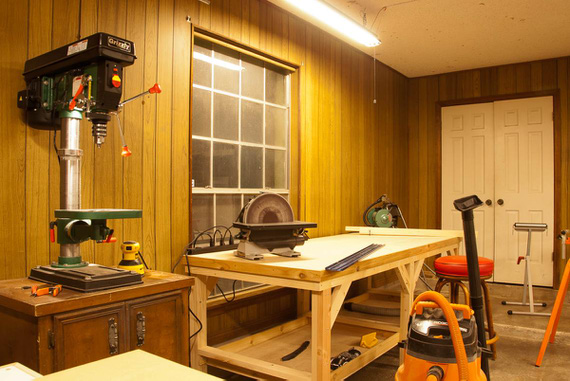
.. yep
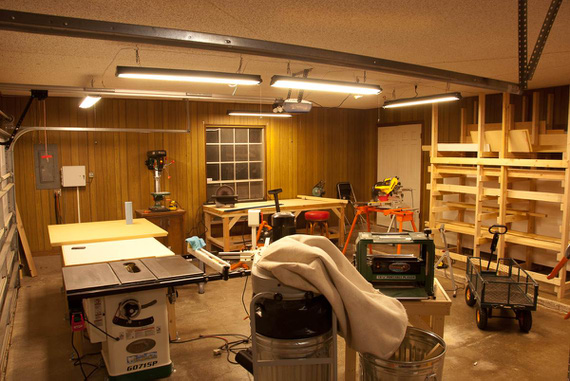
Next, some 2x4s put together into a material rack. Cleared a lot of space!
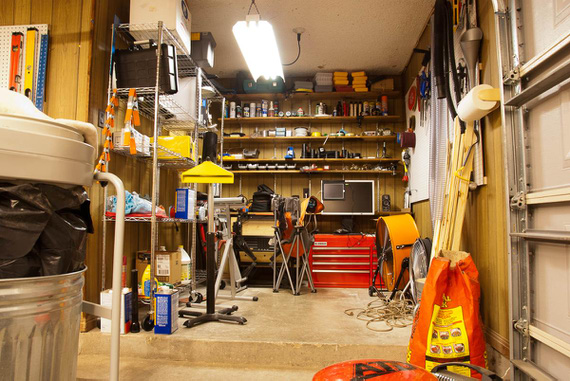
Storage again
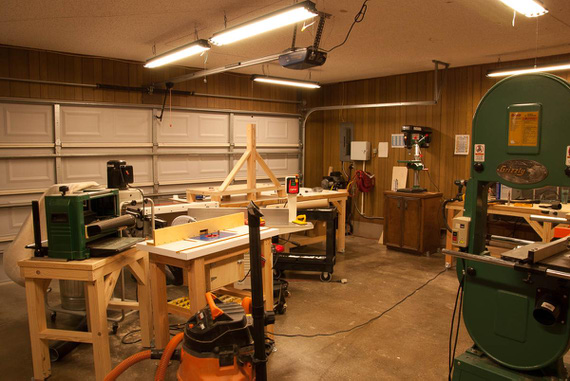
Air setup, router table, and The Bandsaw
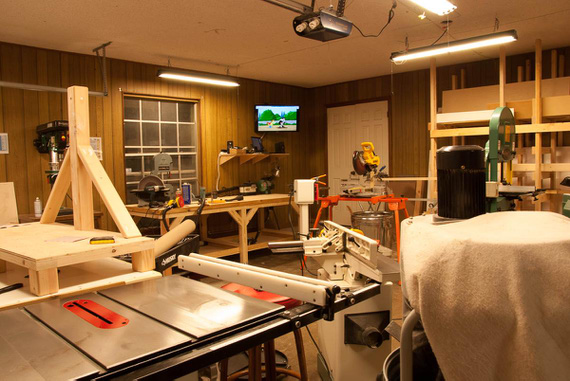
Added some entertainment :) Also, the little Delta bandsaw on the bench
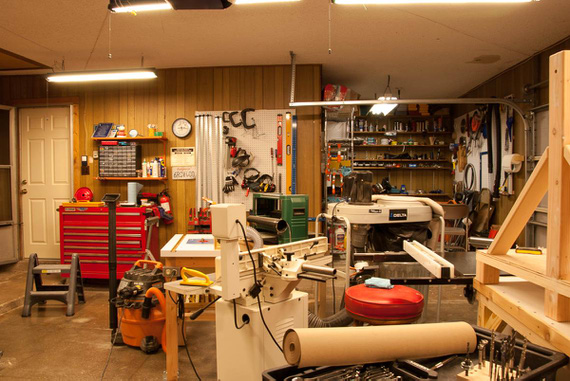
I like how this looks!
And here are a couple pictures of the tools...
Air setup is very simple, a compressor with a shutoff directly into an air filter, regulator, and 25 feet of hose on a reel. That reaches pretty much everywhere.
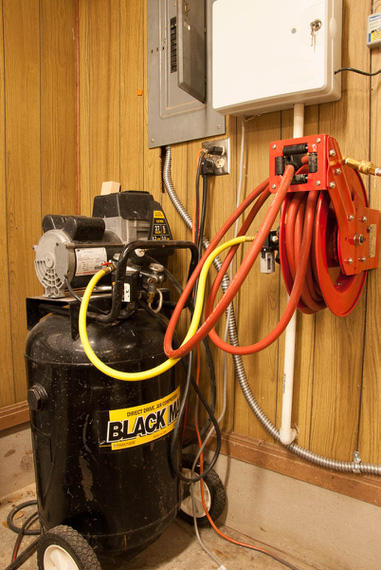
The Air Setup (very simple for now)
At some point; I measured the runout on the drill press -- got around 10 thousandths - no wonder why it was all vibrating when drilling deep holes!
Grizzly includes very cheap chucks and arbors with their presses... Gladly, the bearings have no play though. I ended up picking up a used Jacobs chuck on Ebay, and boy, what a world of difference! Used a SouthBend arbor picked up on Amazon.
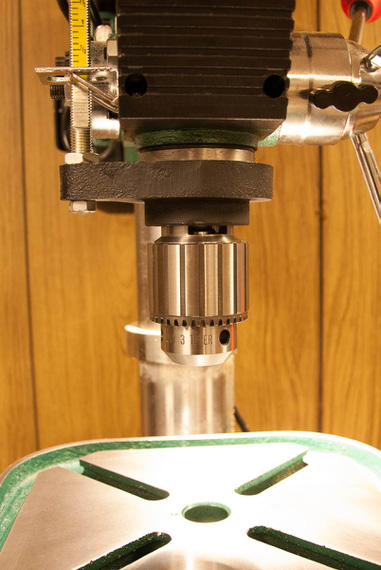
The Jacobs Chuck
I wanted a router table; but didn't want to pay around a grand for the one I like (and cheap ones are just.. crap, honestly); so I built one.
Top is two sheets of 3/4 MDF, laminated together. White Formica is laminated on top, bottom, and sides. All done with DAP Weldwood contact cement.
I bought the insert plate (though in hindsight, I should've just bought a hunk of aluminum and made it myself).
It still ended up being a bit out-of-flat, so I built a leveling system into the base (two bolts on each side are pulling the top "down", screwing into holes in the top with threaded inserts; and there are two screws pushing up on the top in the center of each long frame side. All that allows me to work out any non-flatness out of the top.
Fence is 3/4 ply; and the router sits in the box under the table. The box has 4 inch dust fitting epoxied on it on the other side (and the fence dust collector feeds into that fitting too).
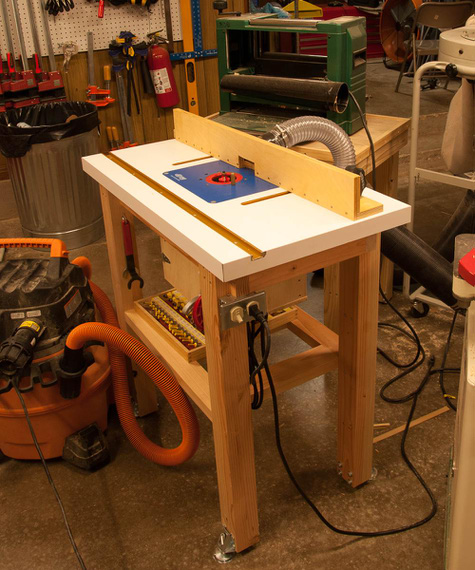
The Homebuilt Router Table.
"Sure you can have eight miles behind the heavy...there'll be a United tri-jet between you and him."
-ORD ATC
Up ↑
© Copyright "79FT". All rights reserved. Feel free to cite, but link back to the pages cited.
This website only shows how I did things in my various projects. These pages are for information and personal entertainment only and not to be construed as the only way, or even the perceived correct way of doing things. You are responsible for your own safety and techniques.