[79FT]: Building Things |
 |
Messing with Cheetah, Footstep and Friends
... all in TX summer
| On: | Aug 18, 2014 |
| In: | [Misc] Cheetah |
| Tags: | 9891U, flying, mechanicing |
Weekends are plane days now. I fly to my friend's hangar and mess with 91U, the Cheetah (I still need a name for her :) ).
This past few weeks Ive been doing little stuff here and there...
Cleaned up the nav lights lenses.
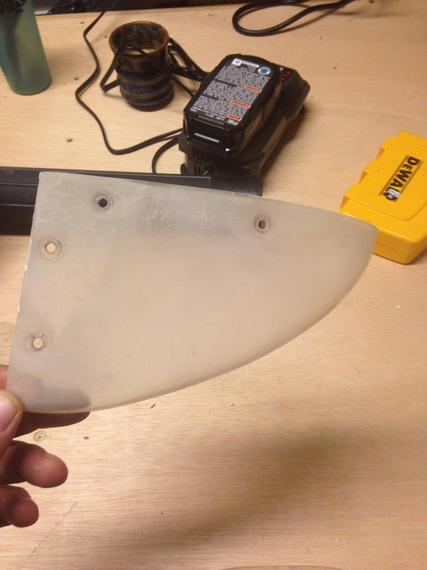
Before
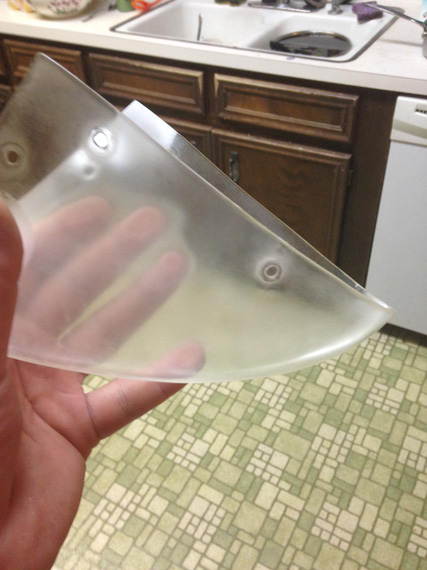
After
... they still look like crap, so I'll probably bite the bullet and buy a set of new ones.
Oh, and I need to make those vertical "shields" that cover the strobes away from the pilot's view.. Ill probably get the new lenses after I make those shields.
Started getting under the panel and cleaning things up, preparing for the CGR-30 Engine Monitor installation (I got one for a really good price at Oshkosh).
Taking the glareshield off, found this:
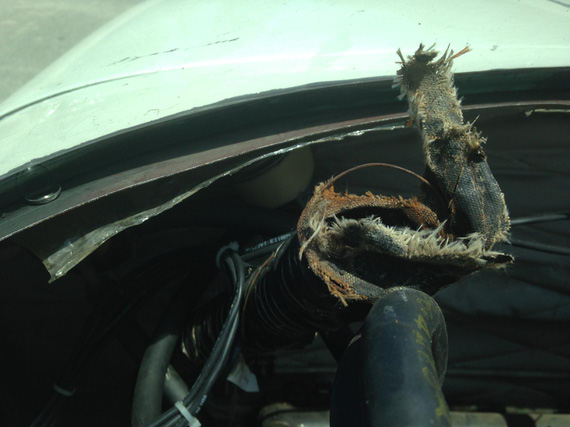
All dead defroster SCAT tubing
I'll need to replace all that...
Started taking the old gages off and thinking about where Im gonna put what.
I'll need to make some plugs for the holes emptied.
Right now, I have analog and half-broken EGT (the selector switch is dead), analog CHT that's not hooked up to anything (wires are butted, and there are no probes installed). Those are going away. HOBBS is also going away. This is all being replaced with CGR-30, so I get a few empty holes and options to move gauges around. I'll probably move the clock and the vac suction gauge so that they're better visible.
Pictures will come later when the work is actually done :)
This last weekend started quite jolly with me putting in the engine grounding straps (didn't have them when I bought the plane).
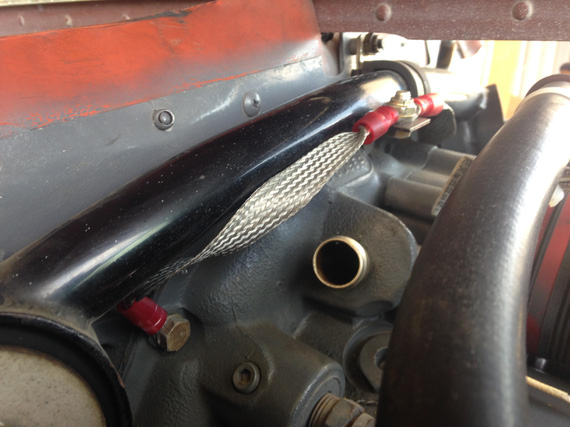
Grounding Strap 1
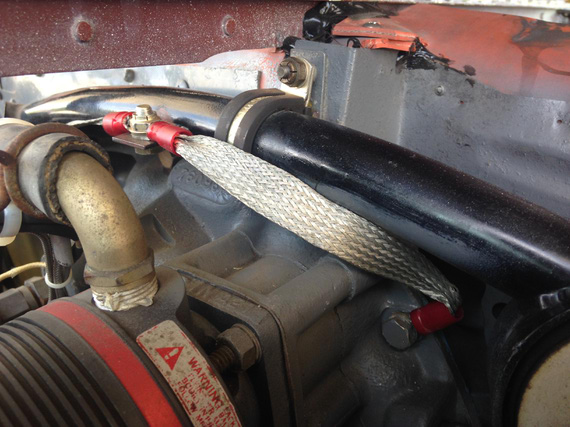
Grounding Strap 2
And then, I decided to deal with something special; the Foot Step. You see, I don't like them. I think they're ugly. So, I decided to remove them, and make a couple of fairings to cover the holes up and to replace the original plastic fairings.
Beej helped me (that means, "did it himself" rather ;) ) whip out the first test fairing.
And then, we needed to take off the steps.
The steps are bolted thru the fuse honeycomb with a couple of backing plates. There are two bolts, top is aluminum one (the thought is that it will shear before the bottom one and therefore prevent leverage and damage to sensitive fuse sidewall honeycomb). I believe AG-5s (later Grummans) replaced them with steel bolts; and people had some serious honeycomb crushing issues because of that.
Aaanyway. The bolts come from the inboard side, thru the streamlined tubing of the footstep and a couple bushings, and fasten themselves to the nutplates riveted to the other side of the footstep. Here's the schematic from the Parts Manual.
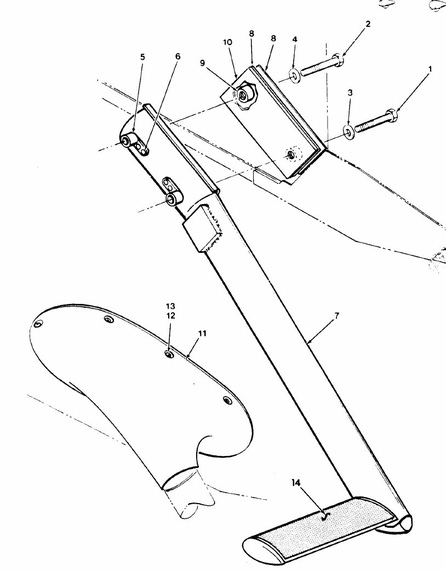
Footstep Schematic
There are a couple more bushings inside the streamlined tubing that aren't shown...
Also, the footstep sits in the wing root. You can kinda get access to the bottom nutplate if you take the fairing off. The top is right in the center of the wing root. And wing roots on Grummans are not fairings. I don't know how to remove one without pulling the whole wing (and Im not quite ready to do that yet...).
So anyway, happy me, I undo the rear seats and the cover that covers all the business under them, take the wrench, "assume the position" and start undoing the bolts. The first thing that happens is the rivets holding nutplates snap off.
So now, I am having Beej, not a small guy at all, under the plane on a creeper, holding the nutplates. We did the bottom one fast, the top one is a pain in the ass because it's, like I said, in the wing root. Had to take the flaps torque tube inspection plate off to get to it, and even then only could hold it with fingers.. the torque tube is getting in the way, you can't get any tools in there.
I should also mention that the bolts sit right under the back seat framing that holds the seat, and I can't even see the bolts I'm undoing without an inspection mirror. Gladly, not much there, so I've found them easily.
So, we undid the bolts.
Hehe. Now, to getting them out...
We were able to tap the bottom bolt out fairly easily. Well, it's right there under the footstep fairing, so that wasn't a problem.
The top bolt is the whole other story...
You see, the bushing inside the streamlined tube is steel. And the bolt is aluminum. The Mother Nature decided to give me a practical lesson on dissimilar metal corrosion.
So Saturday, as this was progressing and it was getting late (and time for Beej to go home), we tried pulling it, rotating it with a ratchet while pushing on the side. No joy.
Beej had to go. We had to disband.
I parked the plane in transient on Beej's field (I couldn't fly back with the footstep dangling like that on one bolt:)); and went home, determined to fix it. Had to have Dash pick me up...
Talked with Ben for over an hour.. Got a lot of good advice. "Heat it up". "Liquid Wrench". "Die Grinder".
Furnished a whole bunch of various tools. Some of them will probably scare some aircraft mechanics :)
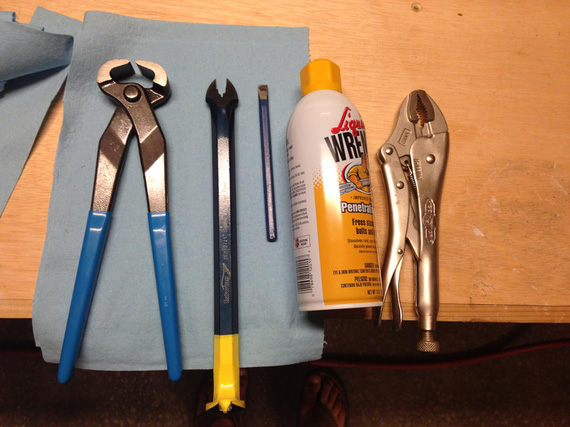
The Tools To Pull That Bolt
Note the pry-bar notch enlarged to take an AN5 bolt. I also custom-beveled the cold chisel to give it a sharper angle (hoping I'll be able to get it under the bolt head).
Sunday.
Put a bunch of Liquid Wrench on that bolt. Tried the chisel - nothing.
Did I mention that I couldn't see the bolt, only feel it? :)
Tried pulling, rotating with Vise Grips - nothing.
Soaked in more Liquid Wrench. Nothing.
Looking at it from the inspection mirror, it was clear that I could cut the head off if I could see it (I would never try that blind. Ever).
So, the mission became the "See The Bolt Head" one.
Bottom interior side panel, if came off, would reveal the bolt from the top and give me access.
Top interior side panel was blocking the bottom interior side panel.
Also, seatbelts and a little latch for the rear seat.
So, off went all of that.
Finally, I saw the sucker!
Tried pulling it out a bit more, now when I had a better access point.. no luck.
Oh well. To The Dremel!
The rest is...
History :)
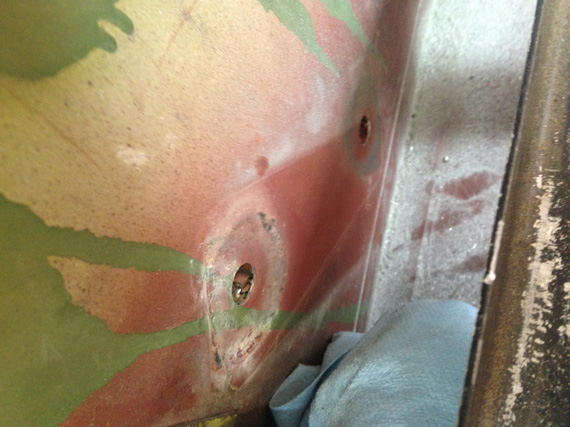
Holes after the bolts were out
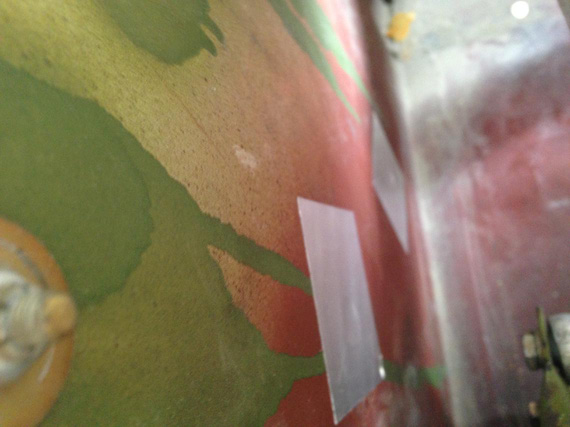
Patched with aluminum tape
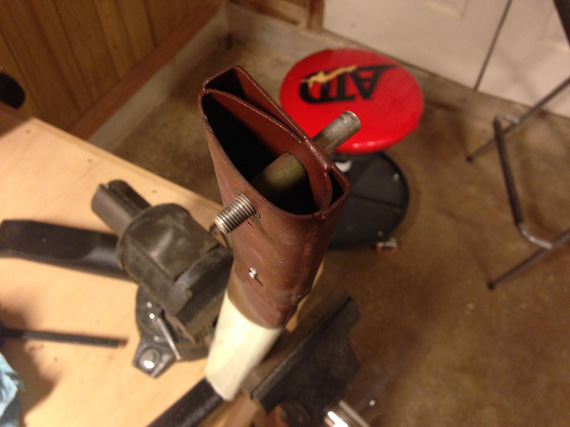
The footstand, with headless bolt shank and the bushing
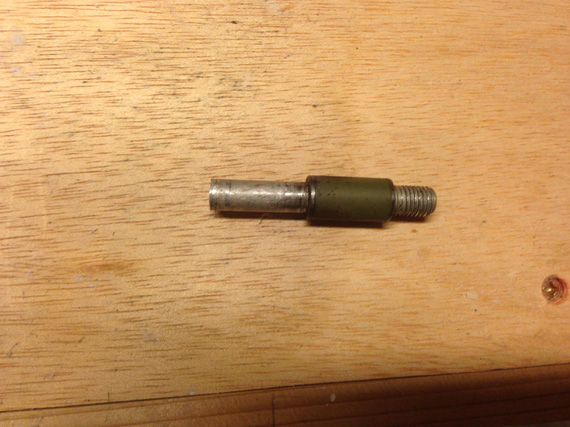
The nasty, nasty bolt shank with the bushing "welded" onto it by corrosion
But the Mother Nature wasn't done with me yet.
Buttoned the plane back up; pulled it in front of the hangar, and took Beej to lunch.
Came back.
Realized that I left the keys to my car in my wife's car parked at a terminal.
Had to walk there and back. A good mile.
Oh, did I mention the 100 degree Texas summer? :)
Coming back, needed to push the plane back. But no - the parking brake on one of the wheels was completely and utterly stuck.
My Cheetah is a 77, and uses mechanical parking brake. Ive heard before that they get stuck; but I always was able to get them unstuck by taking the brake off and tapping on the pedals with my feet.
The way they work is there is a metal plate that has a hole thru which the brake cylinder's piston's shaft goes thru. There's a chain that pulls it up, making it eccentric with the shaft, which locks the shaft in place.
Well; apparently it got a little more hot while we ate, and that plate just didn't want to go down. Tapping the pedals while putting the brakes on and off didn't do anything.
Oh, did I mention that I would have fiddle with it, get out, try to push the plane back, fail, get back in, all in a 100 degree weather? Not fun.
Finally, gave up and "assumed the position" again. That's when you dive backwards under the panel with feet hanging out of the airplane.
Wiggling it for a minute or so finally yielded a loud snap, and it was unstuck.
Phew.
Flight back home was uneventful :).
Bonus pictures:
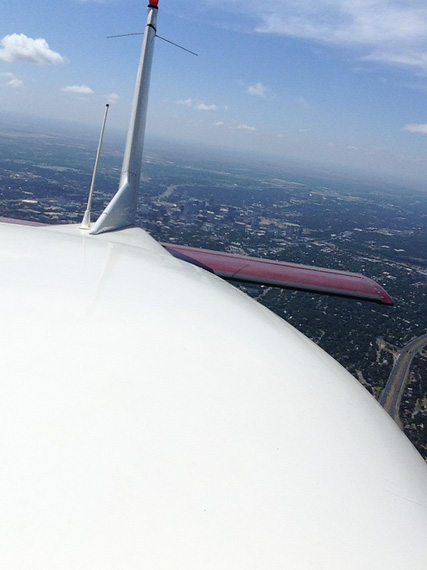
In flight, looking back over Downtown Austin (I risked my phone taking that!)
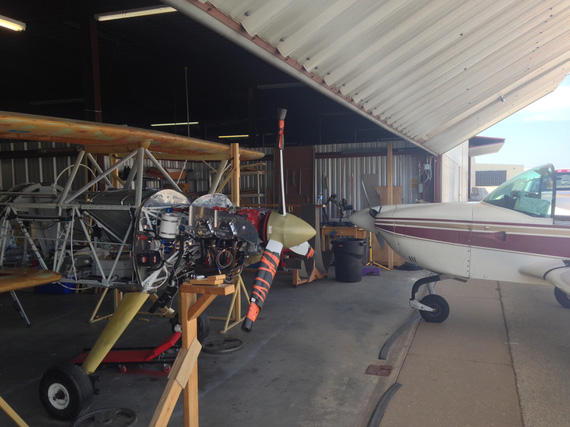
Skybolt: "Are you talking to me!?" Cheetah: "No, are you talking to me?!!!"
Lack of planning on your part does not constitute an emergency on mine.
Up ↑
© Copyright "79FT". All rights reserved. Feel free to cite, but link back to the pages cited.
This website only shows how I did things in my various projects. These pages are for information and personal entertainment only and not to be construed as the only way, or even the perceived correct way of doing things. You are responsible for your own safety and techniques.