[79FT]: Building Things |
 |
Cleaning up Light Coves on Wingtips for Cheetah
... I hate sanding!
| On: | Jul 03, 2015 |
| In: | [Misc] Cheetah |
| Tags: | 9891U, mechanicing, fiberglass |
In the past 7 months I have been busy building... the crib for the baby. Almost non stop evenings, 4-6 hours a day: the result is good, but this is a "Skybolt Story", not a "Bed Story": so no, I won't post all my projects here :).
Also, it seems like next 2-3 years will be mostly furniture building for this guy.. Oh well.
Meanwhile, I was able to put in a few hours into fixing up the coves in my wingtips where all the lights are.
If you recall, I have made strobe shields quite a while back, but I haven't fixed up the coves. I was waiting for the shields to be painted.
Well, they were during the cgr-30 install, and then I was working on the crib.. So finally, the time has come.
Look at what I had to start with.
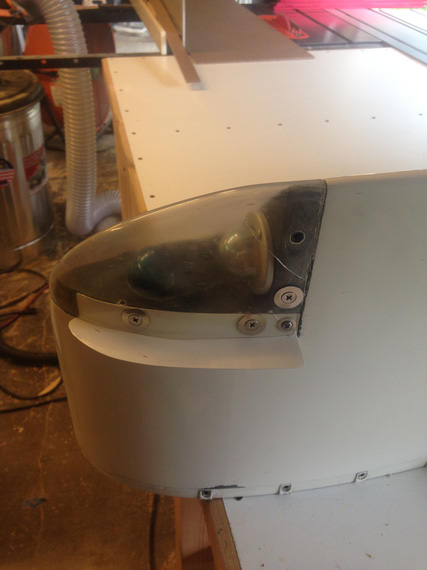
Sad sad wingtip
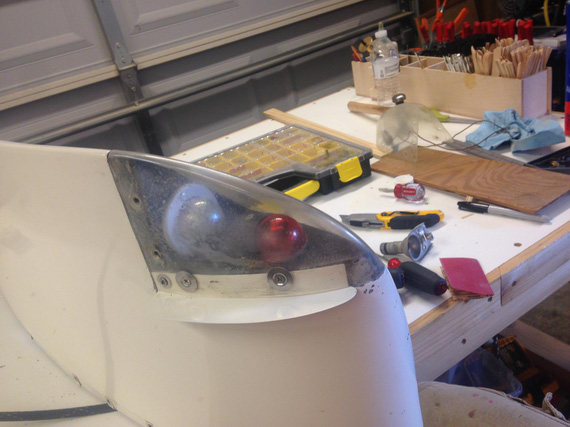
Another sad wingtip
First, all the lights came out. The old plastic lenses went straight into the trash bin. Then, came off the foam padding that goes in between the lens and the wingtip.
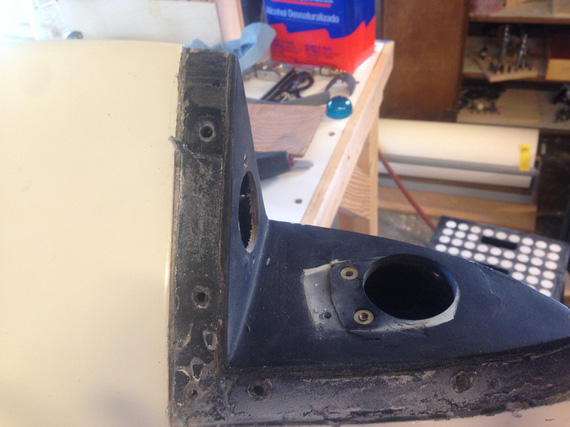
All opened up
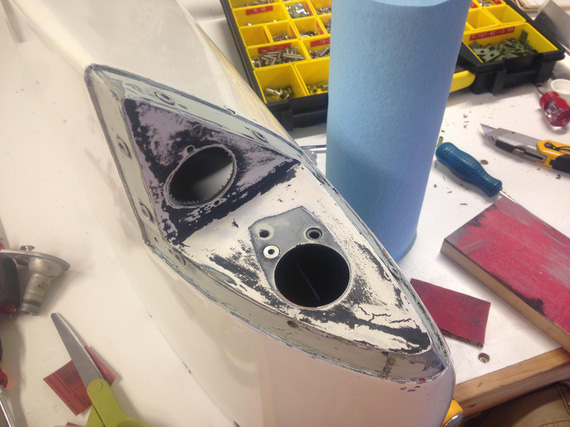
Cleaned and sanded
I think the above was about an hour of sanding. All old paint came off. Also, the broken rivnut went out (did you notice it? That extra hole was what someone has drilled and used a sheet metal screw to "fix" it instead of drilling out the broken rivnut).
Finally, masked with the first set of masking tape. I was set to repaint the coves.
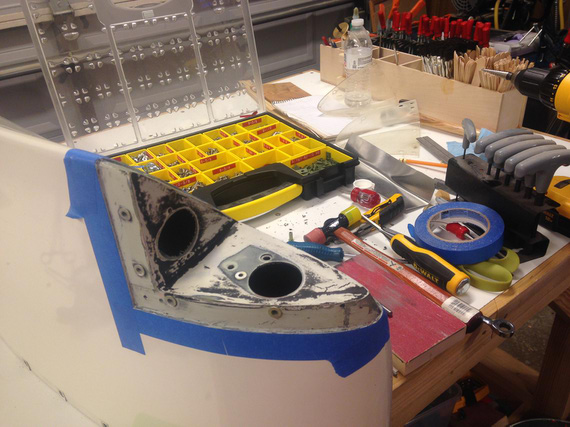
Masking the edges
The other wingtip was even worse. The cove itself had a huge "dip" in it. Also, some "genius" decided to screw #10 screws straight into the fiberglass... Some threads were all torn up, and I decided to install rivnuts all around to make sure the tips match.
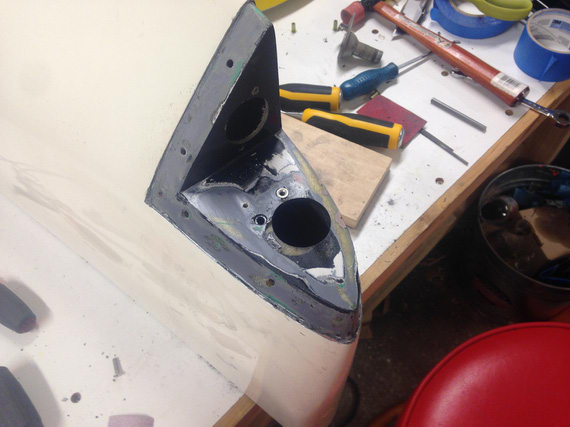
Just disassembled, note the large dip in the nav light area
In with Bondo! Lots of sanding! Oh man, I hate sanding...
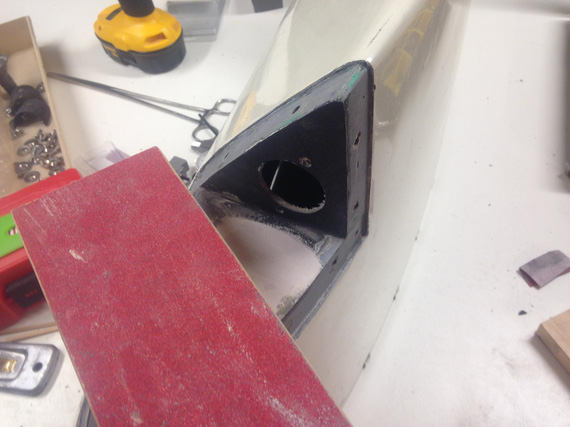
Bondo, and sanding...
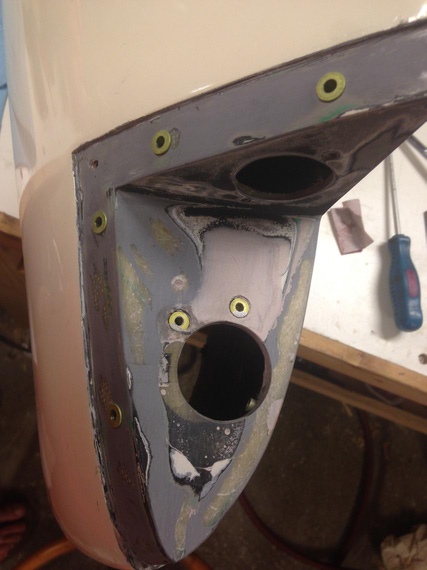
Done sanding
Phew. Quick fit of the strobe shields over the rivnuts, needed to enlarge the holes...
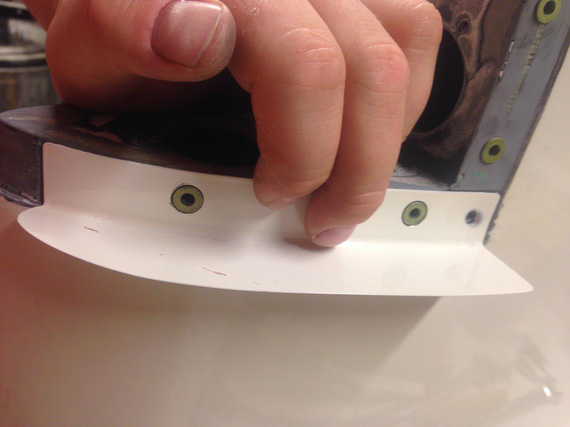
Fitting holes in the strobe shield
And we're ready with the second one.
Now, I wanted to clean up the nav lights housing as well. Originally I wanted to paint both cover and base, but once I cleaned up the base, I decided to leave it as is: apparently, it was nice and shiny after all that 40 year old corrosion cleaned off of it!
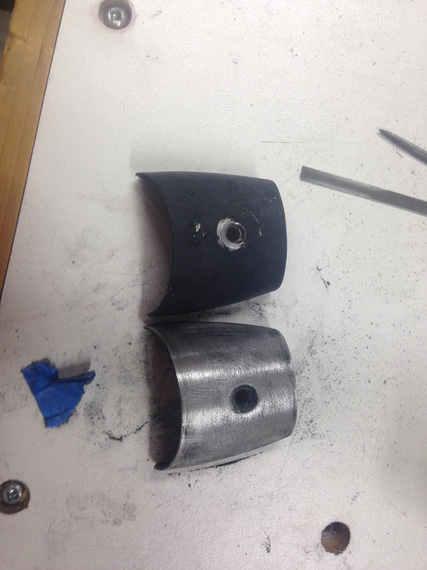
Nav lights covers. Second one was cleaned up as well
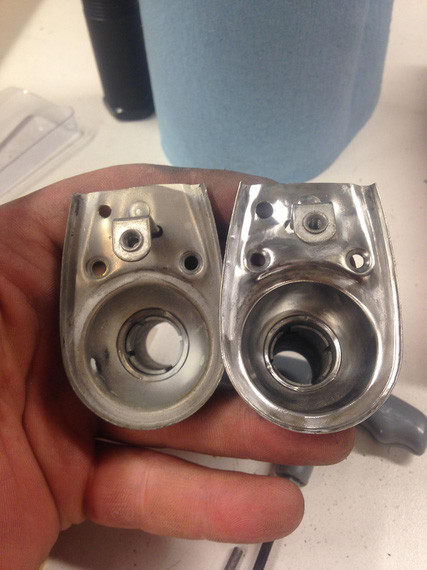
Cleaning nav lights bases. Shiny!
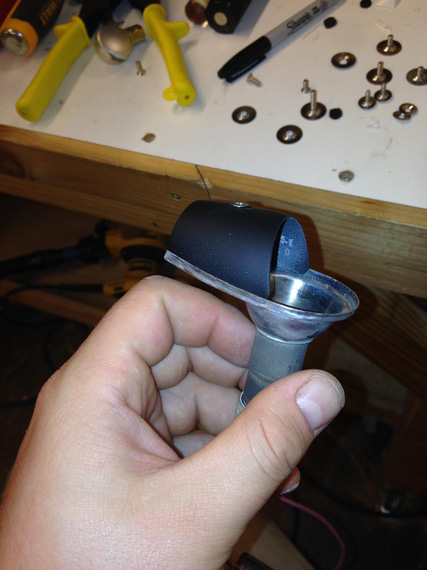
Came out nice after painting!
Then, final masking, and painting. Damn! That didn't go so well. I didn't notice a fairly small dip in the other tip's cove, and the Bondo'd one got some pinholes. Time was running very short so I ended up leaving that as is.
Right wingtip cove, painted. See the dip now?
Left tip. That one with pinholes :(
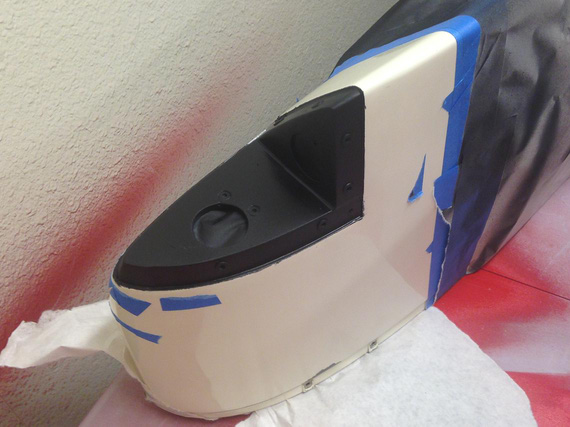
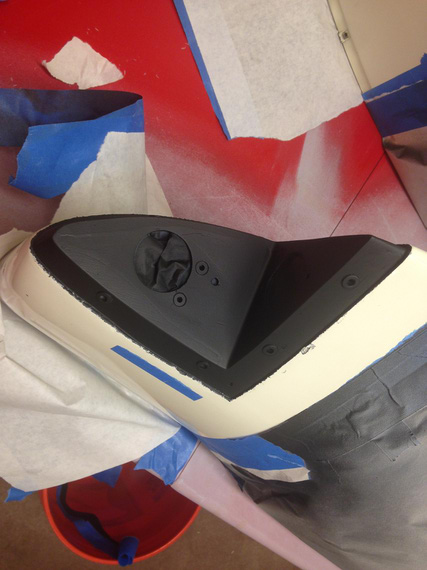
Once the paint was all dry came the time for fitting the foam padding and lenses. And here, I made a fatal mistake: I have installed the padding first. That makes fitting of the lens virtually impossible (at least, for me).
That had produced an unsightly gap of about 1/8 inches. Oh god! I had no spare lenses, and I had to put the plane back together not to screw my partner who needed the plane soon. Very soon.
... I ended up screwing him anyway 'cause somewhere in the middle of me fitting that first lens Max was born and I was knocked out for 5 days ...
... just in case you're wondering: 7lbs 11oz, 20 inches, June 25, 2015, 10:35 am ...
... I still haven't had any chance to get another lens, so I decided to put it back together as is as a memory of me being stupid. Maybe I'll buy another set from Ken in another year or two; and also fix all the dips and pinholes ...
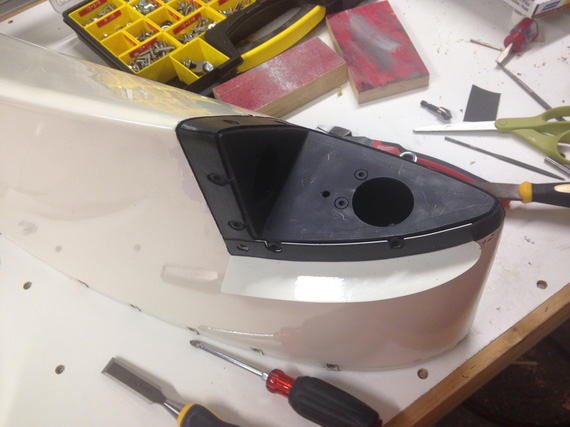
Fitting the foam padding
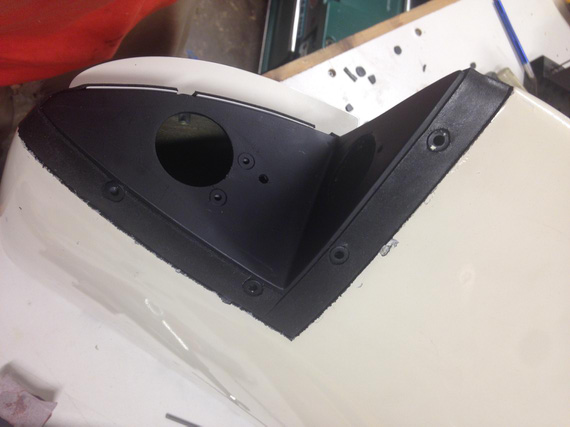
Fitting the foam padding (back side)
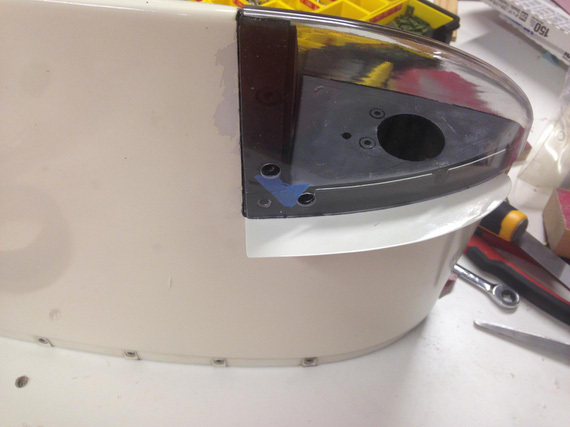
Top/front lens fitting
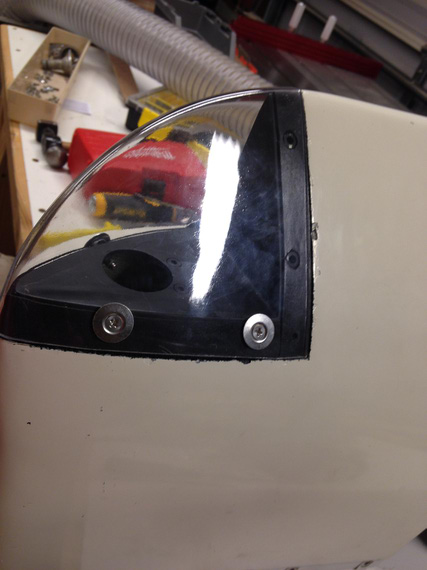
Bottom seams: see the unsightly gap?
I was much smarter with the other lens, and made sure to fit it before I put on the foam padding, and it came out perfect.
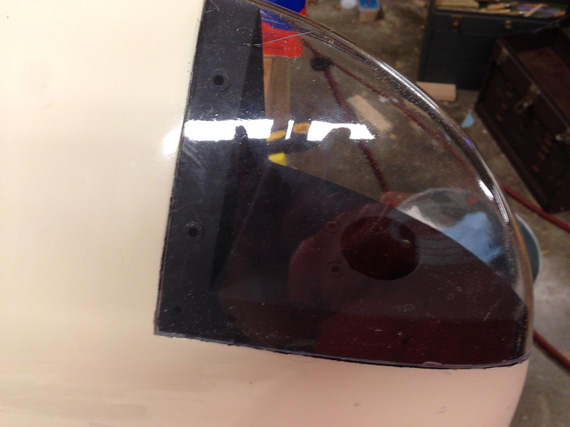
Fitting other lens. See no padding?
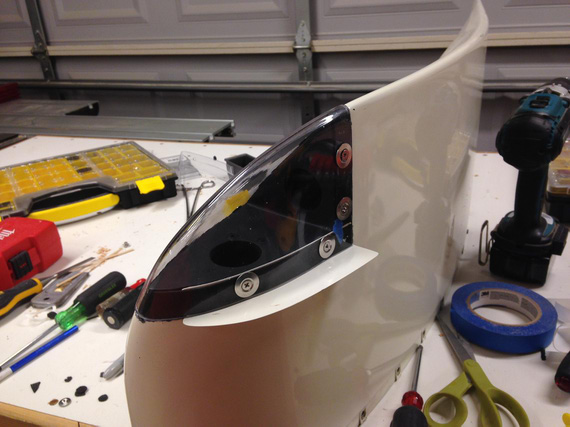
Padding on: and some holes in, too
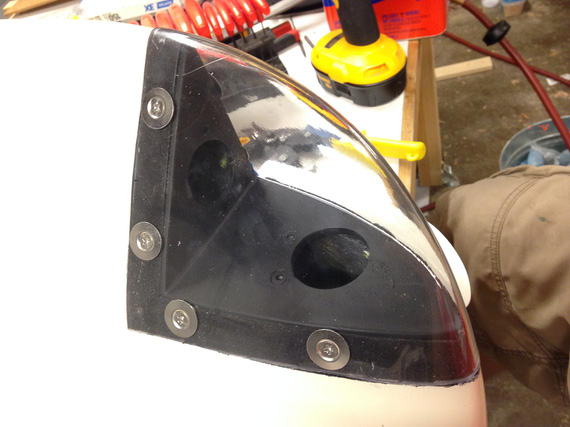
The other side
Then, I've put the lights back in, permanently screwed on the lenses, and I was done!
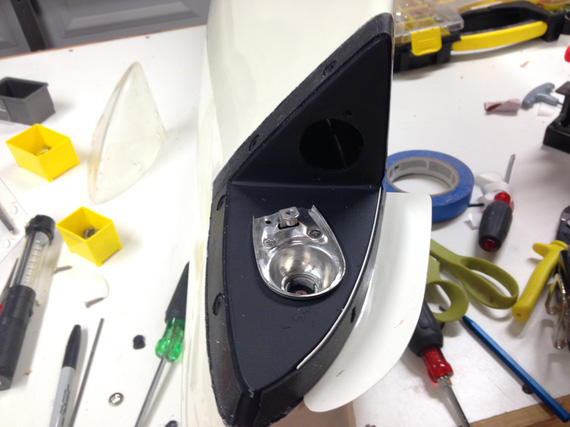
Installing the nav light base
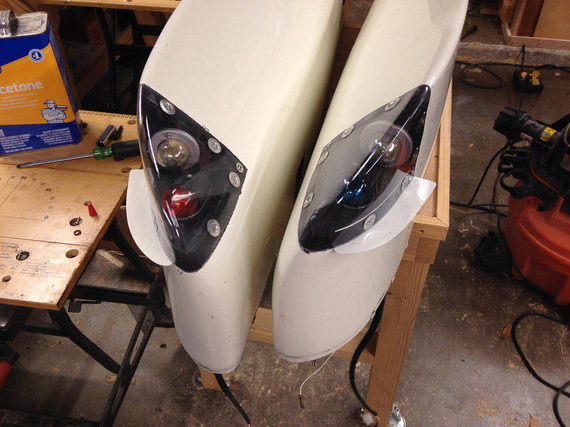
All done!
Much nicer than before, but with some problems. Still, much nicer than before.
Till next time (which-I-dont-know-when-will-come)!
"Approach UAL525 what's this aircraft doing at my altitude?"
"UAL525, what makes you think it's YOUR altitude, Captain?"
-ORD ATC
Up ↑
© Copyright "79FT". All rights reserved. Feel free to cite, but link back to the pages cited.
This website only shows how I did things in my various projects. These pages are for information and personal entertainment only and not to be construed as the only way, or even the perceived correct way of doing things. You are responsible for your own safety and techniques.